Hider FAQ — Evasion, Dodges & Survival Tricks
Dodge techniques when spotted, prep-phase priorities, rotation rules, panic responses, and how to survive experienced seeker lobbies.
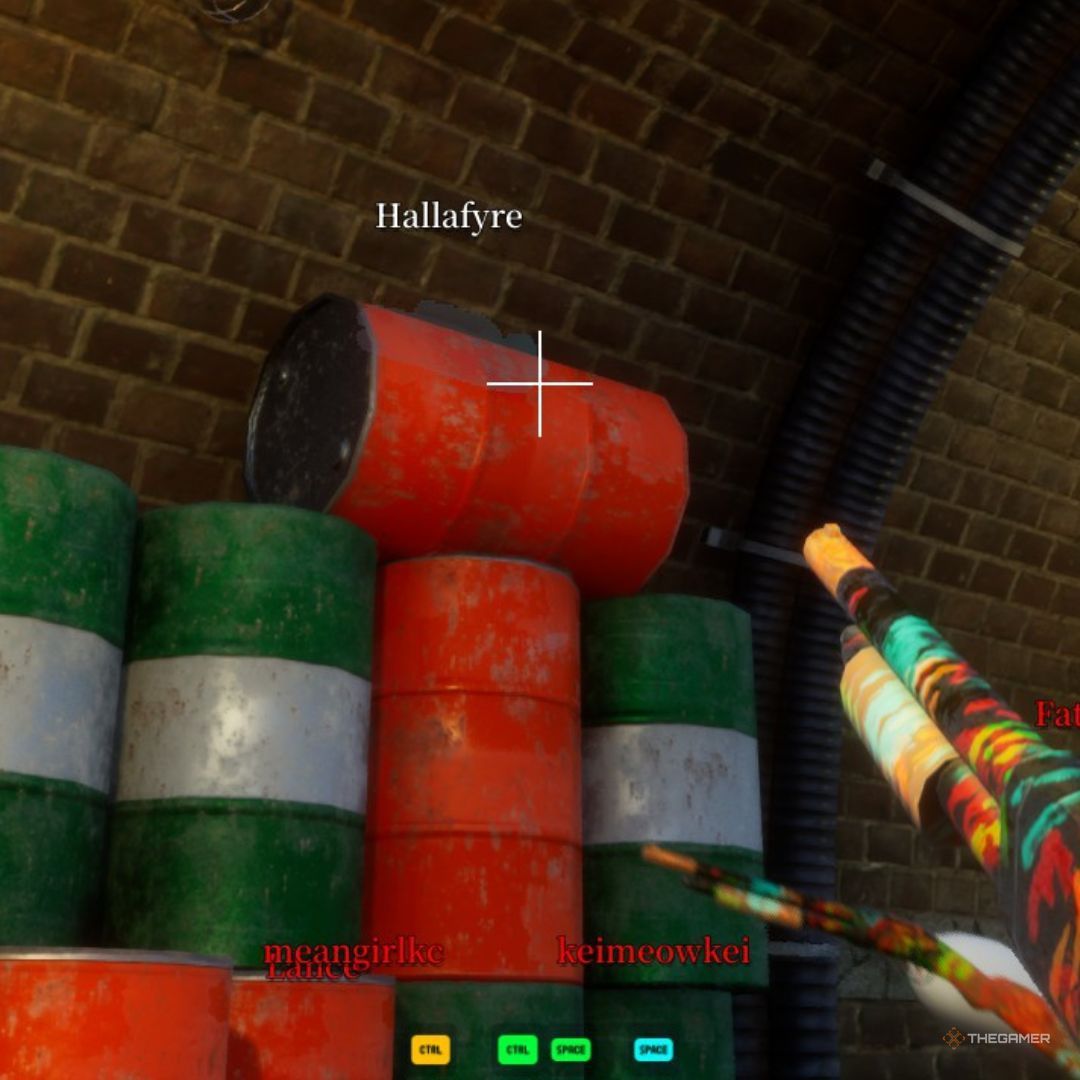
A seeker saw me — how do I dodge without dying instantly?
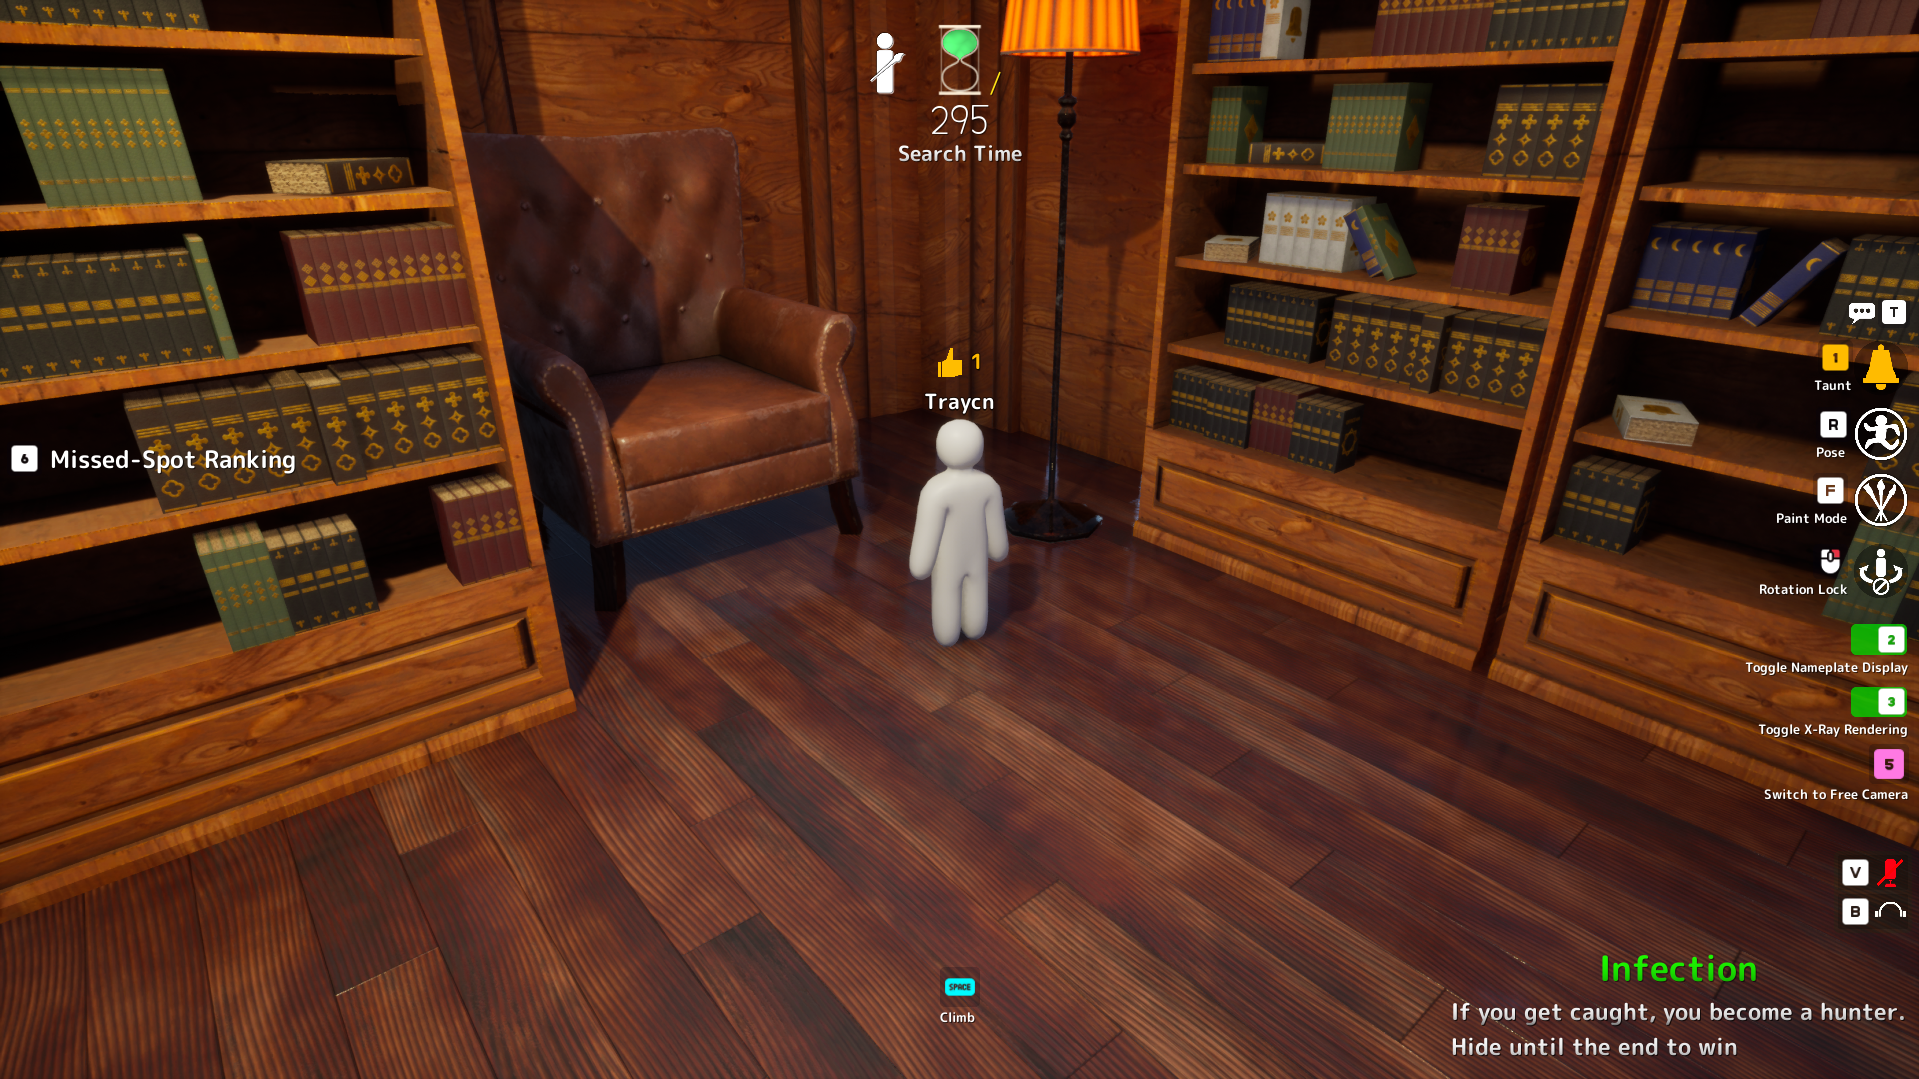
Default panic response should be sample nearest wall → pose lock → freeze two seconds, not sprint across open floor. Most seekers overshoot broken line-of-sight.
If you must move, break sightline first (corner, door frame), then recolor in the next room before they re-acquire.
Never run in seeker FOV while unpainted white — you are the brightest object on the map.
What should I do first every prep phase?
Move to a pre-chosen spot (browse meccha.wiki spots for your map), sample local color, lock pose, then optional touch-up paint.
Do not explore new rooms during prep in ranked chaos — pathing waste kills more hiders than bad hue.
Listen for seeker-adjacent spawns if your mode reveals them; avoid setting up in rotation paths (ballroom center, Backrooms long corridors, loading bays).
When should I rotate to a new hide mid-round?
Rotate only when seeker back is turned, audio distraction hits another room, or your spot was partially scanned and they left assuming you ran.
After surviving a partial scan, freeze five full seconds — seekers often abandon rooms after two failed passes.
Re-sample at every doorway when rotating on Backrooms or workshop maps with multi-zone palettes.
How do I survive lobbies where everyone ceiling-checks?
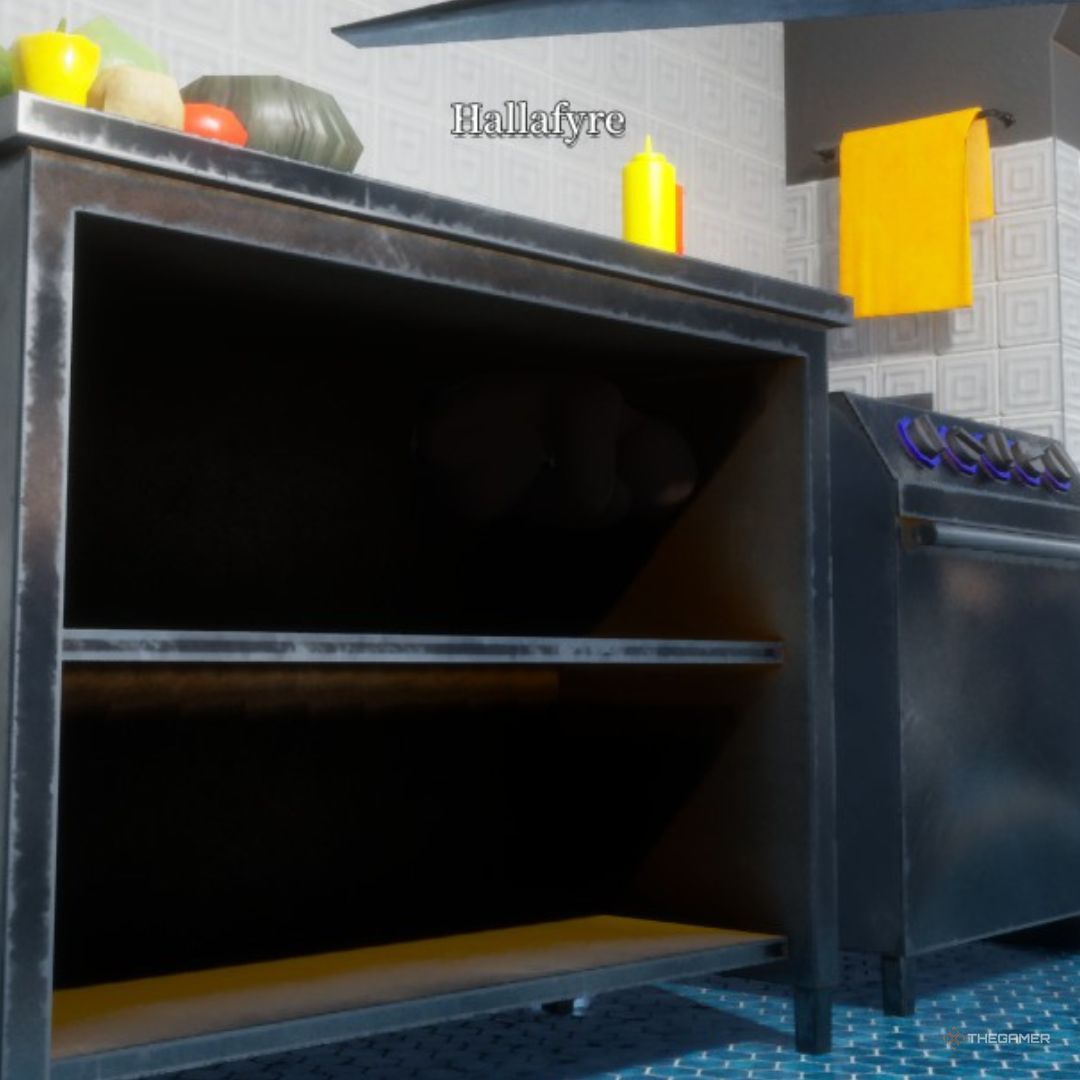
Meta pendulum: when every seeker looks up, return to rear shelf rows, kitchen gaps, and shadow baseboards — spots they now skip.
Use bait-and-reset: let them glimpse you leaving zone A, lock early in zone B. They rush the wrong corner.
Pick spots with single approach vectors so you hear them before they see you — audio wins ties in shelf backs.
My pose keeps breaking — what am I doing wrong?
Set pose during prep, not after hunt starts. Movement during hunt breaks lock and creates tells.
Choose poses that match your sample value — wall-flat on gradient walls exposes bright shoulders if you sampled mid-wall but locked low.
Read HUD release prompts before attaching to walls — mis-tapping release mid-round exposes you.
What mistakes get beginners found first?
Sampling across the room instead of at your body pixel.
Camping obvious props without matching prop color.
Moving while seekers face you.
Choosing viral spots without finishing paint before hunt.
Fighting in open rotation paths instead of crossing quickly.
Ignoring sound on tile and metal floors.
Should I hide flat on a wall or mimic a prop in a cluster?
Mobalytics and 9Puz recommend hiding as an object inside visual clutter, not flat against open walls — clusters forgive imperfect hue when silhouette merges with props.
Games Fuze ranks Indoor Country cow cutouts among the strongest mimics: lie-down on standee, sample standee surface, paint large black-and-white patches matching the cutout — not barn wall behind you.
mecchachameleongame.org cluster tip: groups of identical objects (hay, balloons, gumdrops) beat solo props because seekers compare duplicates for outline errors.
Should I reuse the same hiding spot every round?
DualShockers' top tip: never hide in the same place twice with the same group — previous spots become first-check zones on repeat maps. Switch height (under bed → ceiling perch), texture type (plush → metal pipe), and room zone each round.
Same-map marathon sessions punish habit hiders hardest. Keep two backup spots per map from our hidden spots database so prep never becomes a scramble.
Seekers should apply the same logic in reverse — after a friend wins from a ceiling perch, check ceilings earlier next round on that map.
What does the "too buried" or "too covered" warning mean?
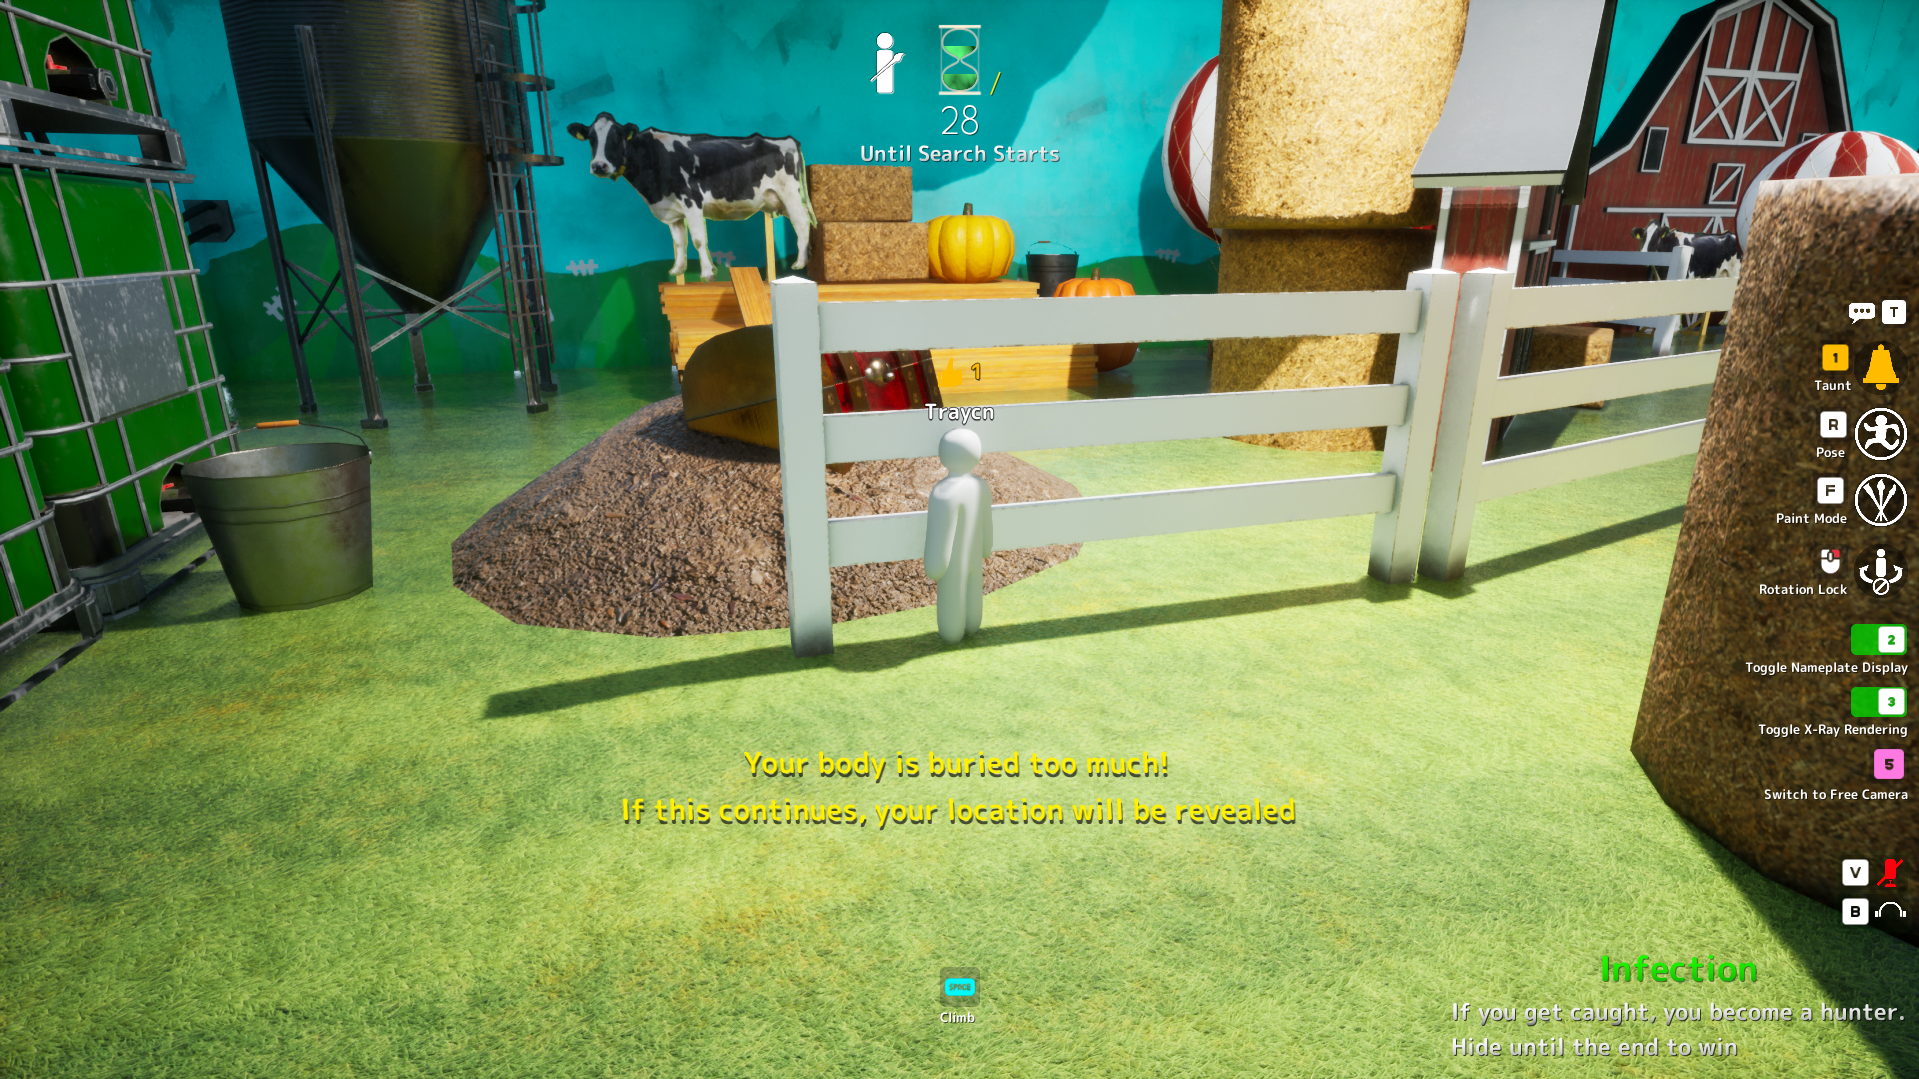
DualShockers and dq7reimagined.com describe the warning when you wedge too deep into walls, shelves, or props — staying too long can auto-reveal your position to seekers.
GameRant's Mansion balloon banner note: hide at the tallest natural balloon point; too low triggers the covered warning. Wiggle in small increments to find a wedged position that clears the warning without giving up the hide.
Prep Phase Mastery on this site covers the full too-buried checklist — depth is a tool, not the goal; prefer believable placement with clean exit over maximum clip.
Can everyone see my hide spot when the round ends?
SlashSkill and mecchachameleonwiki.com document a full results screen — the answer check — after the seeking phase ends: every hider's final position, paint colour, and pose are revealed to the lobby, often with a Missed Spot ranking for seekers (v1.2.0+, toggleable in v1.2.1–v1.2.2).
Steam reviews still request mid-round elimination snapshots so players tagged early see the same appreciation beat; until that ships, use free camera (4 key) after elimination to spectate remaining hiders — documented in Controls help.
See our Results Screen guide for how to turn reveals into a practice loop without spoiling the next round's meta.
Do exposed spots give more points?
GameRant's strategy section states hiding in plain sight on hunter sightlines grants more points — but only if camouflage is excellent. High wall positions can stay in sight yet avoid direct scrutiny.
GameRant also notes you can keep painting after hunters release if base color is done — risky but valid for finishing edges when seekers sweep elsewhere first.
If you know you've been seen, GameRant recommends running — movement can earn points in view and sometimes breaks a bad tag attempt. Weigh risk vs your lobby's seeker skill.