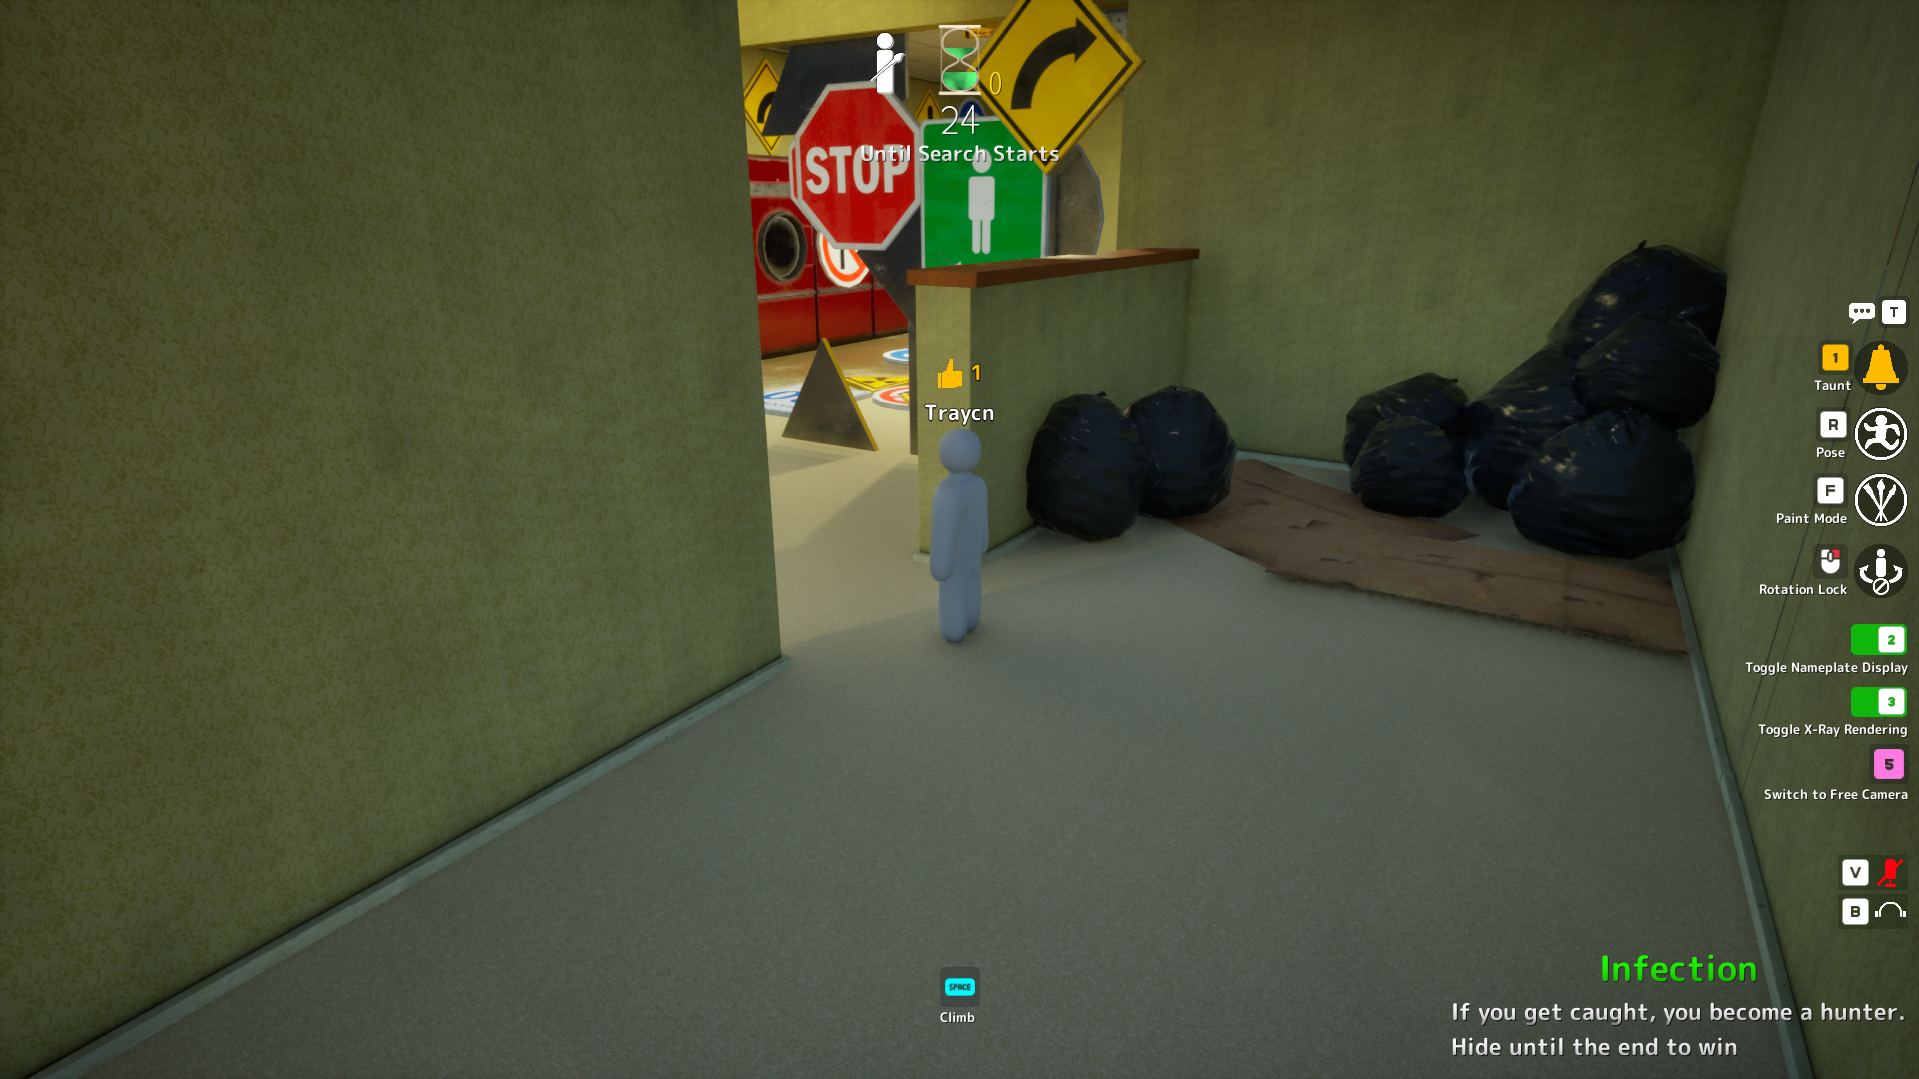
Yellow Wall Nook
Recommended by experienced players · sourced from published guides, not live match stats
Location Description
Level 0 corner nook with yellow wallpaper. Stillness is everything.
Why It Works
Yellow Wall Nook on Backrooms works because level 0 corner nook with yellow wallpaper. stillness is everything. Flat corridor with no clutter — stillness is the only defense. Published guides (meccha-chameleon.wiki) emphasize pose discipline: Corner wedge, minimal silhouette. Map context from Backrooms: Wallpaper yellow has tiny value shifts — sample locally every room. Color plan: Full body base samples Corner mid-wall yellow (away from fixtures); Lit side samples Slightly brighter zone on same wall; Floor junction samples Baseboard shadow. Guide rating 82/100 reflects difficulty tier from meccha-chameleon.wiki — a curated estimate from published walkthroughs, not aggregated match statistics. The core advantage is silhouette breaking: seekers scan for human-shaped lumps and value mismatches before they analyze hue. Yellow Wall Nook gives you clutter, depth, or verticality that buys time when paint and pose are locked in prep.
Best Colors
TheGamer, IGN, and mecchachameleongame.wiki all recommend the in-game Eyedropper (Space) on the exact surface you touch — not fixed hex/RGB codes. Lighting and patches change effective values; the table below lists which surface to sample per body part and how to apply it.
- Full body base: Corner mid-wall yellow (away from fixtures) — Single consistent value
- Lit side: Slightly brighter zone on same wall — HSV Value +1 step
- Floor junction: Baseboard shadow — Legs when crouched
When To Use
- When this applies: Level 0 corner nook: flat yellow wallpaper — value must stay consistent.
- When this applies: meccha-chameleon.wiki: eyedropper mid-wall, not near lights (reads too bright).
- Mid-round when seekers tunnel fluorescent corridors instead of checking furniture stacks (IGN Backrooms)
- Object-mimic spots when you can sample both prop and wallpaper in prep
- Serious lobbies where you need a reliable round-one survive — best-category spots prioritize consistency over memes
When NOT To Use
- Long fluorescent corridors as a home — rotation paths, not camps (mecchachameleongame.wiki)
- Wall-clip positions after v1.2.0 patch — legitimate spots only
- When you have not re-sampled wallpaper after crossing a doorway threshold
- When seekers in your lobby already slow-check this zone twice in one session — rotate
Pro Tips
Wallpaper yellow #C4B896. Absolute stillness — any movement exposes on flat yellow.
How to Win Here
- Level 0 corner nook: flat yellow wallpaper — value must stay consistent.
- meccha-chameleon.wiki: eyedropper mid-wall, not near lights (reads too bright).
- Absolute stillness — any movement smears on flat yellow.
- Re-sample every doorway (Backrooms wallpaper value shifts room to room).
Color & Paint Plan
Body-part breakdown from published guides — sample with in-game Eyedropper (F → Space), then fine-tune HSV / metallic / roughness per surface.
| Body part | Sample from | Technique |
|---|---|---|
| Full body base | Corner mid-wall yellow (away from fixtures) | Single consistent value |
| Lit side | Slightly brighter zone on same wall | HSV Value +1 step |
| Floor junction | Baseboard shadow | Legs when crouched |
Pose
Corner wedge, minimal silhouette.
Metallic & roughness
- · Wallpaper matte
- · Metallic 0
Common Mistakes
- Standing too close to the edge where your outline breaks the geometry
- Using one flat eyedropper sample for the whole body — guides say lit + shadow sides need separate samples (mecchachameleongame.wiki paint-system)
- Moving the camera or adjusting pose after seekers enter the room
- Setting up during hunt phase instead of prep — SlashSkill: spend first third of prep on spot, then paint
Counter Strategy
For seekers hunting this zone — sourced from map guides and community checklists
- Seeker timing: Flat corridor with no clutter — stillness is the only defense.
- Crouch-inspect vending fronts and chair stacks — human-width spacing breaks grid illusions (meccha-chameleon.wiki)
- Re-check doorways — hiders who forget to re-sample leave value mismatches at thresholds
- Office corners: fit-check wedges before leaving the room
Guide Sources
Guide Notes
- Level 0 corner nook: flat yellow wallpaper — value must stay consistent.
- meccha-chameleon.wiki: eyedropper mid-wall, not near lights (reads too bright).
- Primary tip from meccha-chameleon.wiki: Wallpaper yellow #C4B896. Absolute stillness — any movement exposes on flat yellow.
- meccha-chameleon.wiki — https://meccha-chameleon.wiki/maps/backrooms/
- Community (meccha-chameleon.wiki maps) — https://meccha-chameleon.wiki/maps/backrooms/
- Verify in a private lobby after major patches.
Image & Data Sources
Screenshot matched to Backrooms where possible; some entries use map overview assets when a spot-specific image is unavailable. Spot details via meccha-chameleon.wiki. Guide ratings are curated estimates from published walkthroughs — not live match statistics. Game imagery © lemorion_1224 / Steam.
Similar Spots
Keep exploring — related spots to improve your win rate
Other Backrooms hiding spots ranked by guide rating
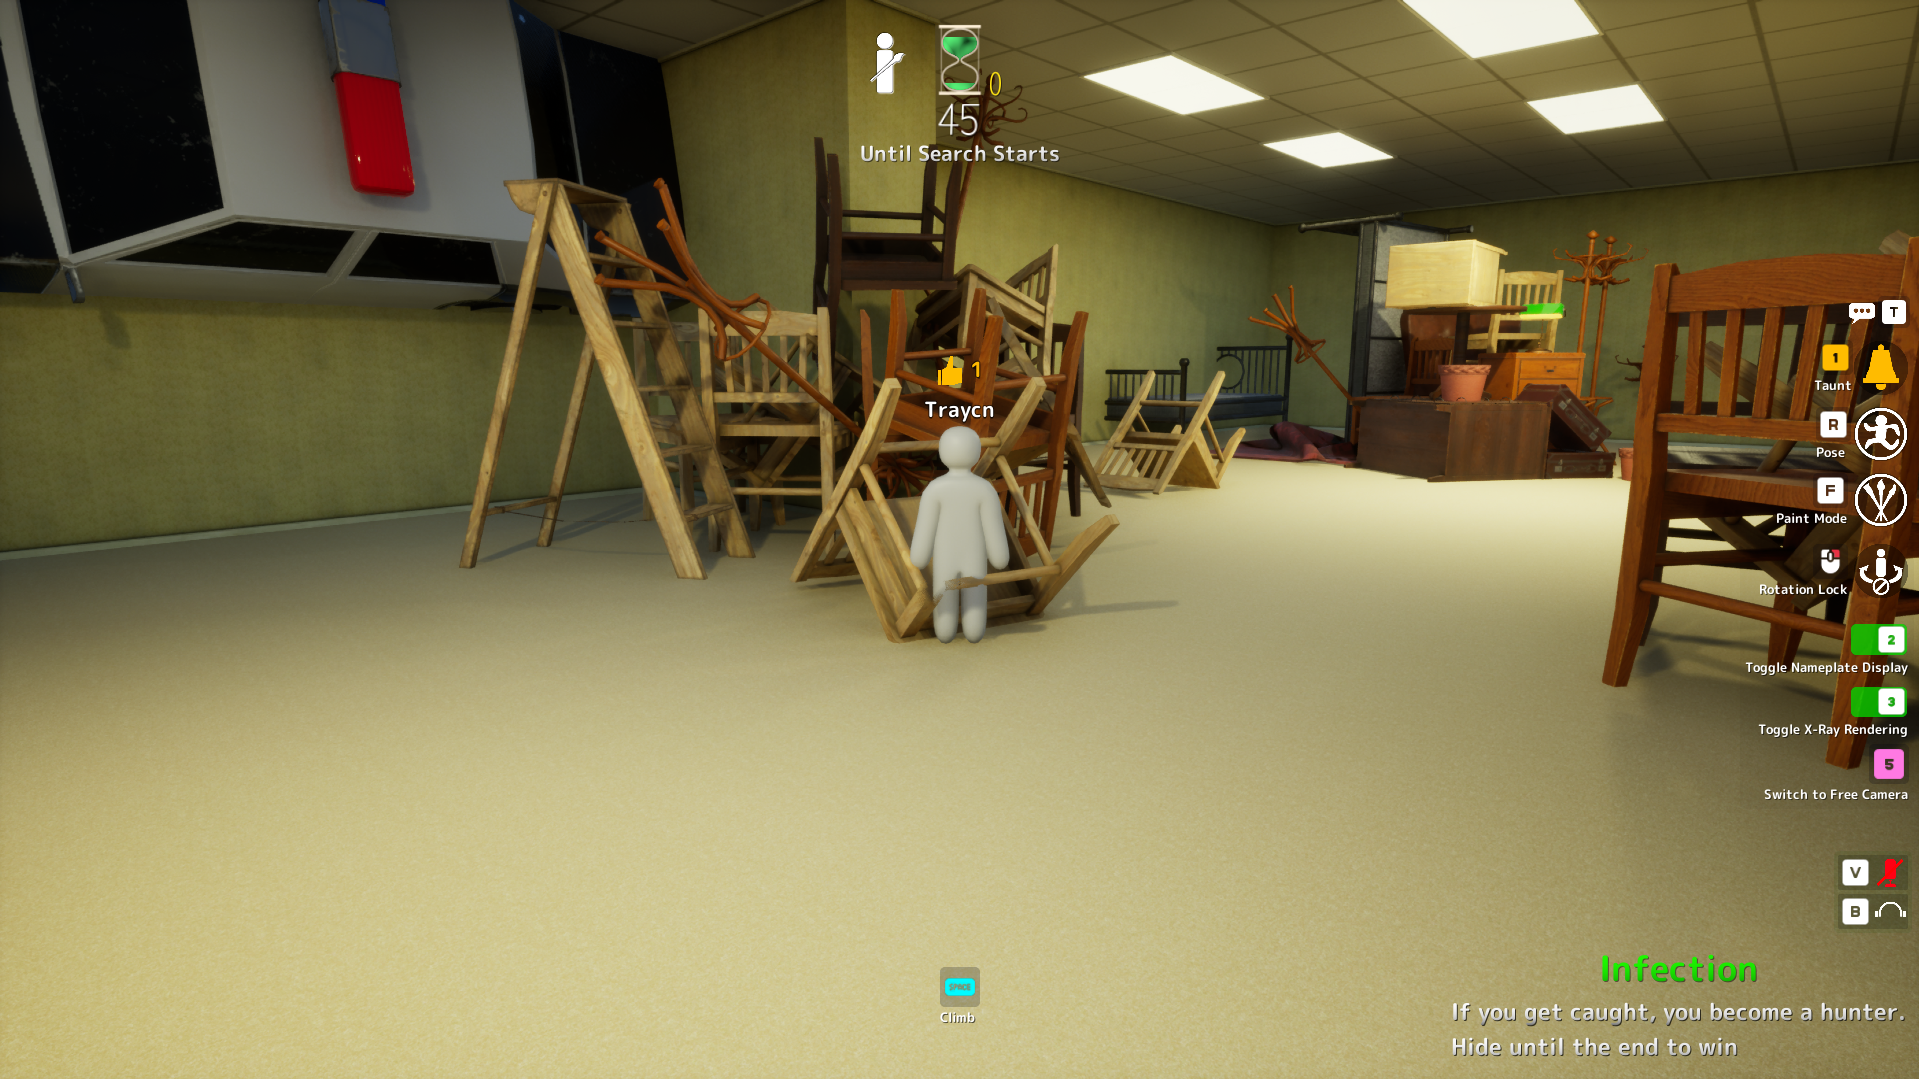
Chair Stack
Under chair stacks with compact pose. Strong Backrooms community pick.
via TheGamer · TheGamer Community
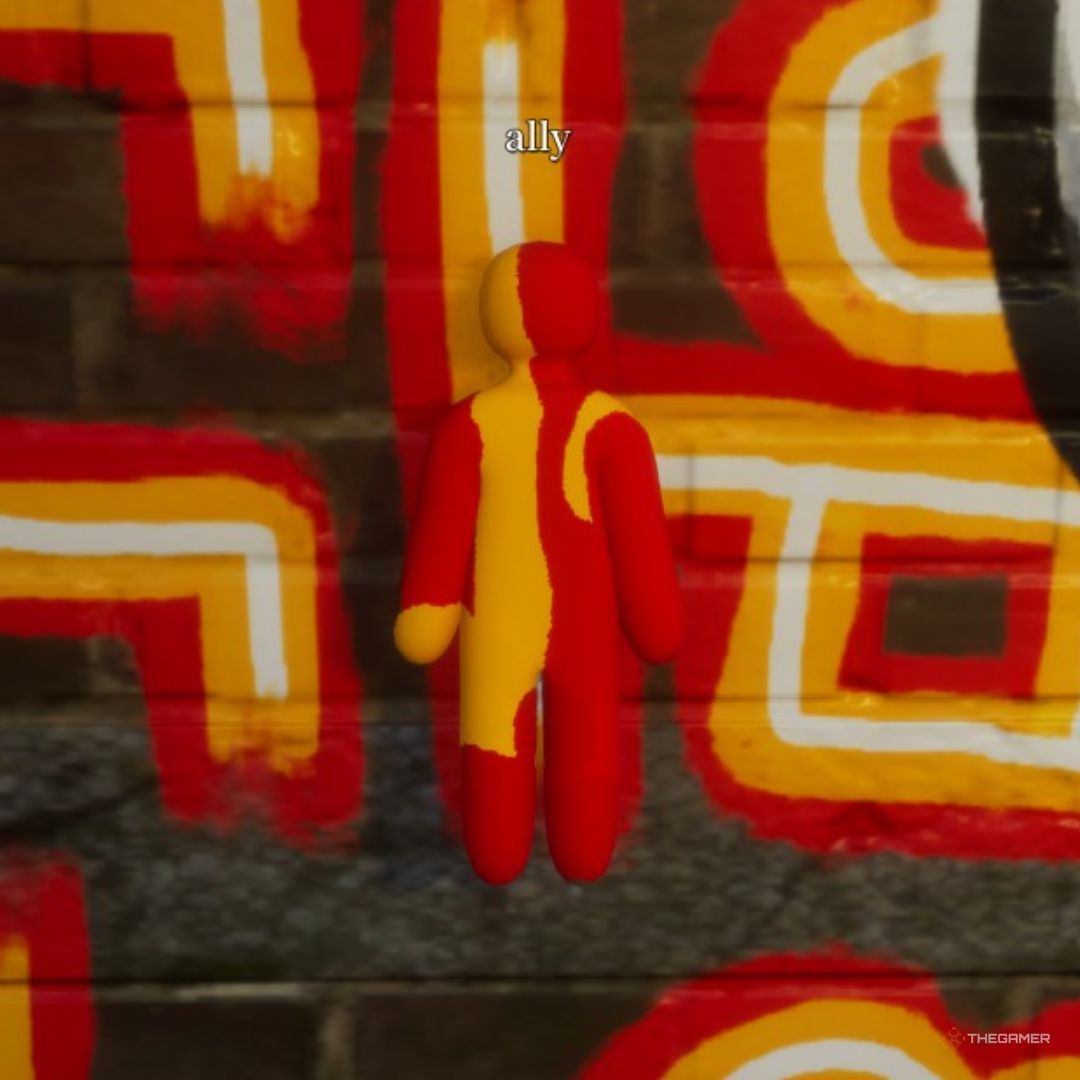
Bikes on Wall
Blend into wall-mounted bike cluster. Re-verify after v1.2.0 patches.
via TheGamer · TheGamer Community
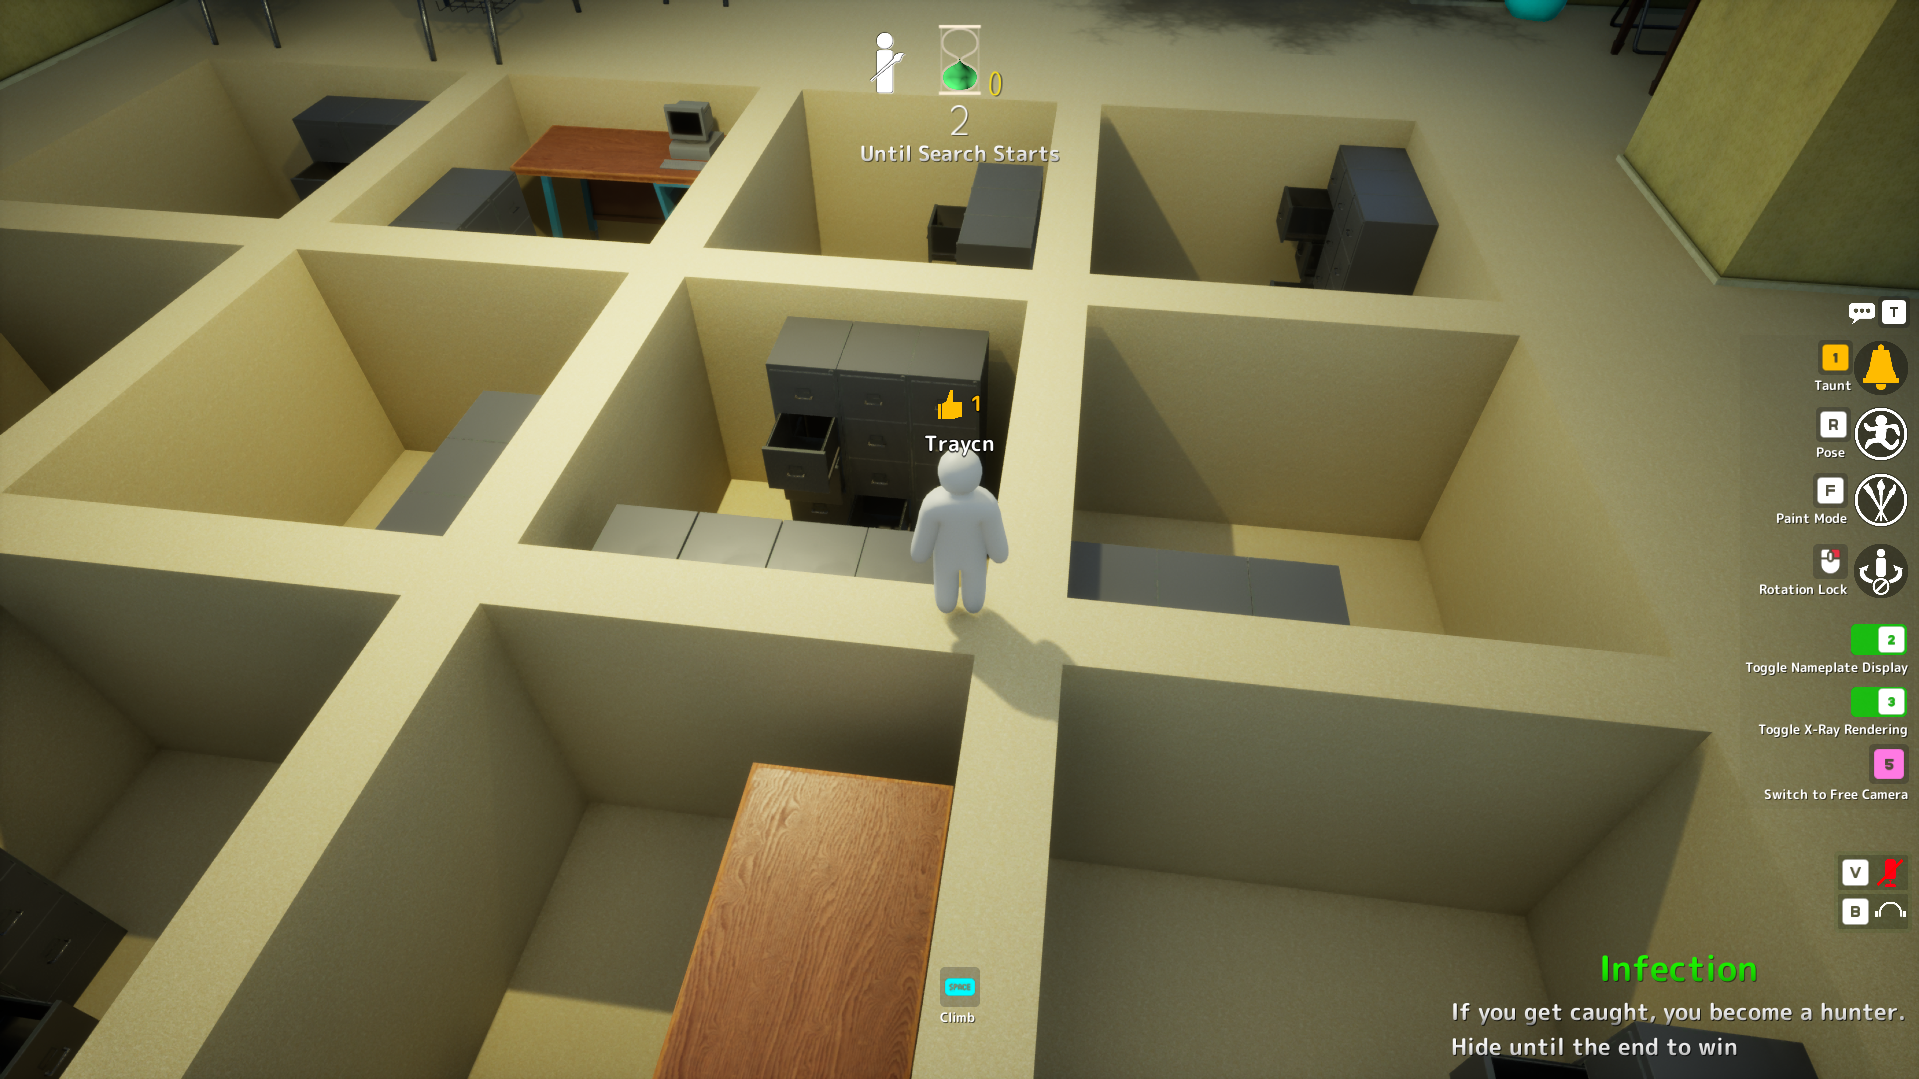
Office Space Corner
Cramped office corner — hard to spot if you wedge in cleanly.
via IGN · IGN
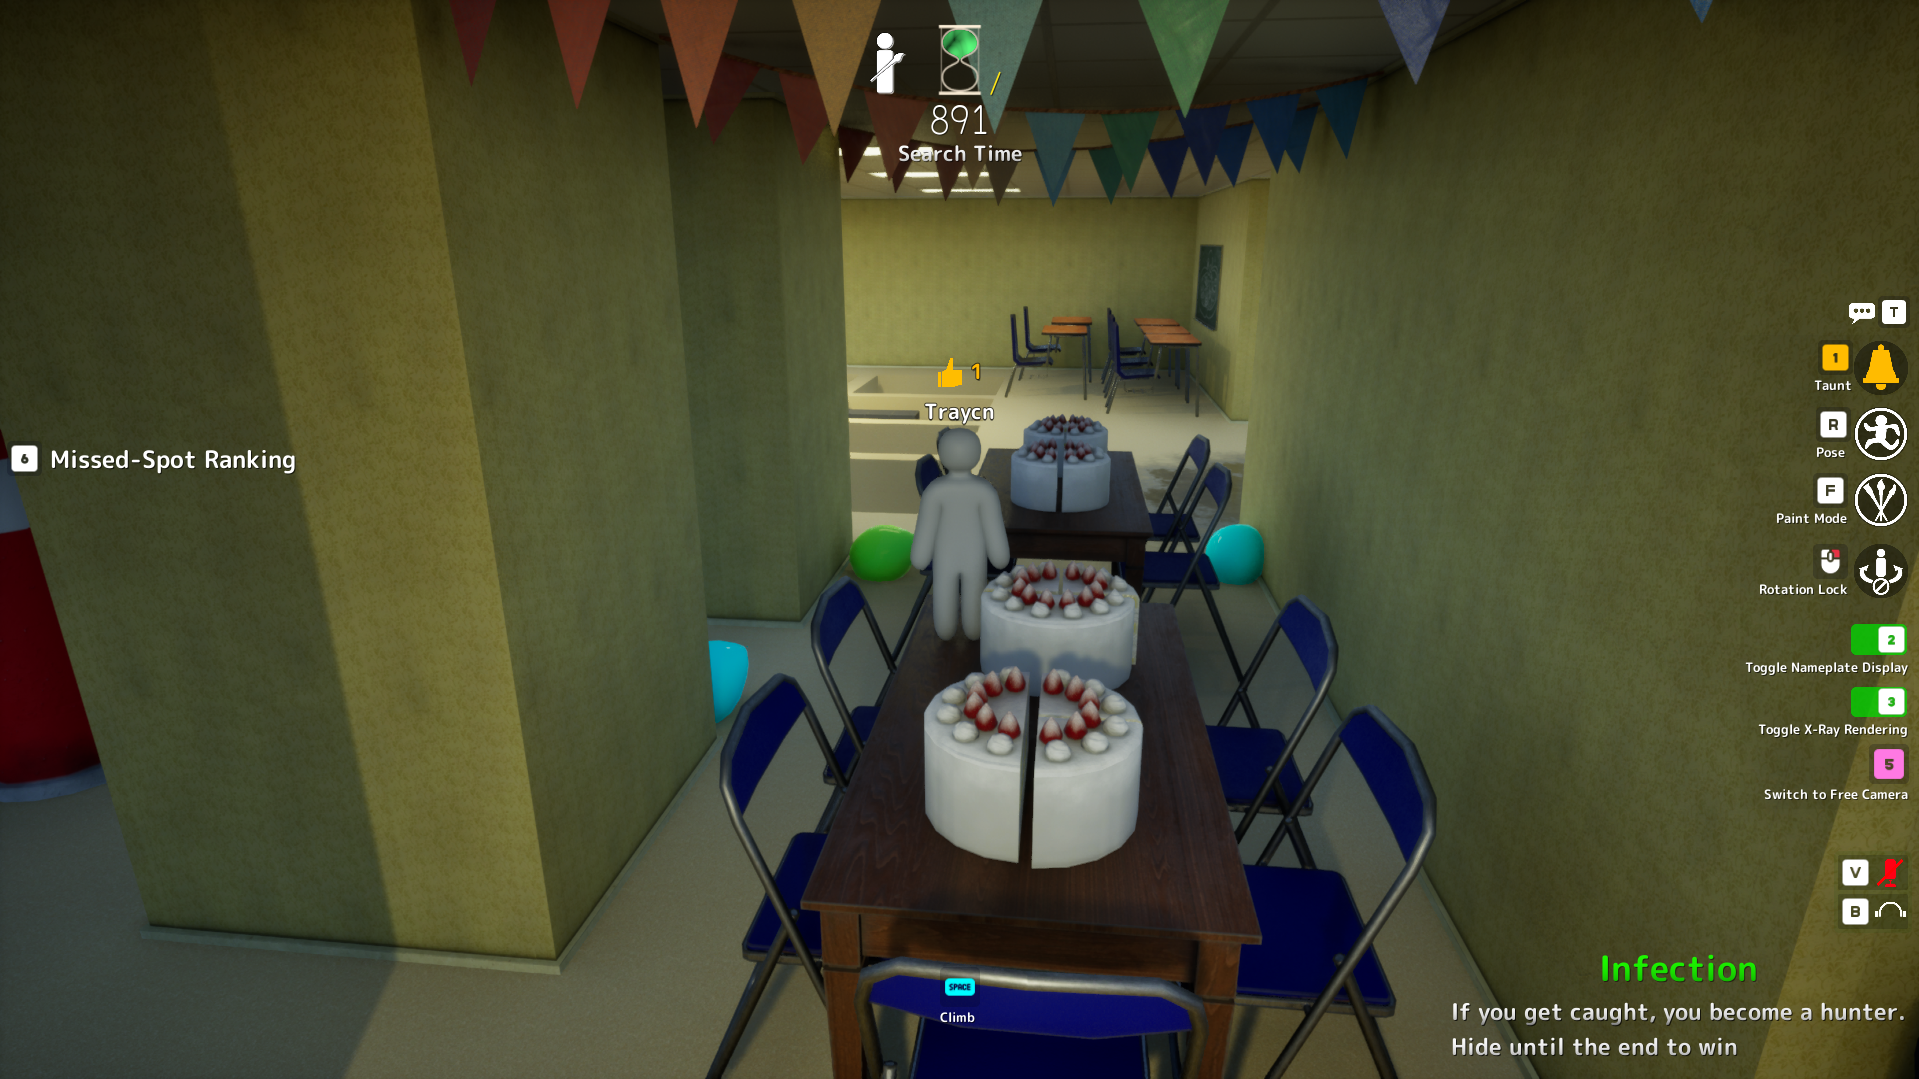
Birthday Party Hallway
Birthday party hallway with cakes and balloons for visual noise.
via IGN · IGN
Similar Difficulty
Spots with a comparable guide rating on other maps
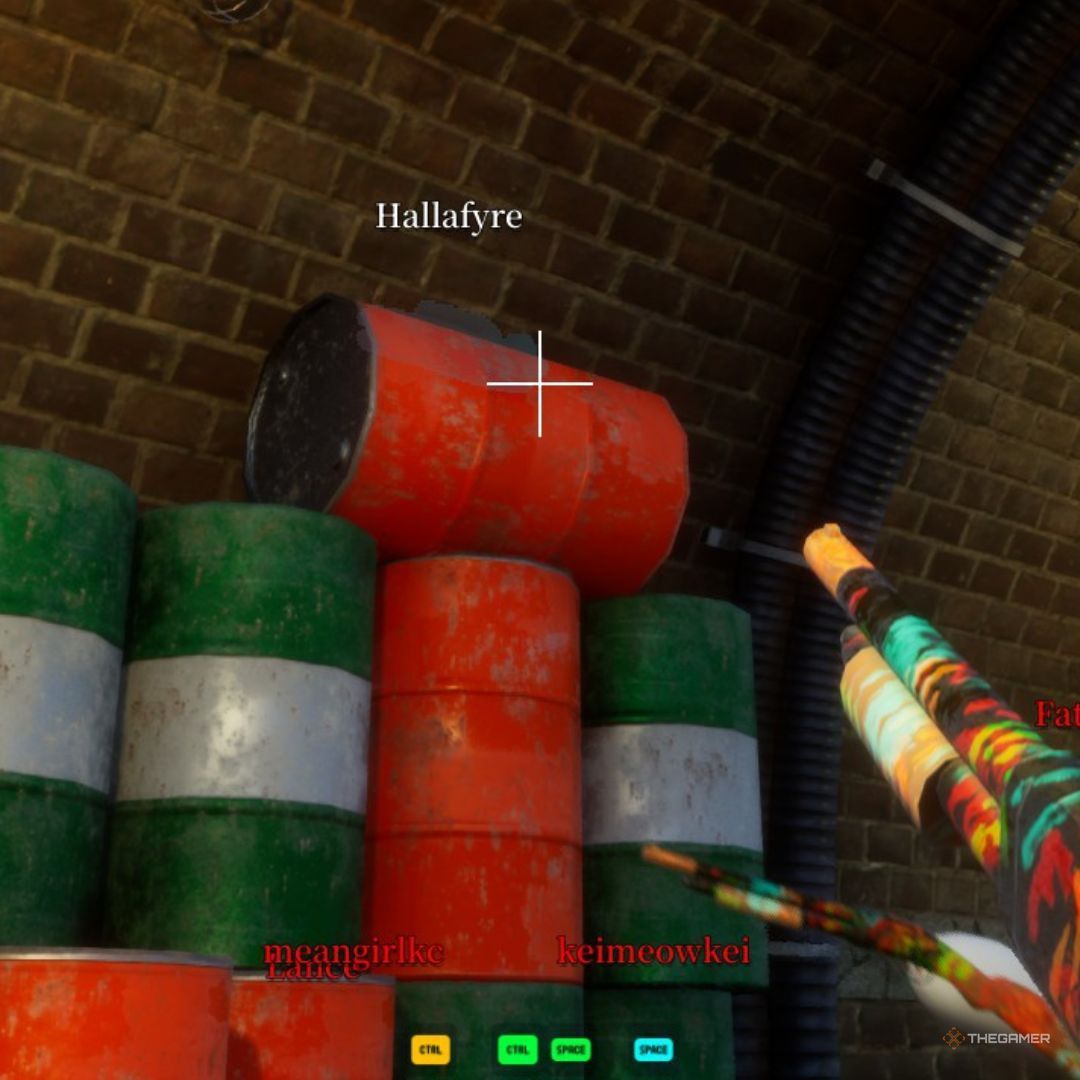
Dark Ceiling Pipe
Behind an overhead pipe in the darkest section. Community top-tier hide.
via TheGamer · TheGamer Community
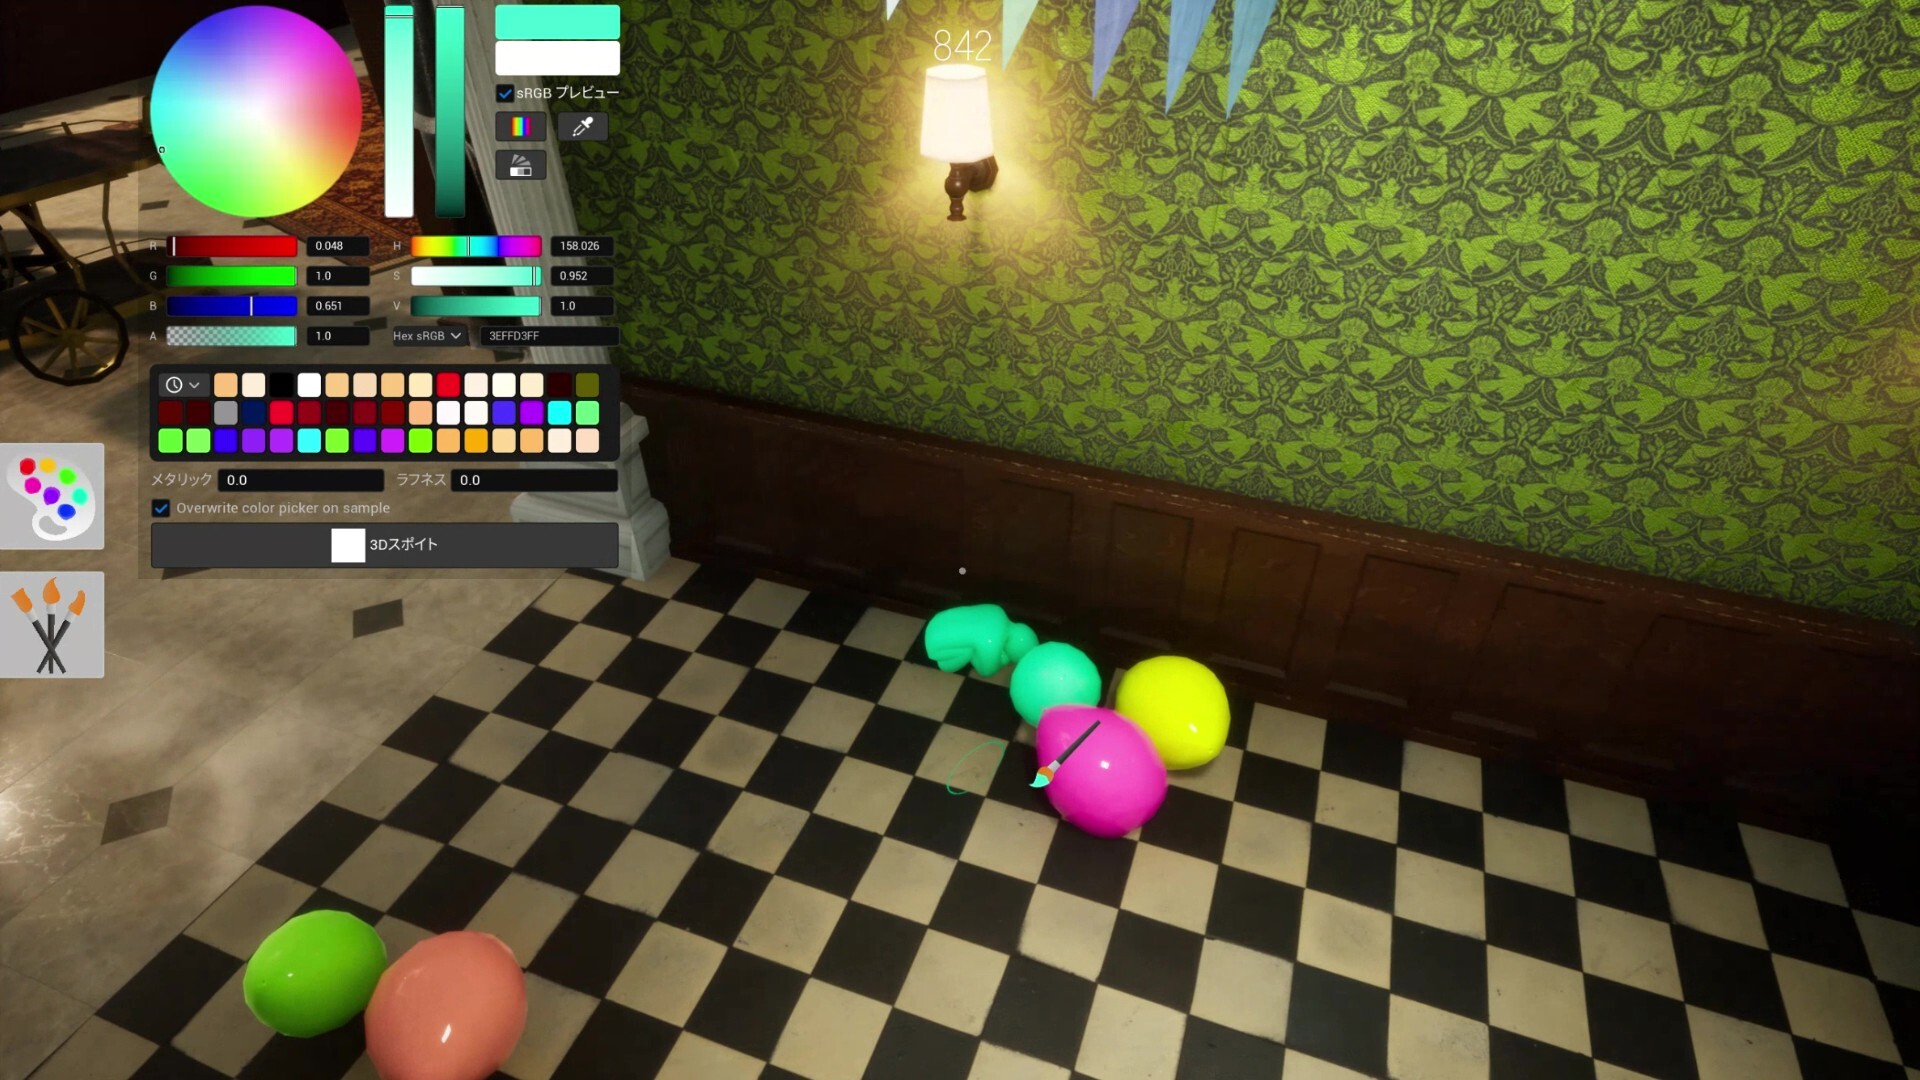
Shelf Back Row
Deepest rear shelf row. Top community survival rate on this map.
via meccha-chameleon.net · meccha-chameleon.net
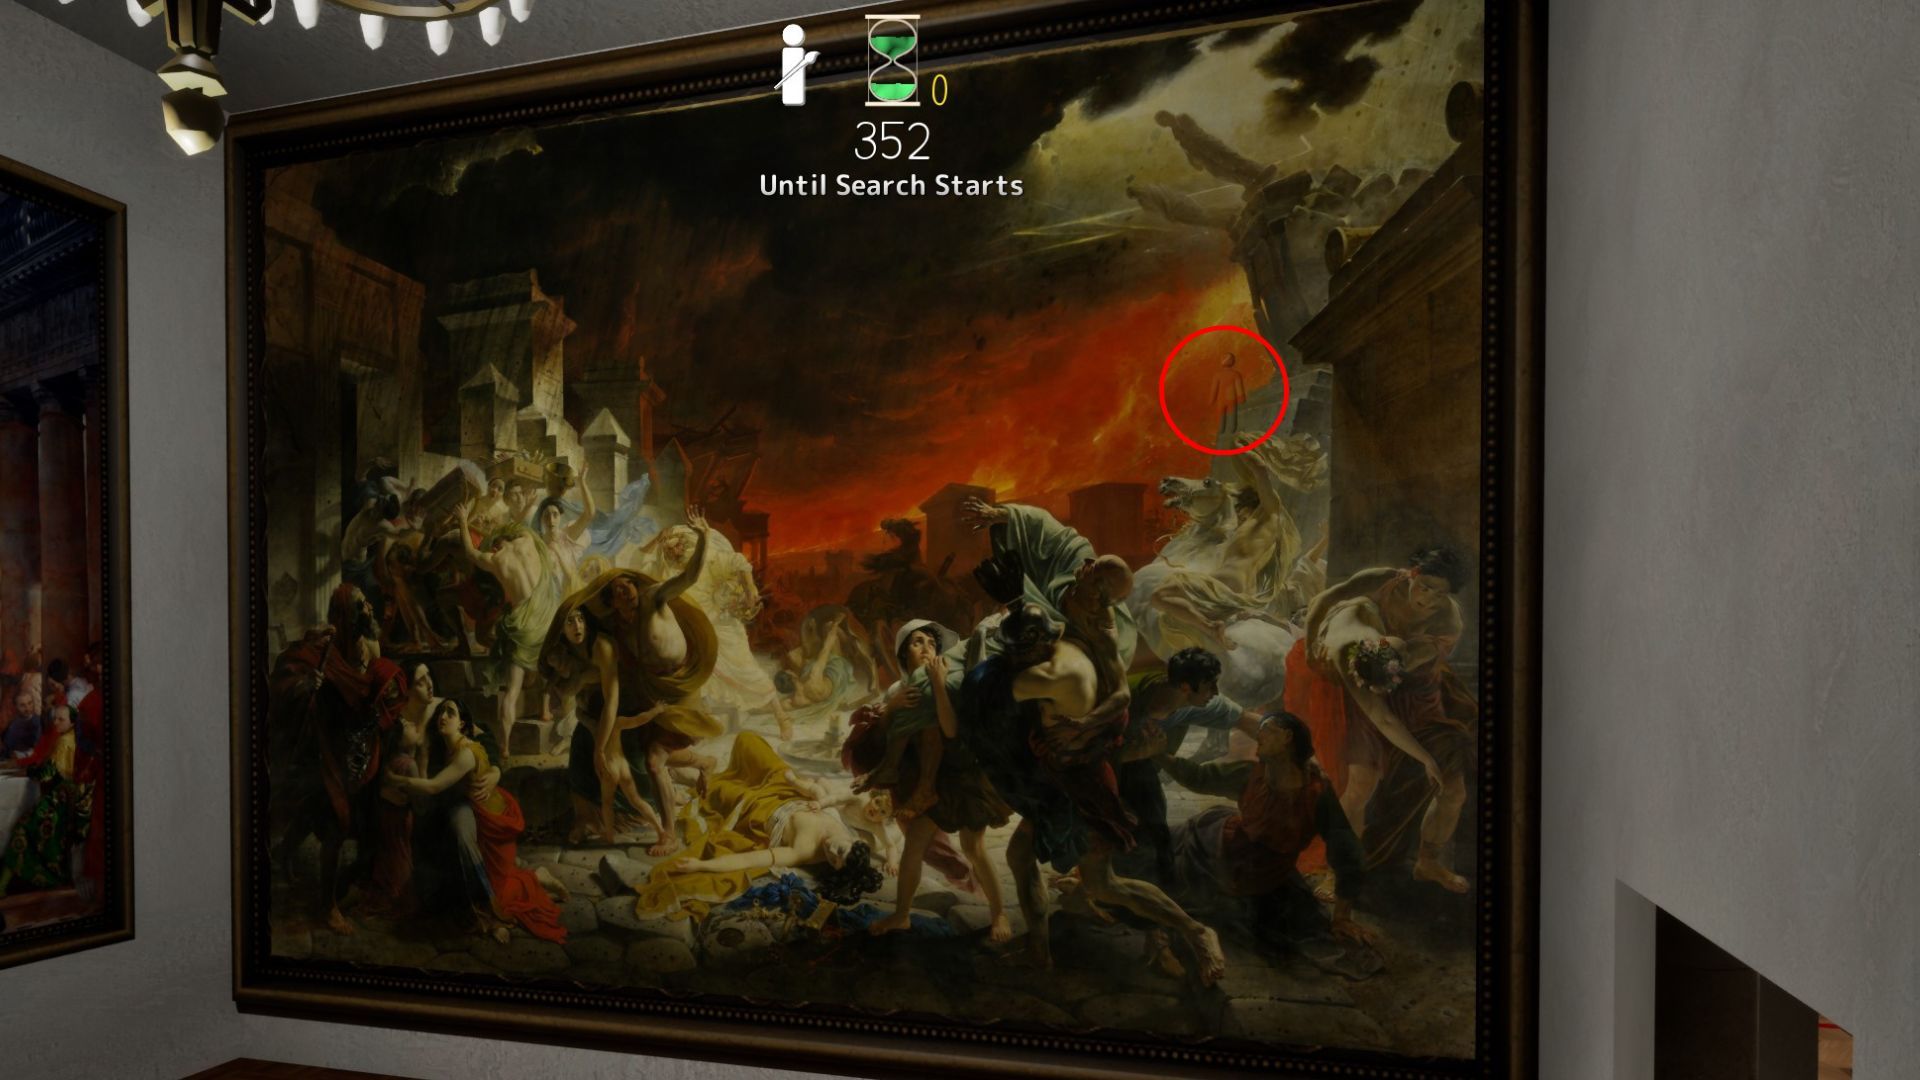
Last Day in Pompeii
Last Day in Pompeii — furthest room; top-left shadow, fire stone, or crowd zones fit multiple hiders.
via DualShockers · DualShockers
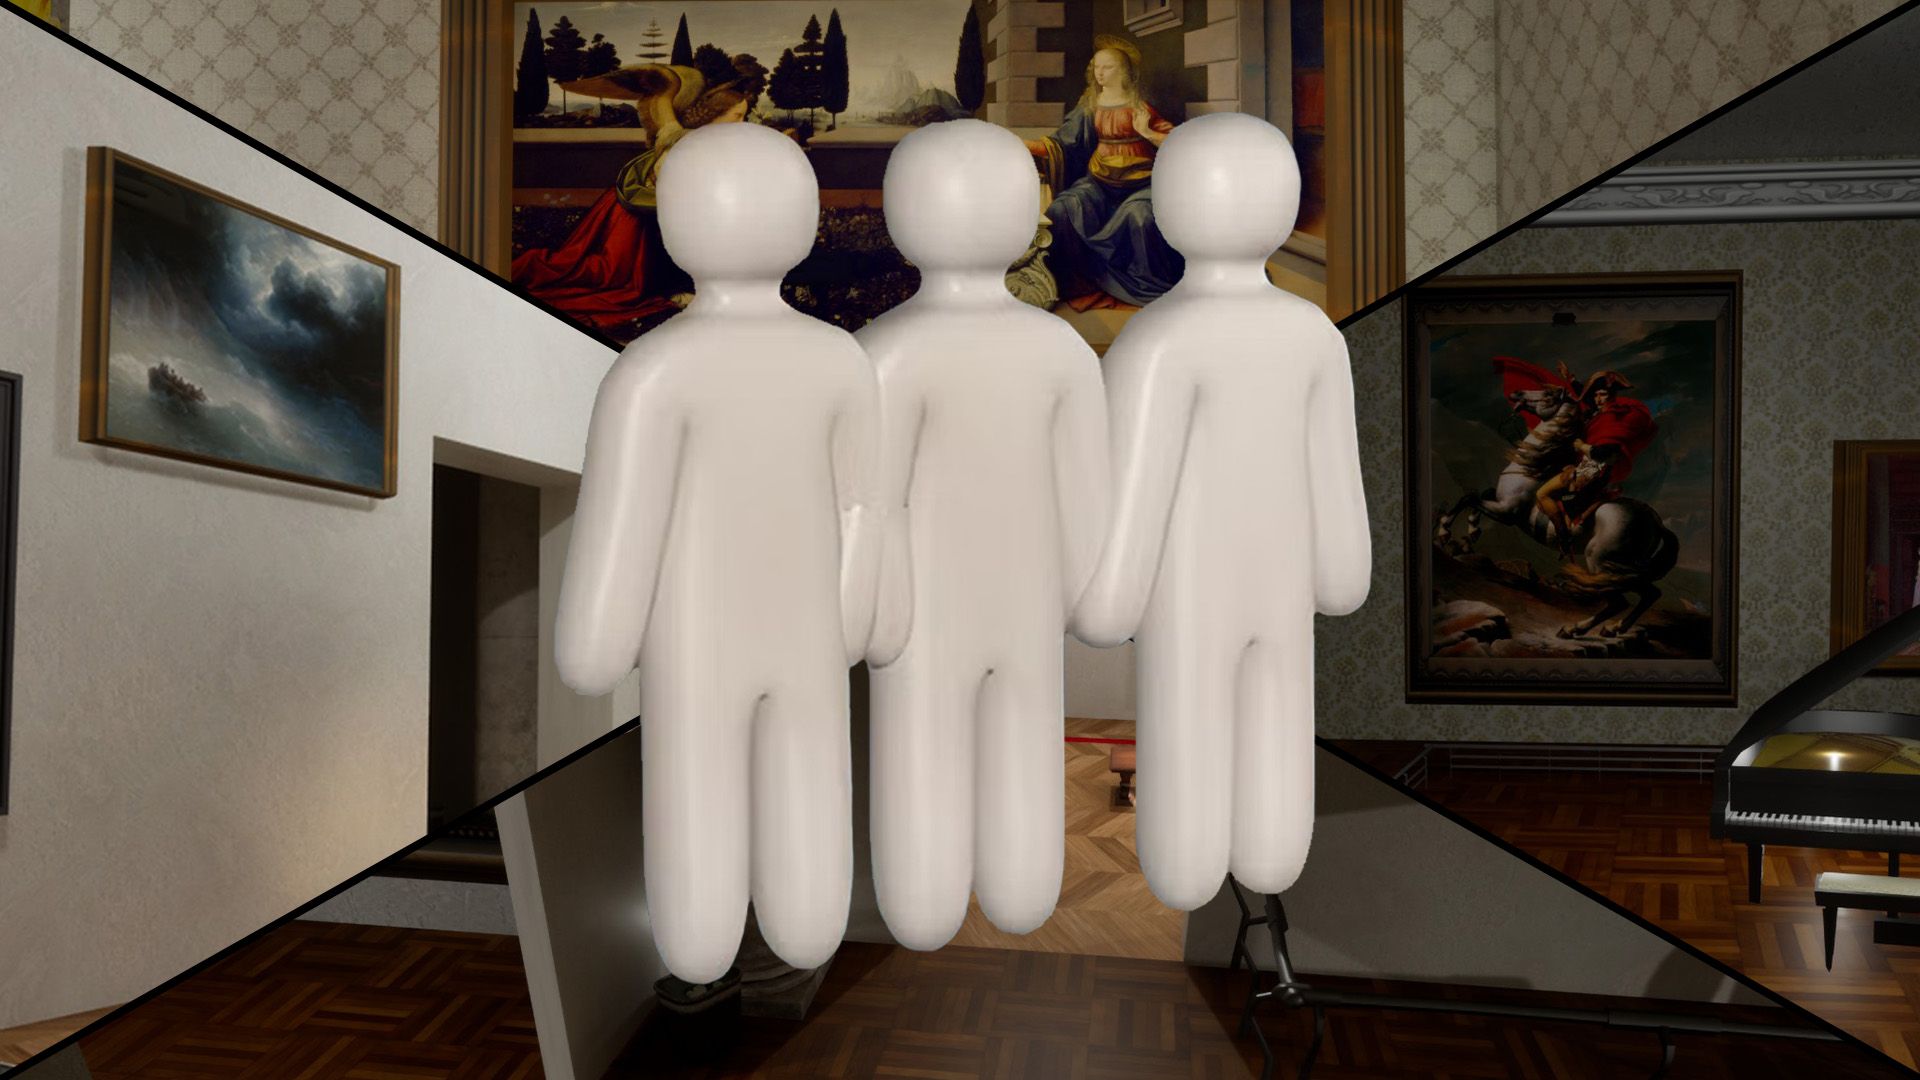
Mona Lisa Frame
Paint yourself into the Mona Lisa frame — Polygon's signature Art Gallery pick.
via DualShockers · DualShockers
Easy Spots to Learn First
High guide-rated spots recommended for building fundamentals
Dark Ceiling Pipe
Behind an overhead pipe in the darkest section. Community top-tier hide.
via TheGamer · TheGamer Community
Shelf Back Row
Deepest rear shelf row. Top community survival rate on this map.
via meccha-chameleon.net · meccha-chameleon.net
Last Day in Pompeii
Last Day in Pompeii — furthest room; top-left shadow, fire stone, or crowd zones fit multiple hiders.
via DualShockers · DualShockers
Mona Lisa Frame
Paint yourself into the Mona Lisa frame — Polygon's signature Art Gallery pick.
via DualShockers · DualShockers
Hard Spots & Challenges
Low-rated or impossible-tier spots for advanced players

Map-Edge Out of Bounds (Patched)
Deep Sea map-edge / out-of-bounds perch — patched in fix3.7.2 (Steam News titled fix7.3.2).
via Steam News · Steam News
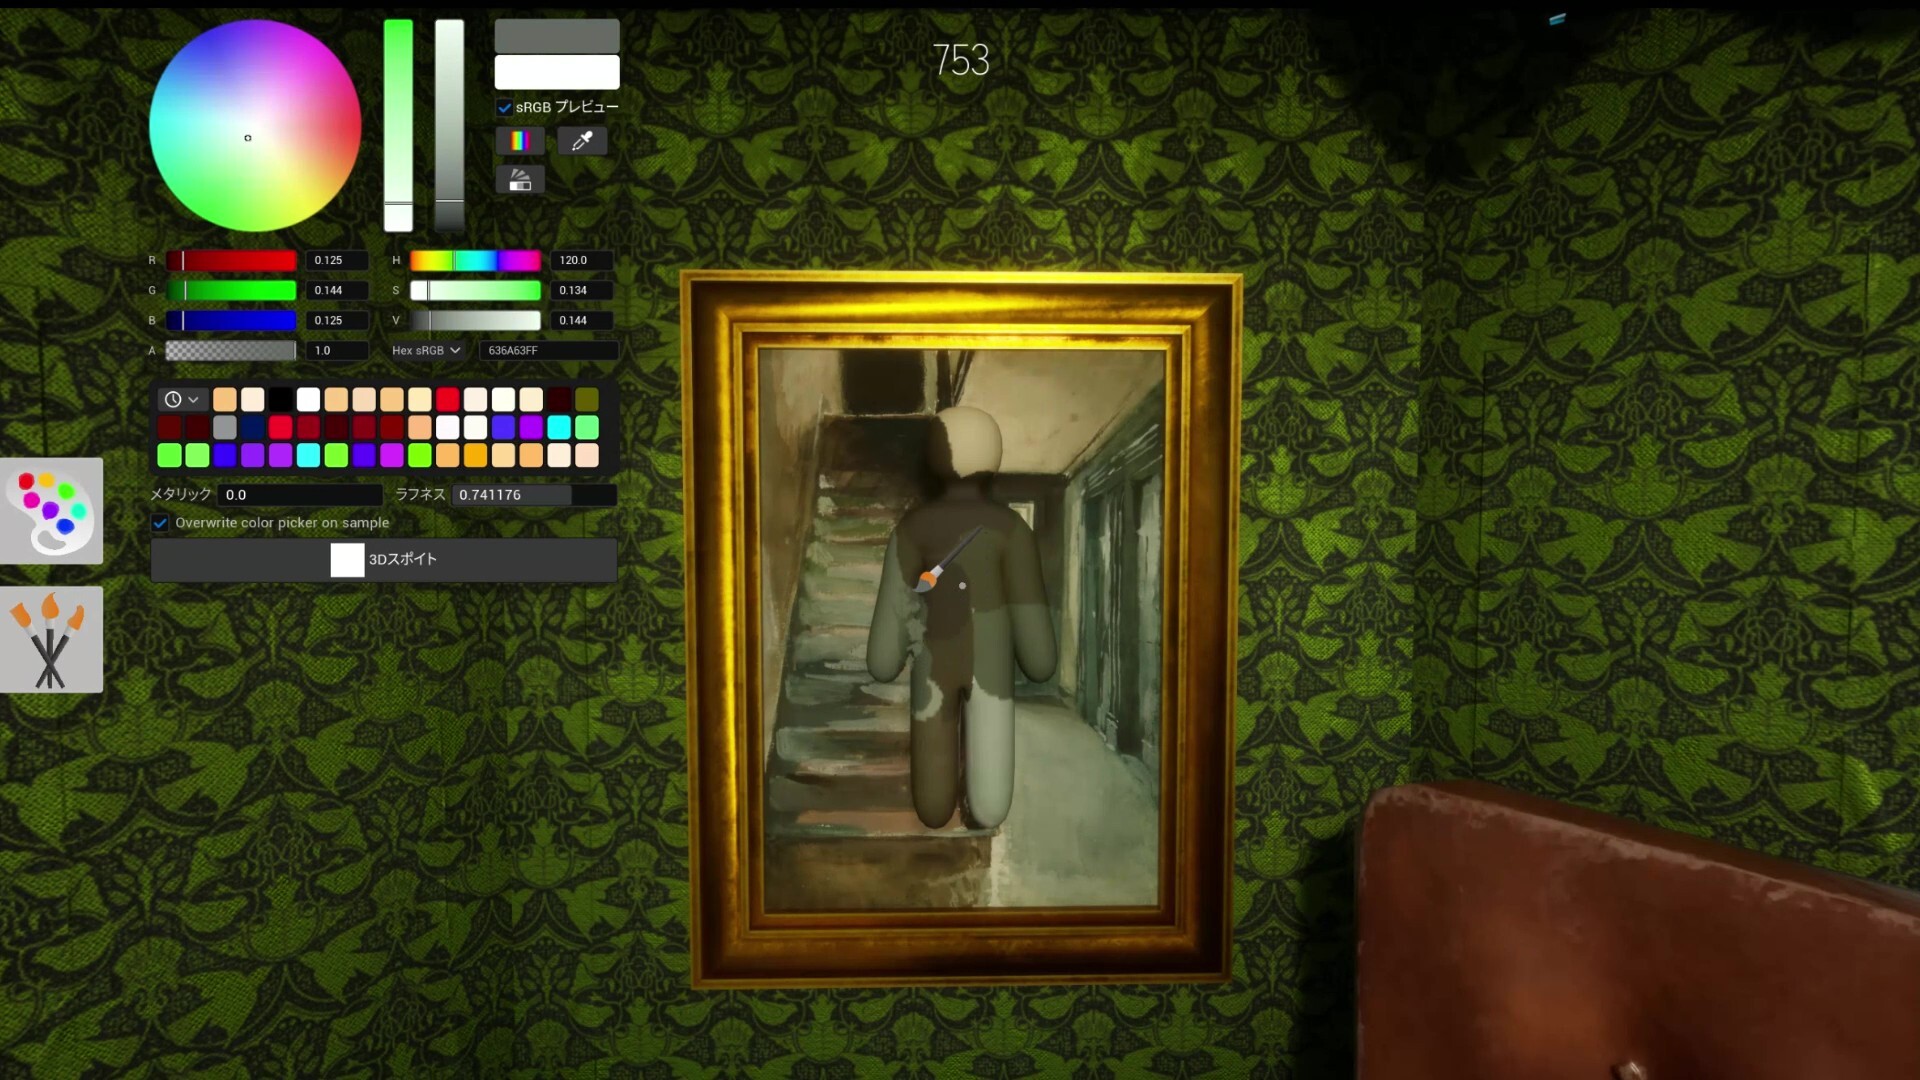
White Elbow Syndrome
Not a spot — a lesson. Unpainted elbow gaps expose more than bad positions.
via Mobalytics · Mobalytics

Spotlight Front
Spotlight-lit gallery front — value mismatch on pale walls; experimental warning pin.
via skypenguin.net · Community
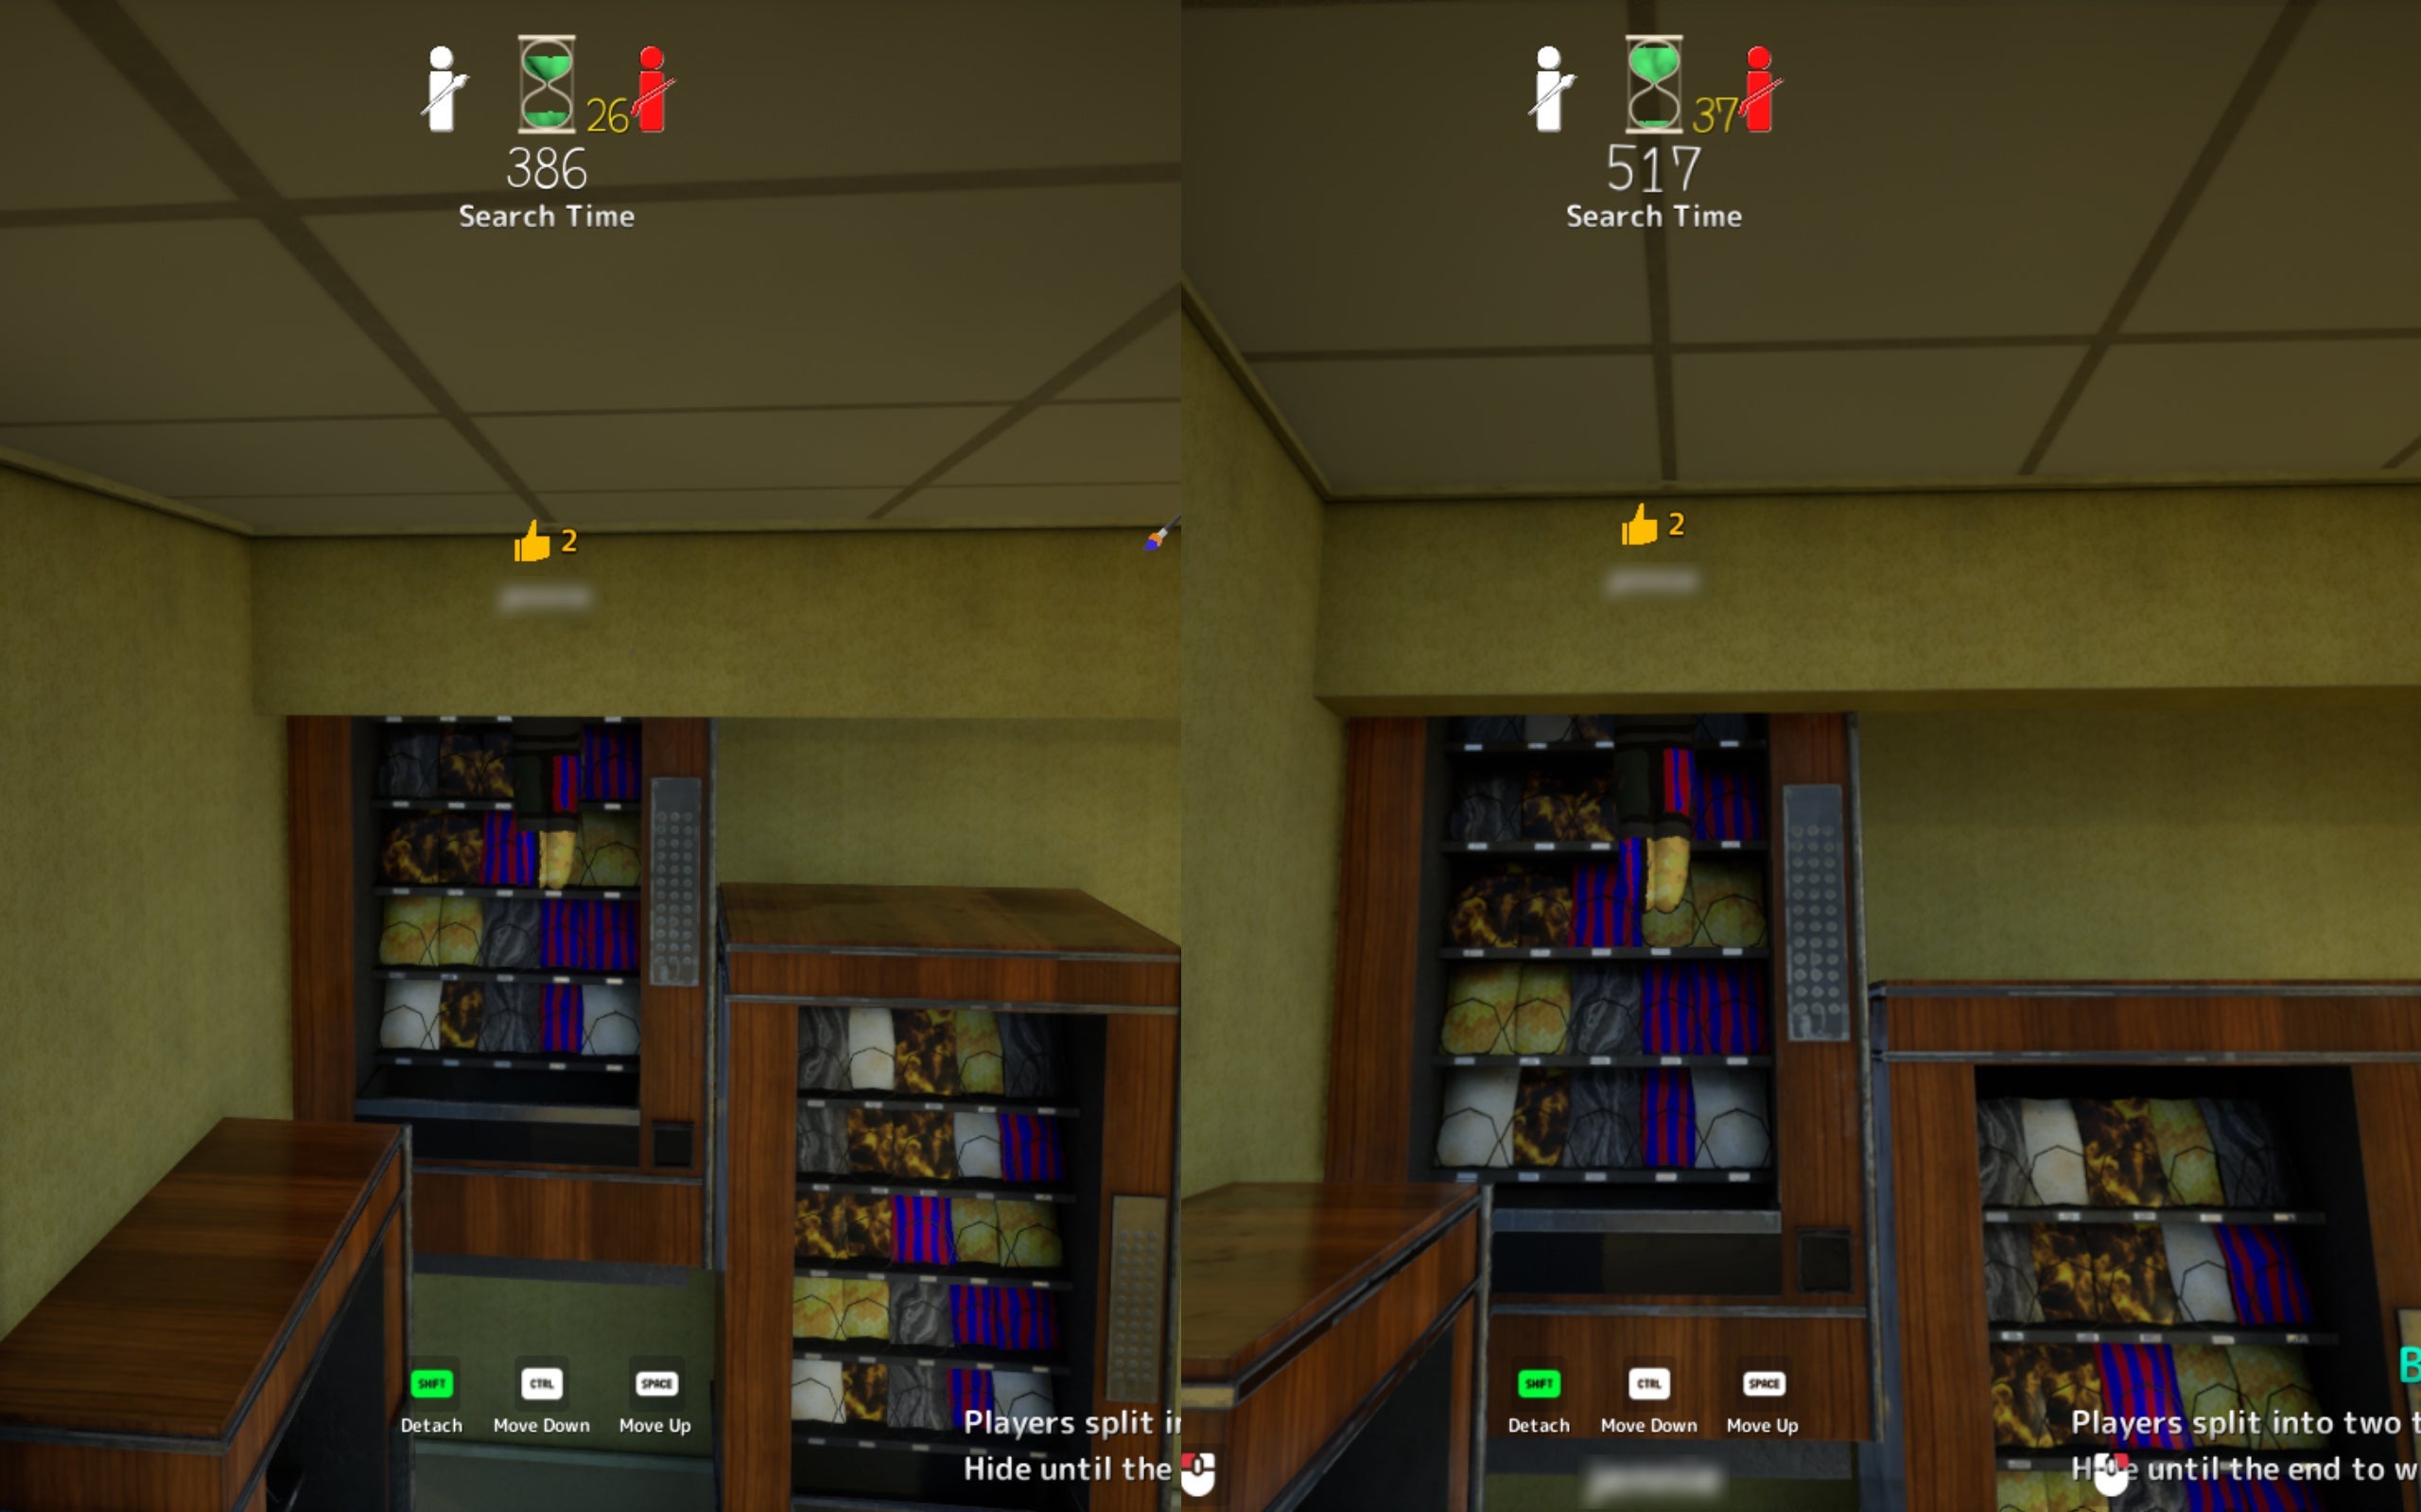
Ceiling Light
Attach near fluorescent fixture. High risk — seekers may look up late.
via TheGamer · TheGamer Community
More Top-Rated Picks
Same category on different maps
Dark Ceiling Pipe
Behind an overhead pipe in the darkest section. Community top-tier hide.
via TheGamer · TheGamer Community
Shelf Back Row
Deepest rear shelf row. Top community survival rate on this map.
via meccha-chameleon.net · meccha-chameleon.net
Last Day in Pompeii
Last Day in Pompeii — furthest room; top-left shadow, fire stone, or crowd zones fit multiple hiders.
via DualShockers · DualShockers
Mona Lisa Frame
Paint yourself into the Mona Lisa frame — Polygon's signature Art Gallery pick.
via DualShockers · DualShockers