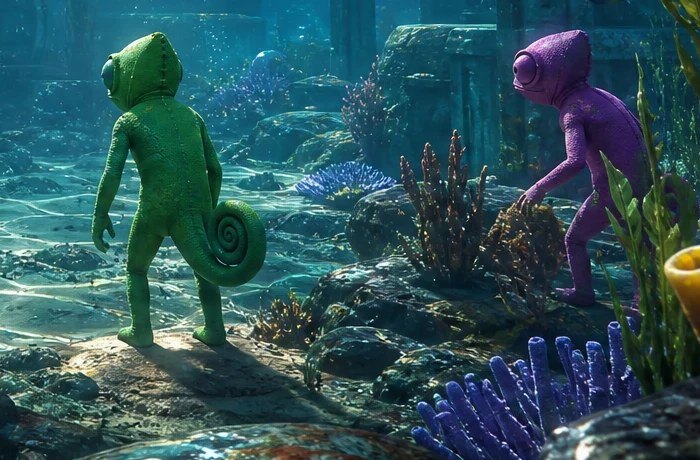
Giant Clam / Bivalve
Recommended by experienced players · sourced from published guides, not live match stats
Location Description
Giant clam / bivalve crouch — sample shell ridge and interior separately.
Why It Works
Giant Clam / Bivalve on Deep Sea works because giant clam / bivalve crouch — sample shell ridge and interior separately. Guide rating 77/100 — difficulty tier from Denfaminicogamer, not live match statistics. Published guides (mecchachameleongame.wiki Paint System) emphasize pose discipline: Crouch beside large bivalves on the seafloor — sample shell ridge and interior separately Map context from Deep Sea: Prop-mimic beside coral, giant clams, and shipwreck debris — Game*Spark notes lots of seafloor clutter that rewards outline-breaking poses. Color plan: Torso base samples Primary surface at Giant Clam / Bivalve (F → paint menu, Space eyedropper); Shadow side samples Nearby shadow or darker patch at lock position; Limb / head edges samples Surface adjacent to limbs at lock height. Guide rating 77/100 reflects difficulty tier from Denfaminicogamer — a curated estimate from published walkthroughs, not aggregated match statistics. The core advantage is silhouette breaking: seekers scan for human-shaped lumps and value mismatches before they analyze hue. Giant Clam / Bivalve gives you clutter, depth, or verticality that buys time when paint and pose are locked in prep.
Best Colors
TheGamer, IGN, and mecchachameleongame.wiki all recommend the in-game Eyedropper (Space) on the exact surface you touch — not fixed hex/RGB codes. Lighting and patches change effective values; the table below lists which surface to sample per body part and how to apply it.
- Torso base: Primary surface at Giant Clam / Bivalve (F → paint menu, Space eyedropper) — Block main tone, add one shadow tone on away-from-light side
- Shadow side: Nearby shadow or darker patch at lock position — HSV Value one step down — never sample a similar surface across the room
- Limb / head edges: Surface adjacent to limbs at lock height — 360° white-gap check before prep ends (SlashSkill #1 day-one mistake)
When To Use
- When this applies: Spot first, paint second (mecchachameleongame.wiki paint workflow).
- When this applies: Pro tip from our database: Crouch beside large bivalves on the seafloor — sample shell ridge and interior separately. Denfaminicogamer calls out oversized clams as landmark props.
- When you can prop-mimic coral, clam, or wreck clutter — open blue water fails (Game*Spark)
- Jellyfish / tropical fish dual-tones when seekers clear seafloor props first
- When community-tested positions match your lobby size and seeker skill
When NOT To Use
- Open mid-water blue as a long camp — empty sightlines punish imperfect paint
- Same unicorn statue perch three rounds — meme lobbies clear the landmark early
- Single flat fill across colorful fish or jelly props — pattern alignment is required
- When seekers in your lobby already slow-check this zone twice in one session — rotate
Pro Tips
Crouch beside large bivalves on the seafloor — sample shell ridge and interior separately. Denfaminicogamer calls out oversized clams as landmark props.
How to Win Here
- Spot first, paint second (mecchachameleongame.wiki paint workflow).
- Pro tip from our database: Crouch beside large bivalves on the seafloor — sample shell ridge and interior separately. Denfaminicogamer calls out oversized clams as landmark props.
- Source: Denfaminicogamer — re-verify in a private lobby after major patches.
Color & Paint Plan
Body-part breakdown from published guides — sample with in-game Eyedropper (F → Space), then fine-tune HSV / metallic / roughness per surface.
| Body part | Sample from | Technique |
|---|---|---|
| Torso base | Primary surface at Giant Clam / Bivalve (F → paint menu, Space eyedropper) | Block main tone, add one shadow tone on away-from-light side |
| Shadow side | Nearby shadow or darker patch at lock position | HSV Value one step down — never sample a similar surface across the room |
| Limb / head edges | Surface adjacent to limbs at lock height | 360° white-gap check before prep ends (SlashSkill #1 day-one mistake) |
Pose
Crouch beside large bivalves on the seafloor — sample shell ridge and interior separately
Metallic & roughness
- · Match metallic / roughness to surface (SlashSkill: sheen mismatch exposes faster than hue error)
- · Matte wall → low metallic; metal pipe/barrel → medium–high metallic
Common Mistakes
- Copying the spot without the exact pose shown in community screenshots
- Sampling from a nearby surface instead of the pixel your body touches (SlashSkill eyedropper rule)
- Panicking and running when a seeker walks past instead of holding still
- Using default camera height habits — seekers eventually look up (Sewer pipe meta)
Counter Strategy
For seekers hunting this zone — sourced from map guides and community checklists
- Seeker timing: Guide rating 77/100 — difficulty tier from Denfaminicogamer, not live match statistics.
- Clear coral / clam seafloor clusters and shipwreck piles before mid-water assumptions
- Scan jellyfish and fish schools for pattern-aligned blends at multiple heights
- Unicorn statue: glance once for meme traffic, then clear seaweed thickets
Guide Sources
Guide Notes
- Spot first, paint second (mecchachameleongame.wiki paint workflow).
- Pro tip from our database: Crouch beside large bivalves on the seafloor — sample shell ridge and interior separately. Denfaminicogamer calls out oversized clams as landmark props.
- Primary tip from Denfaminicogamer: Crouch beside large bivalves on the seafloor — sample shell ridge and interior separately. Denfaminicogamer calls out oversized clams as landmark props.
- mecchachameleongame.wiki Paint System — https://mecchachameleongame.wiki/paint-system/
- SlashSkill Paint Tips — https://www.slashskill.com/meccha-chameleon-tips-how-to-win-as-hider-and-seeker-and-master-the-paint-tool/
- Verify in a private lobby after major patches.
Image & Data Sources
Screenshot matched to Deep Sea where possible; some entries use map overview assets when a spot-specific image is unavailable. Spot details via Denfaminicogamer. Guide ratings are curated estimates from published walkthroughs — not live match statistics. Game imagery © lemorion_1224 / Steam.
Similar Spots
Keep exploring — related spots to improve your win rate
Other Deep Sea hiding spots ranked by guide rating
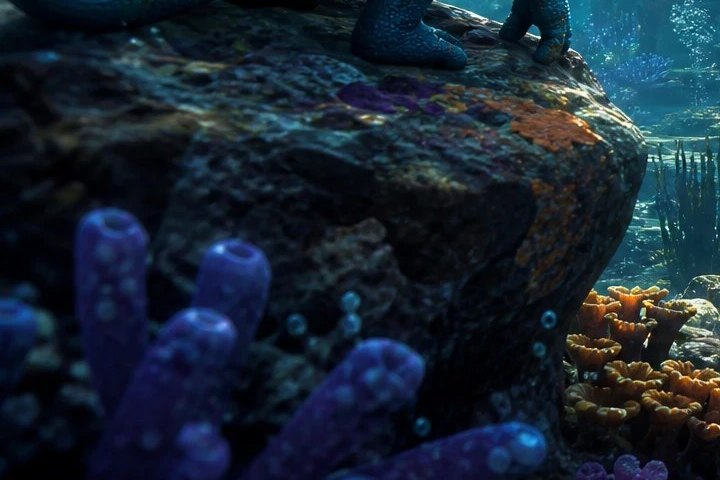
Coral Reef Cluster
Seafloor coral reef cluster — dual-sample coral tip and shadow base for prop mimic.
via Denfaminicogamer · Denfaminicogamer / Community
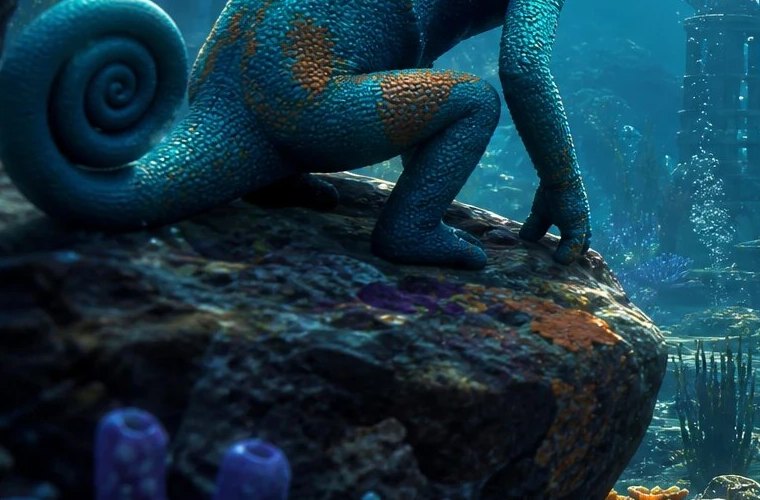
Shipwreck Debris Pile
Shipwreck debris pile — dual-sample wood/metal and nearby sand for clutter hide.
via Game*Spark · Game*Spark / Community
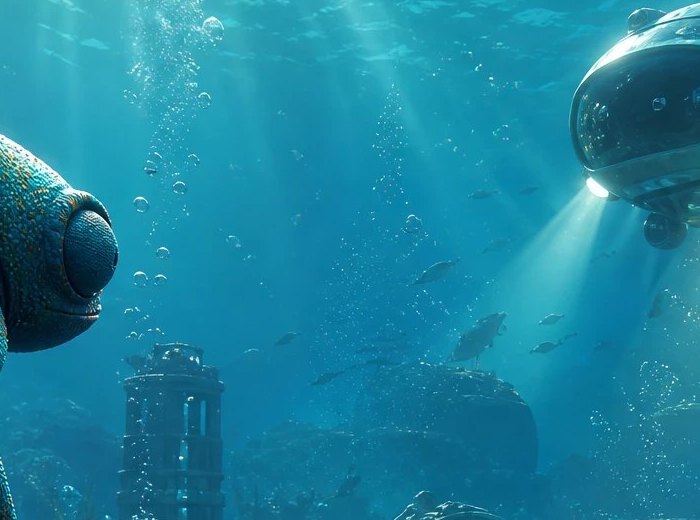
Jellyfish Water Column
Mid-water jellyfish blend — sample bell and tentacle values separately.
via Denfaminicogamer · Denfaminicogamer / Community
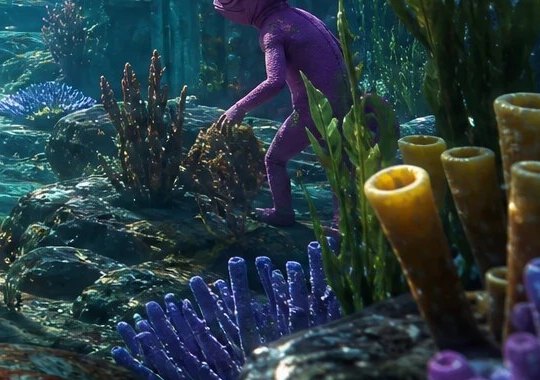
Seafloor Treasure Chest
Seafloor treasure chest beside wreck clutter — GameWith 宝箱; dual-sample wood/gold and sand.
via GameWith · GameWith / Community
Similar Difficulty
Spots with a comparable guide rating on other maps
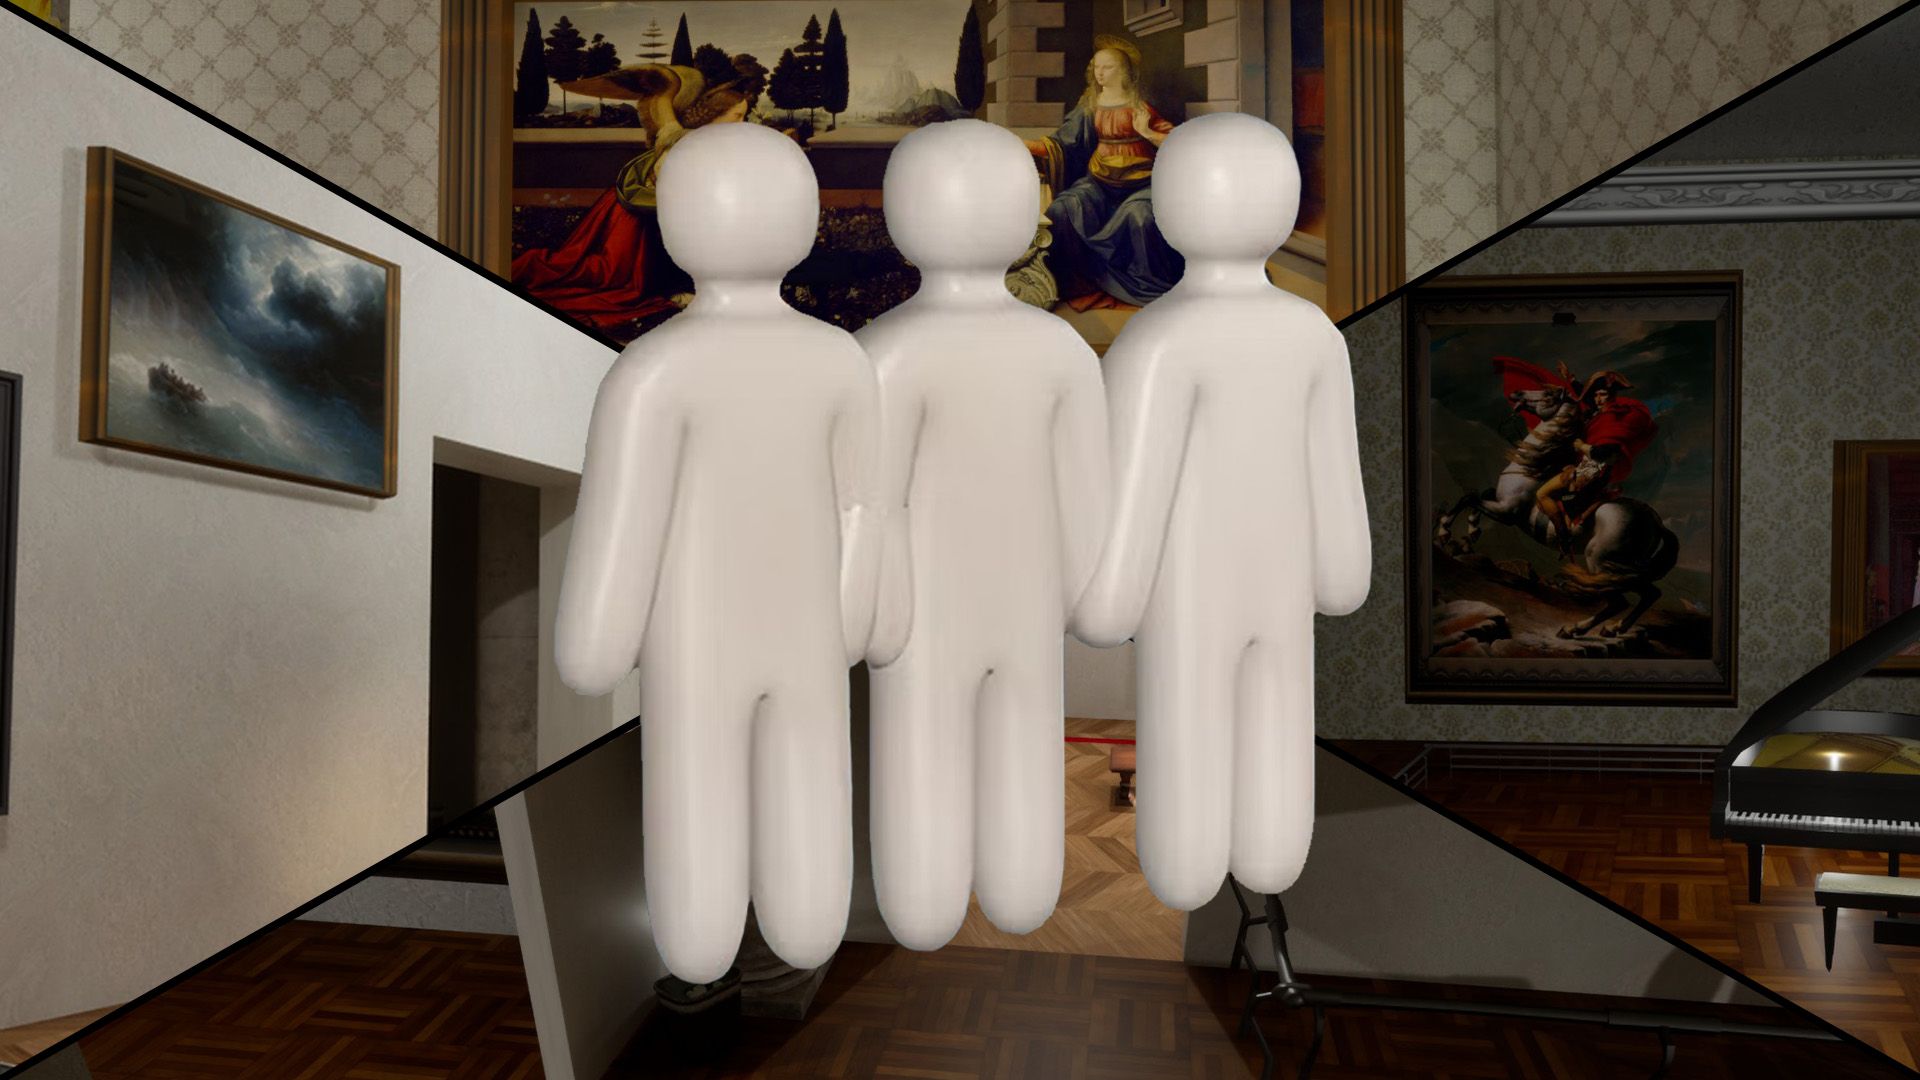
Mona Lisa Frame
Paint yourself into the Mona Lisa frame — Polygon's signature Art Gallery pick.
via DualShockers · DualShockers
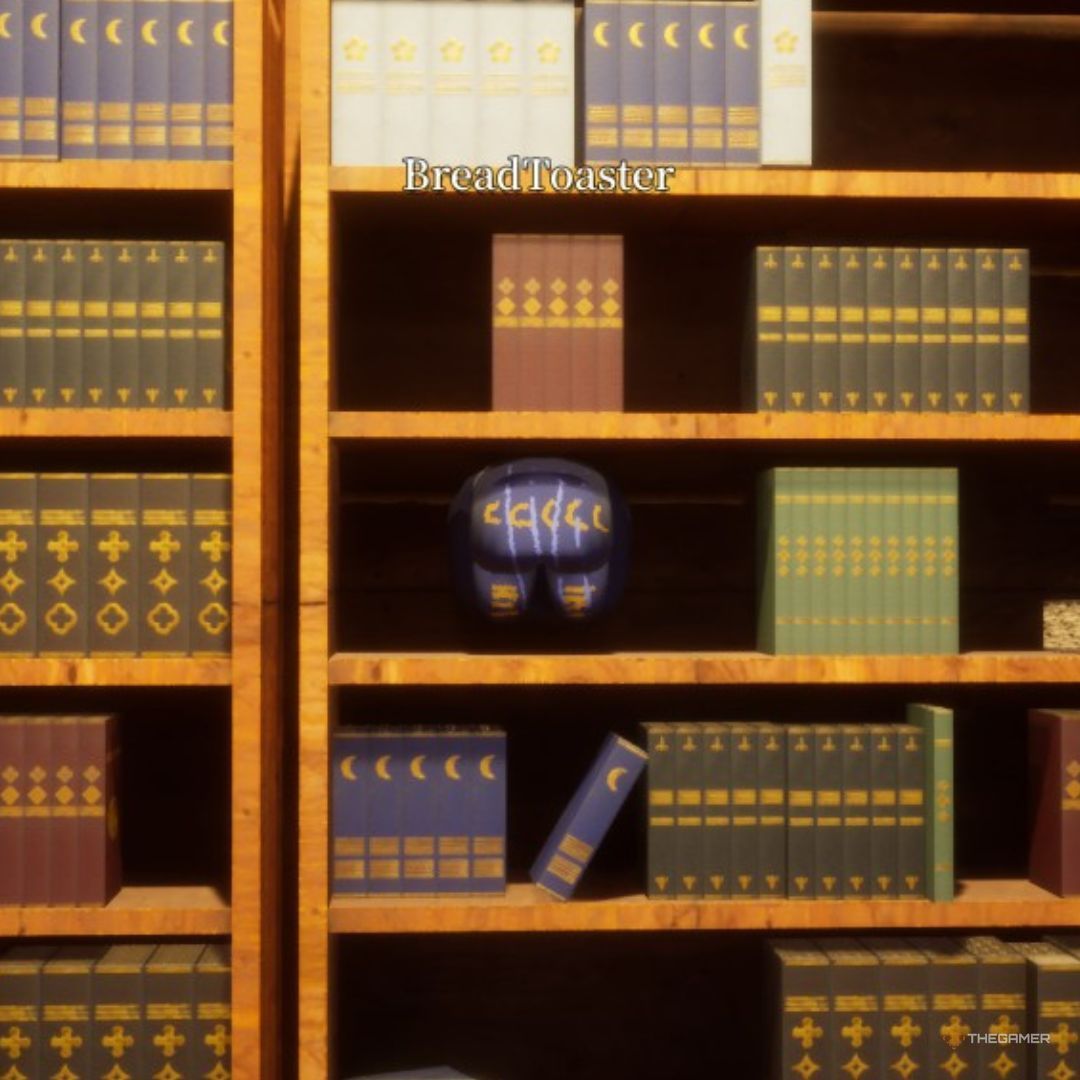
Library Shelf
Crouch between rear bookshelf rows disguised as book spines. One of the strongest verified Mansion spots.
via TheGamer · TheGamer Community
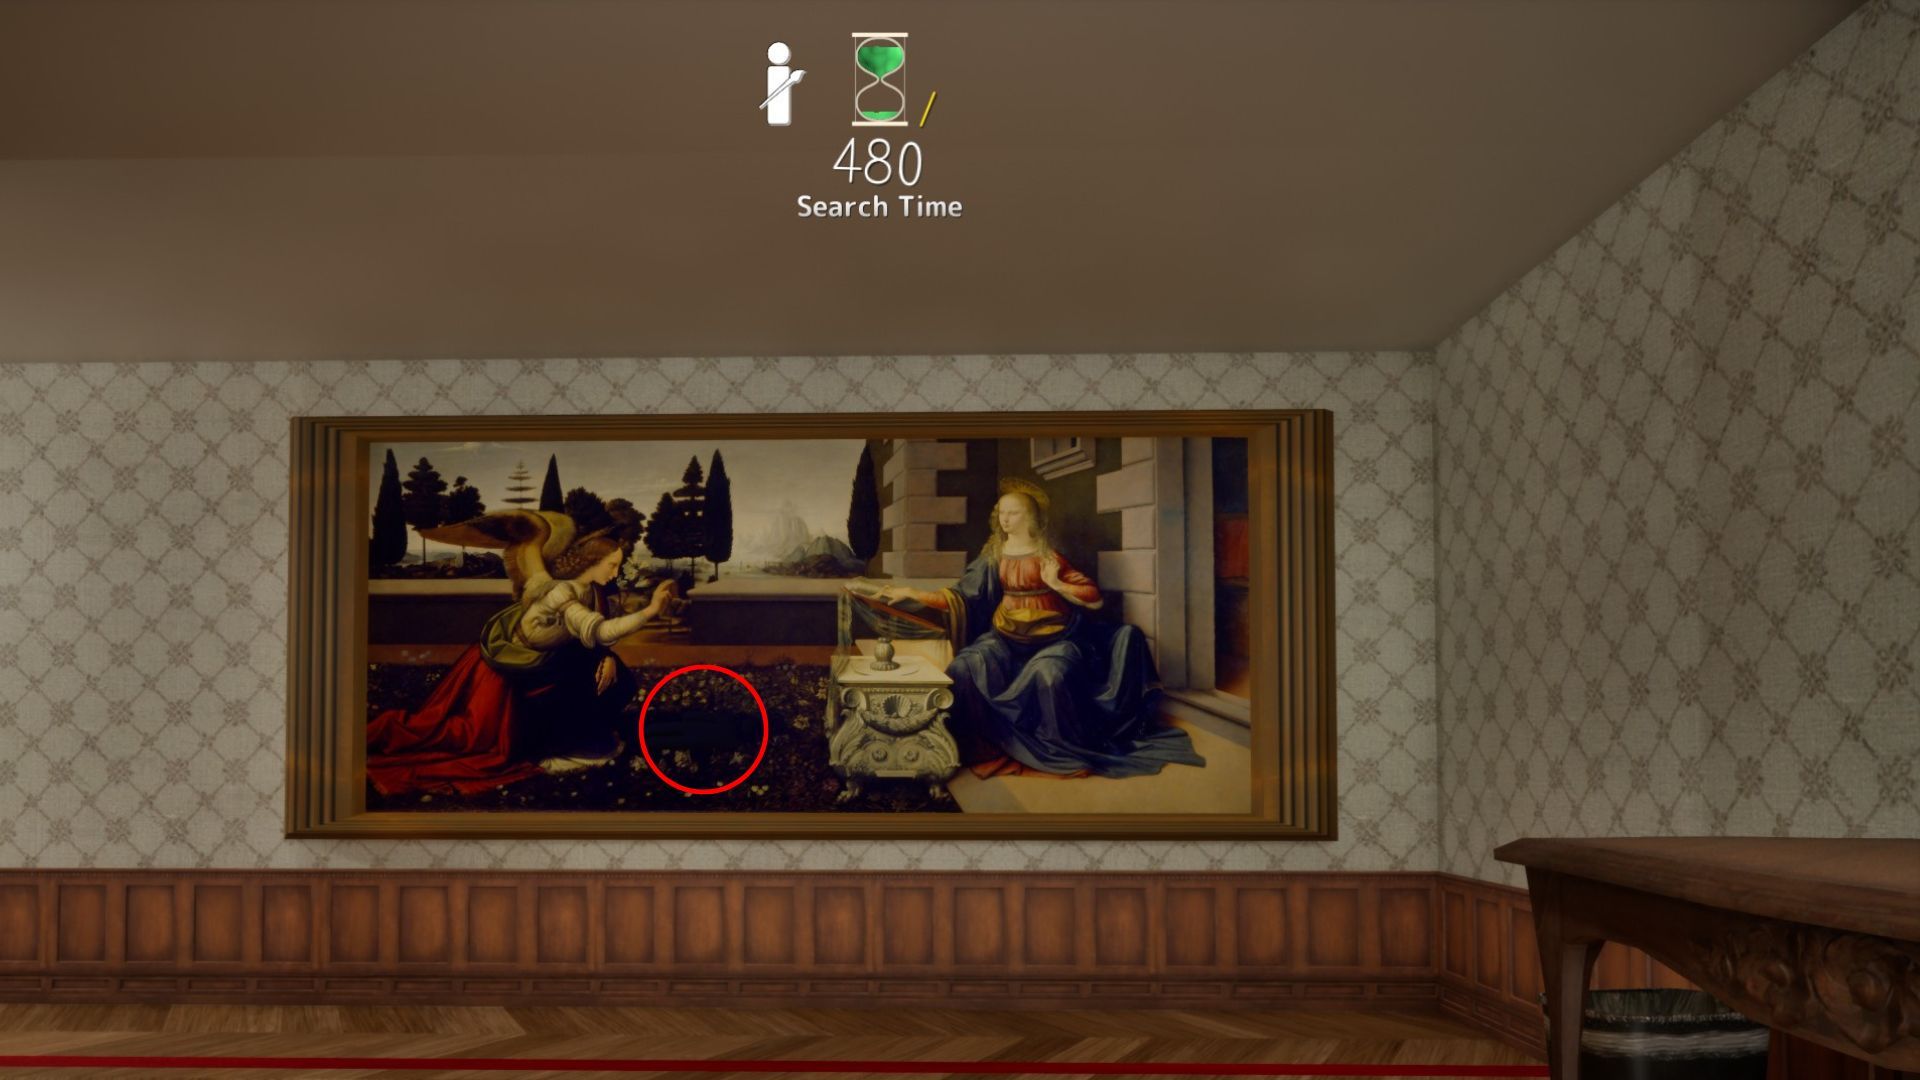
The Annunciation Shadow
The Annunciation shadow beside the winged figure — sideways pose in the dark strip.
via DualShockers · DualShockers
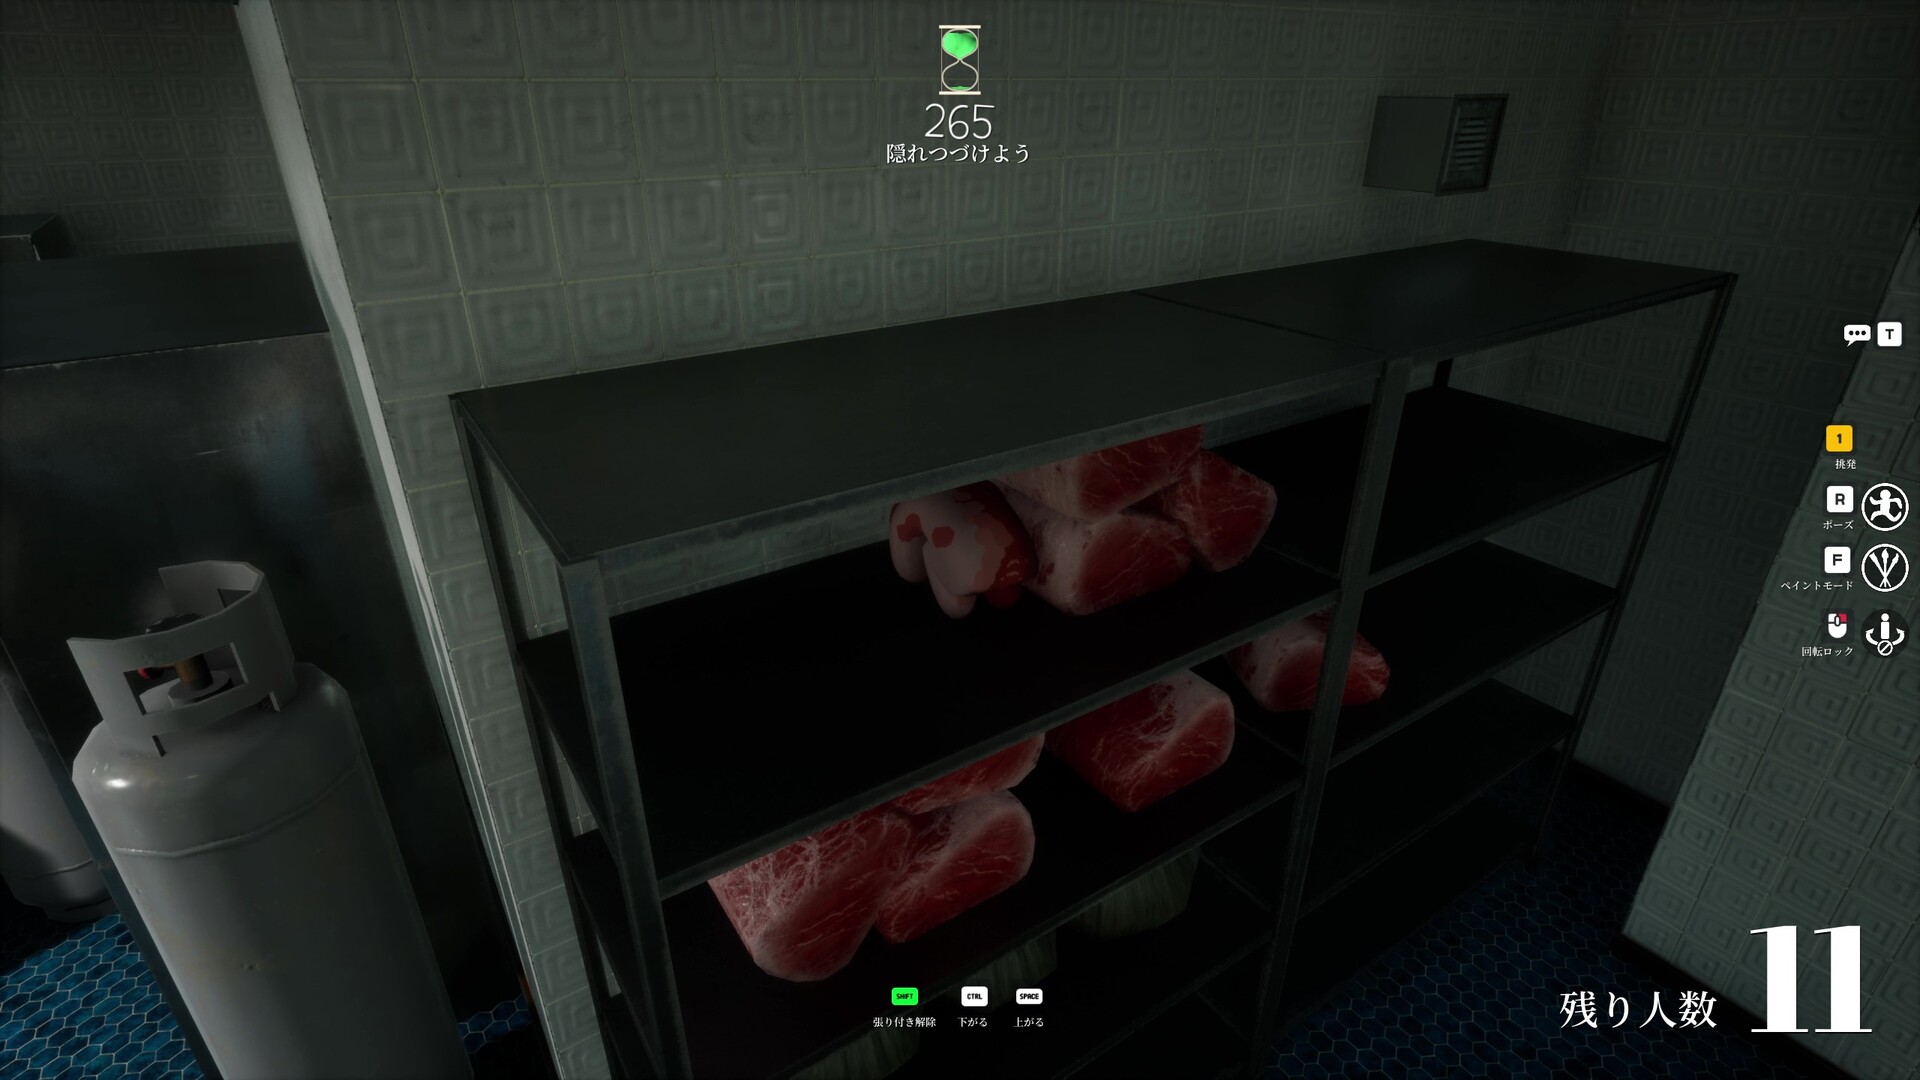
Meat Shelf Disguise
Meat shelf disguise with shelf shadow and prop repetition.
via meccha-chameleon.net · meccha-chameleon.net
Easy Spots to Learn First
High guide-rated spots recommended for building fundamentals
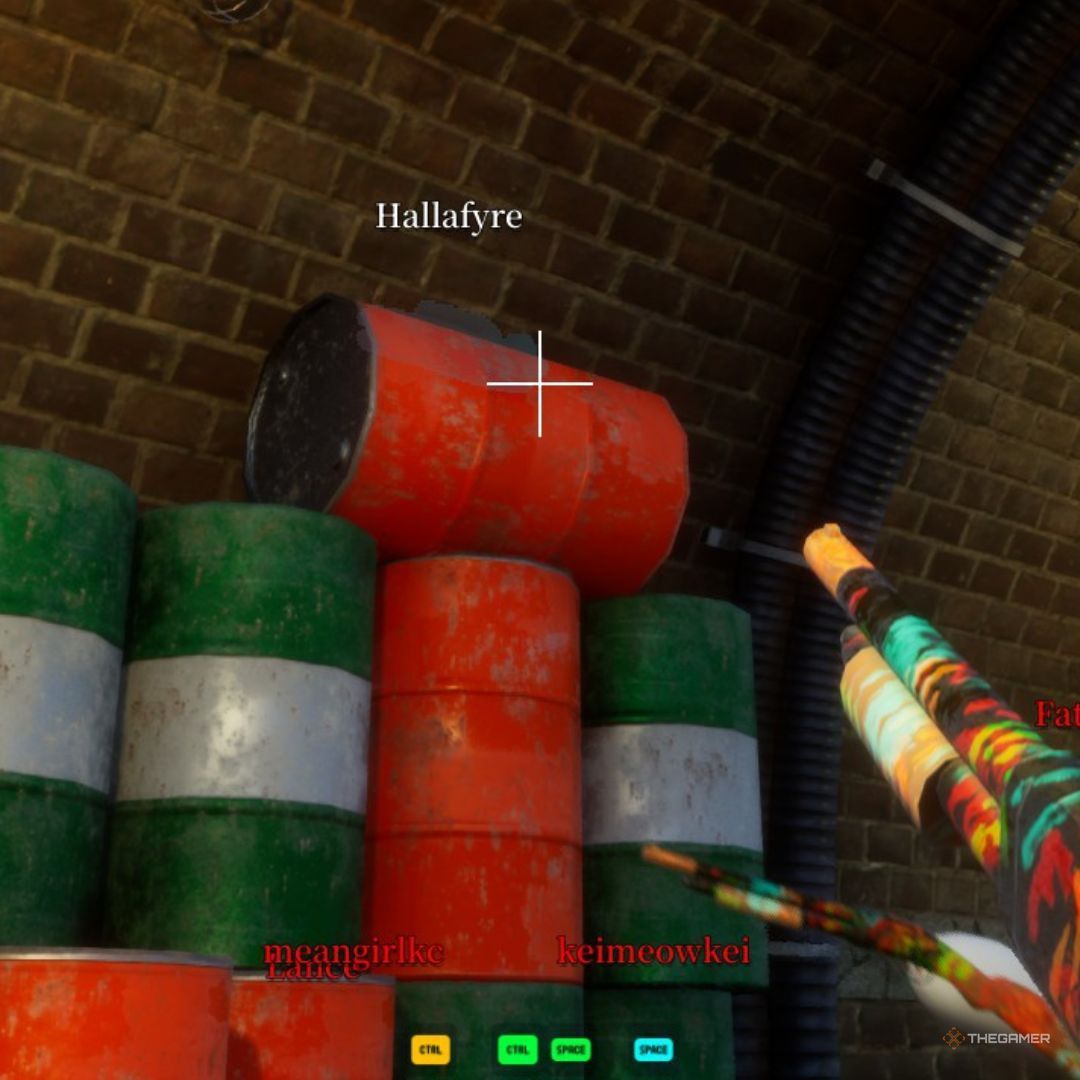
Dark Ceiling Pipe
Behind an overhead pipe in the darkest section. Community top-tier hide.
via TheGamer · TheGamer Community
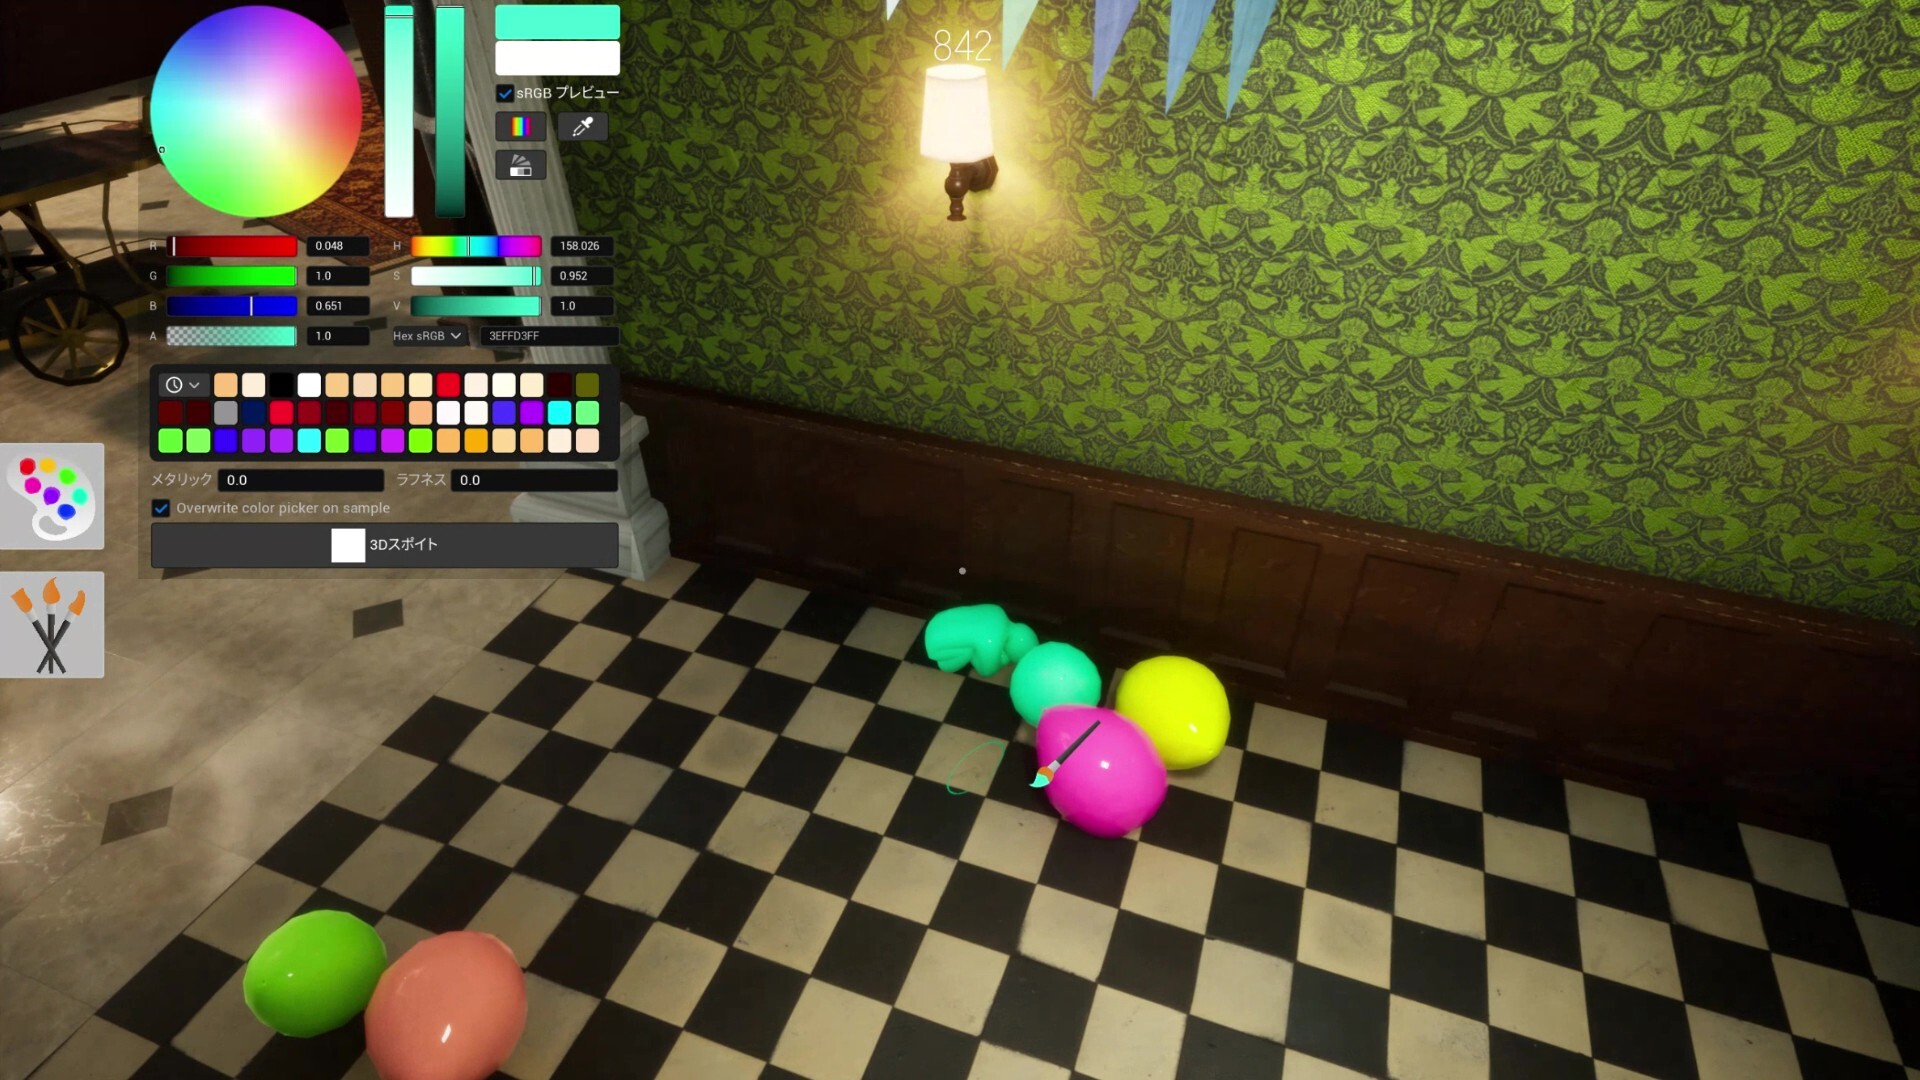
Shelf Back Row
Deepest rear shelf row. Top community survival rate on this map.
via meccha-chameleon.net · meccha-chameleon.net
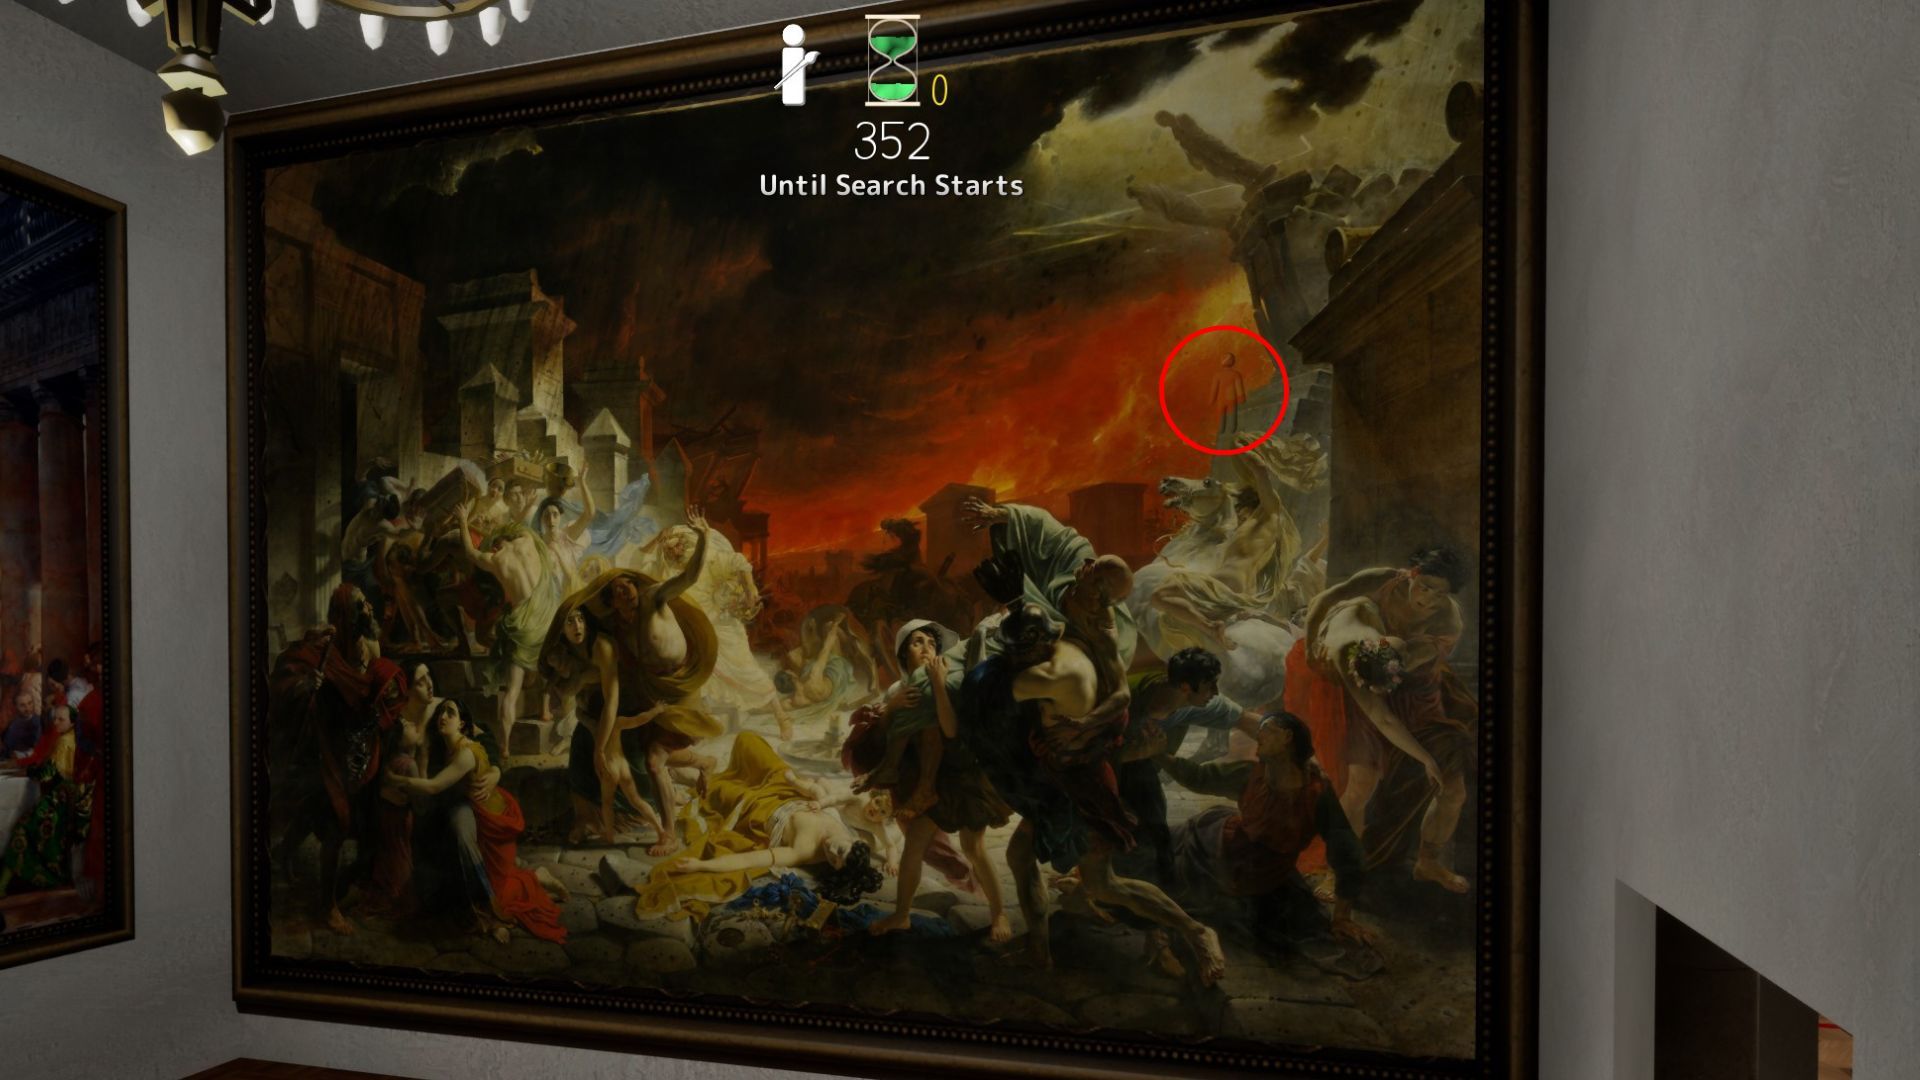
Last Day in Pompeii
Last Day in Pompeii — furthest room; top-left shadow, fire stone, or crowd zones fit multiple hiders.
via DualShockers · DualShockers
Mona Lisa Frame
Paint yourself into the Mona Lisa frame — Polygon's signature Art Gallery pick.
via DualShockers · DualShockers
Hard Spots & Challenges
Low-rated or impossible-tier spots for advanced players
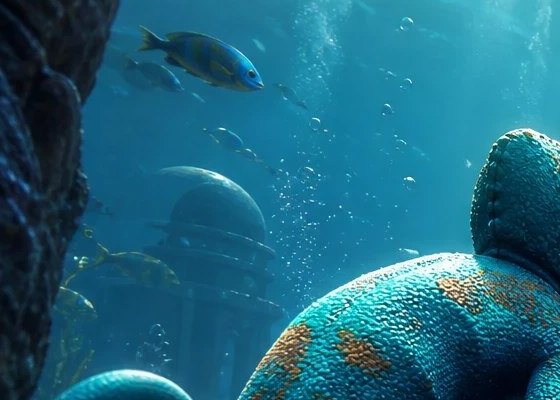
Map-Edge Out of Bounds (Patched)
Deep Sea map-edge / out-of-bounds perch — patched in fix3.7.2 (Steam News titled fix7.3.2).
via Steam News · Steam News
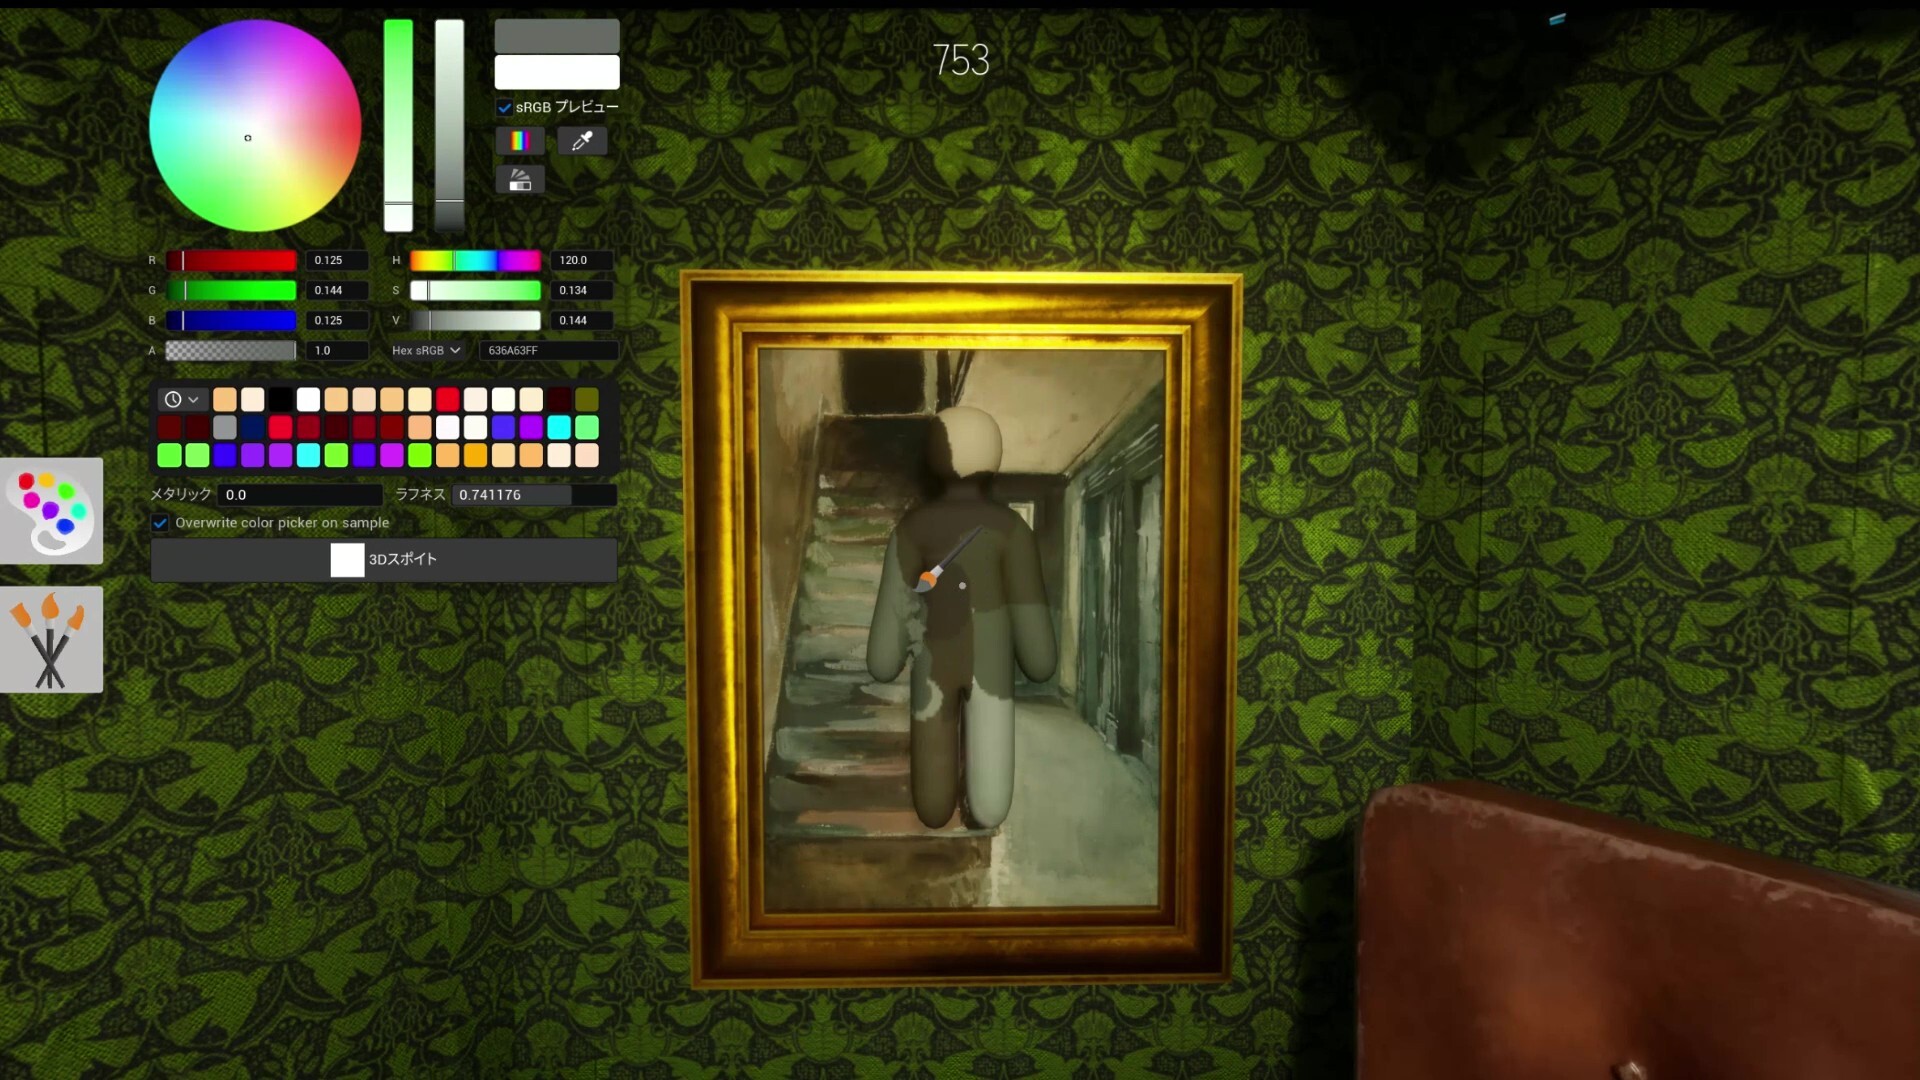
White Elbow Syndrome
Not a spot — a lesson. Unpainted elbow gaps expose more than bad positions.
via Mobalytics · Mobalytics
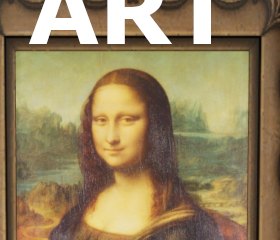
Spotlight Front
Spotlight-lit gallery front — value mismatch on pale walls; experimental warning pin.
via skypenguin.net · Community
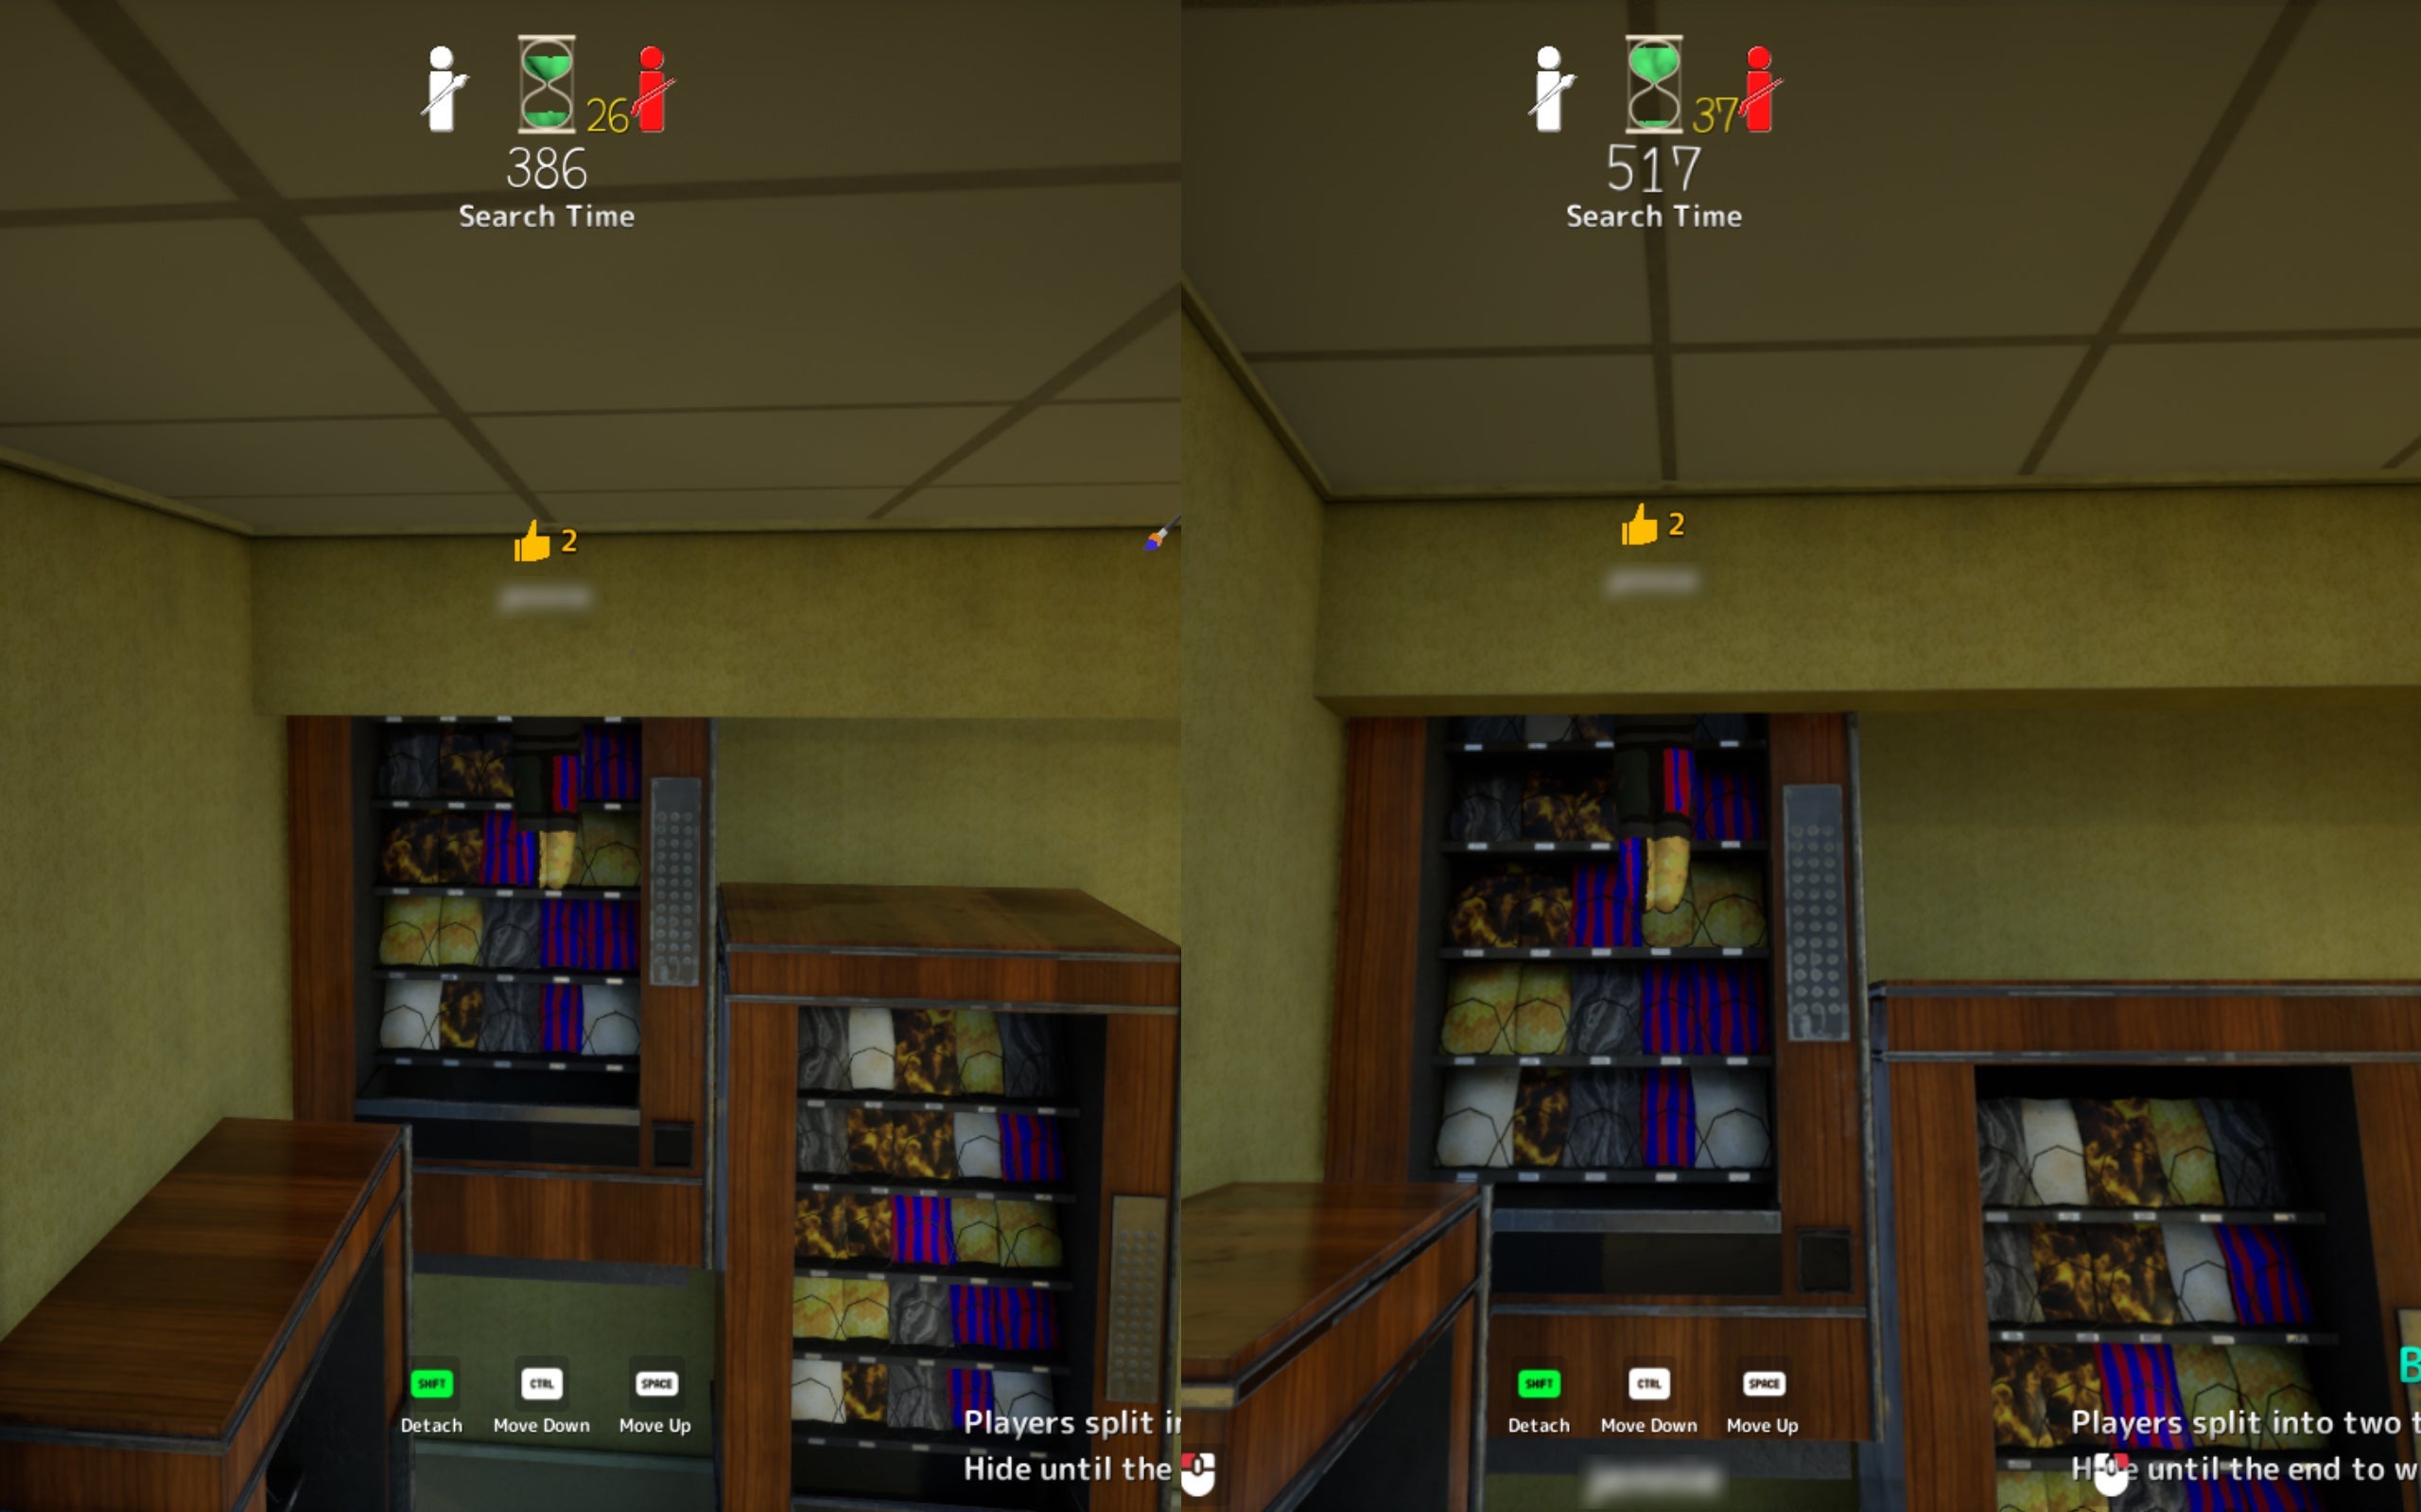
Ceiling Light
Attach near fluorescent fixture. High risk — seekers may look up late.
via TheGamer · TheGamer Community
More Community Picks
Same category on different maps
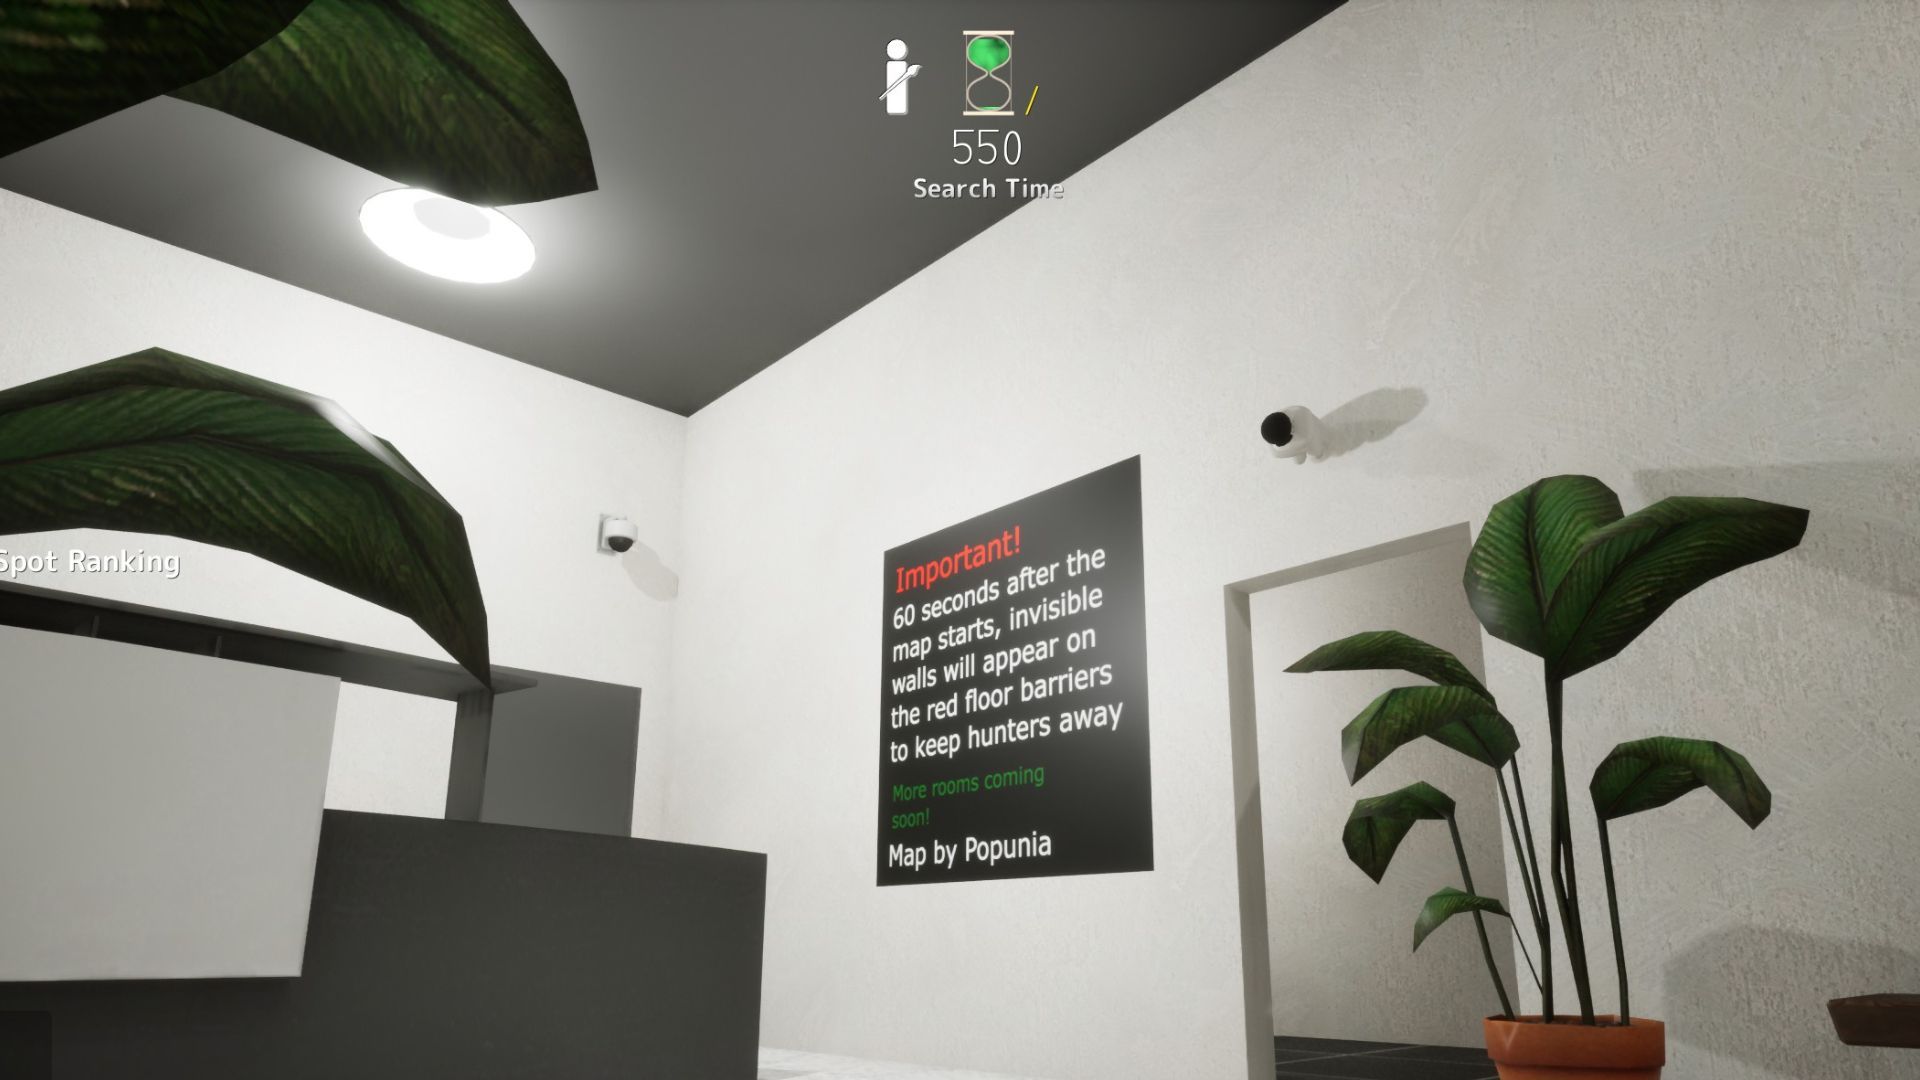
Security Camera (Spawn Door)
Security camera above spawn door — paint wall color on body, black on head. Hunters scan paintings, not fixtures.
via DualShockers · DualShockers
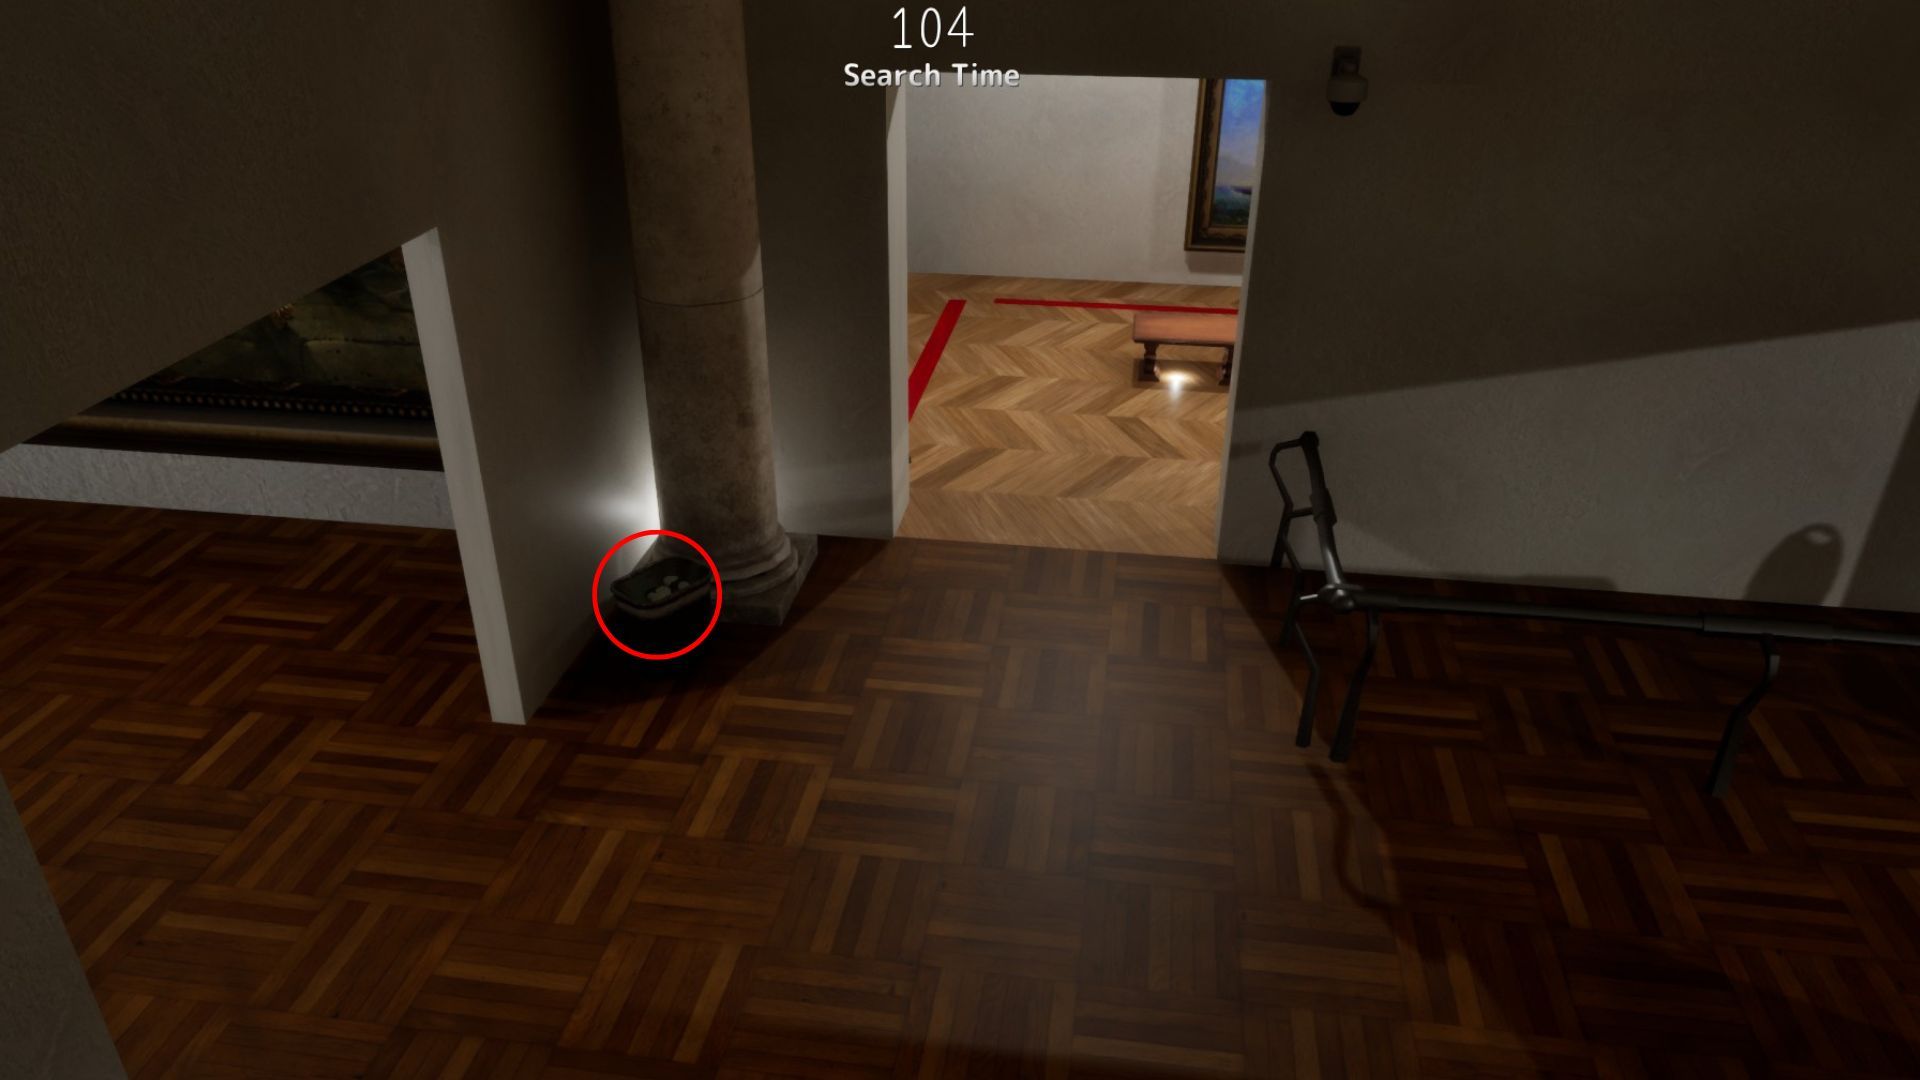
Garbage Can
Garbage can hide — curl inside with bag-color paint; overlooked while hunters rush paintings.
via DualShockers · DualShockers
Yard Torch & Flower
Survival house yard torch and flower prop mimic — Polygon verified outside hide.
via Polygon · Polygon Community
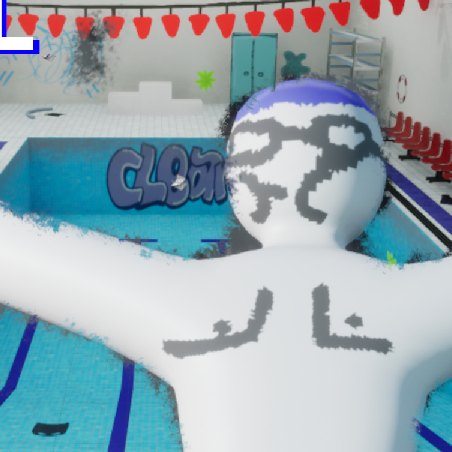
Pool Deck Chair Stack
Pool deck chair stack by the diving board — sample deck white, not pool tile blue.
via GameRant · GameRant Community