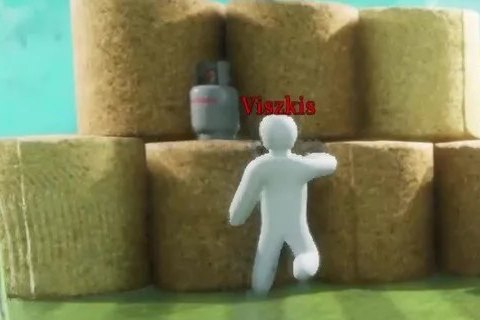
Sand Prop Cluster
Recommended by experienced players · sourced from published guides, not live match stats
Location Description
Crouch among urn and crate clutter on sand — sample props, not open floor.
Why It Works
Sand Prop Cluster on Egypt works because crouch among urn and crate clutter on sand — sample props, not open floor. Guide rating 73/100 — difficulty tier from Community, not live match statistics. Published guides (Steam News — update 2.7.0) emphasize pose discipline: Vertical pillar wraps and alcove depth beat open floor camps; hieroglyph walls need pattern-aligned poses. Map context from Egypt: Sample stone and sand separately — warm floor vs cool pillar shadow are different values. Color plan: Torso base samples Primary surface at Sand Prop Cluster (F → paint menu, Space eyedropper); Shadow side samples Nearby shadow or darker patch at lock position; Limb / head edges samples Surface adjacent to limbs at lock height. Guide rating 73/100 reflects difficulty tier from Community — a curated estimate from published walkthroughs, not aggregated match statistics. The core advantage is silhouette breaking: seekers scan for human-shaped lumps and value mismatches before they analyze hue. Sand Prop Cluster gives you clutter, depth, or verticality that buys time when paint and pose are locked in prep.
Best Colors
TheGamer, IGN, and mecchachameleongame.wiki all recommend the in-game Eyedropper (Space) on the exact surface you touch — not fixed hex/RGB codes. Lighting and patches change effective values; the table below lists which surface to sample per body part and how to apply it.
- Torso base: Primary surface at Sand Prop Cluster (F → paint menu, Space eyedropper) — Sand floor vs pillar shadow are different values — sample the stone you touch, not open courtyard sand.
- Shadow side: Nearby shadow or darker patch at lock position — HSV Value one step down — never sample a similar surface across the room
- Limb / head edges: Surface adjacent to limbs at lock height — 360° white-gap check before prep ends (SlashSkill #1 day-one mistake)
When To Use
- When this applies: v2.7.0 brand-new map — treat early spots as starting points and re-verify in your lobby.
- When this applies: Seekers clear bright sand first; commit to pillars, alcoves, or prop clusters during prep.
- Pillar and alcove rounds when seekers clear sand floors first
- Hieroglyph walls when you can align pose to relief pattern
- When community-tested positions match your lobby size and seeker skill
When NOT To Use
- Open sand courtyard camping — seekers clear bright floors first
- Deep wall clips after v2.7.0 HIKAKIN-style collision fixes — prefer surface blends
- Flat hieroglyph fills without pattern alignment — relief walls expose stickers
- When seekers in your lobby already slow-check this zone twice in one session — rotate
Pro Tips
Crouch among crates / urn clutter on sand — sample prop surface, not open floor. Rotate after round one.
How to Win Here
- v2.7.0 brand-new map — treat early spots as starting points and re-verify in your lobby.
- Seekers clear bright sand first; commit to pillars, alcoves, or prop clusters during prep.
- Pro tip from our database: Crouch among crates / urn clutter on sand — sample prop surface, not open floor. Rotate after round one.
- Source: Community — re-verify in a private lobby after major patches.
Color & Paint Plan
Body-part breakdown from published guides — sample with in-game Eyedropper (F → Space), then fine-tune HSV / metallic / roughness per surface.
| Body part | Sample from | Technique |
|---|---|---|
| Torso base | Primary surface at Sand Prop Cluster (F → paint menu, Space eyedropper) | Sand floor vs pillar shadow are different values — sample the stone you touch, not open courtyard sand. |
| Shadow side | Nearby shadow or darker patch at lock position | HSV Value one step down — never sample a similar surface across the room |
| Limb / head edges | Surface adjacent to limbs at lock height | 360° white-gap check before prep ends (SlashSkill #1 day-one mistake) |
Pose
Vertical pillar wraps and alcove depth beat open floor camps; hieroglyph walls need pattern-aligned poses.
Metallic & roughness
- · Match metallic / roughness to surface (SlashSkill: sheen mismatch exposes faster than hue error)
- · Matte wall → low metallic; metal pipe/barrel → medium–high metallic
Common Mistakes
- Copying the spot without the exact pose shown in community screenshots
- Sampling from a nearby surface instead of the pixel your body touches (SlashSkill eyedropper rule)
- Panicking and running when a seeker walks past instead of holding still
- Using default camera height habits — seekers eventually look up (Sewer pipe meta)
Counter Strategy
For seekers hunting this zone — sourced from map guides and community checklists
- Seeker timing: Guide rating 73/100 — difficulty tier from Community, not live match statistics.
- Look up pillars and statue plinths on first pass — vertical meta beats sand floors
- Crouch-inspect sarcophagus alcoves and tomb lintels
- Hieroglyph walls: fit-check pattern alignment before leaving the room
Guide Sources
Guide Notes
- v2.7.0 brand-new map — treat early spots as starting points and re-verify in your lobby.
- Seekers clear bright sand first; commit to pillars, alcoves, or prop clusters during prep.
- Primary tip from Community: Crouch among crates / urn clutter on sand — sample prop surface, not open floor. Rotate after round one.
- Steam News — update 2.7.0 — https://store.steampowered.com/news/app/4704690
- consolepcgaming.com — Egypt map — https://consolepcgaming.com/meccha-chameleon-adds-egypt-and-more-random-map-options/
- Verify in a private lobby after major patches.
Image & Data Sources
Screenshot matched to Egypt where possible; some entries use map overview assets when a spot-specific image is unavailable. Spot details via Community. Guide ratings are curated estimates from published walkthroughs — not live match statistics. Game imagery © lemorion_1224 / Steam.
Similar Spots
Keep exploring — related spots to improve your win rate
Other Egypt hiding spots ranked by guide rating
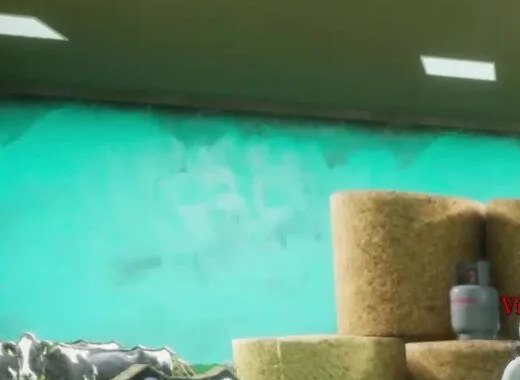
Pillar Shadow Wrap
Wrap mid-height on Egypt pillars in shadow stone — newest v2.7.0 vertical meta.
via Steam News / Community · Steam Community
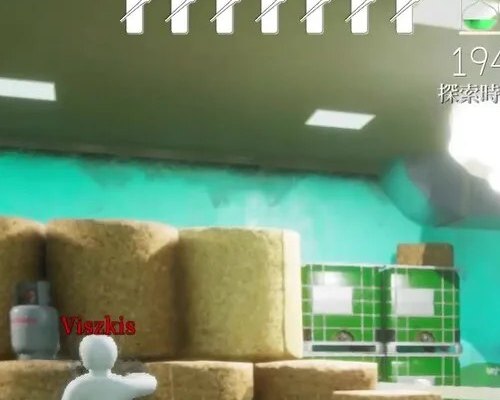
Sarcophagus Alcove
Recessed sarcophagus / tomb alcove — keep the body inside the niche silhouette.
via Community · Steam Community
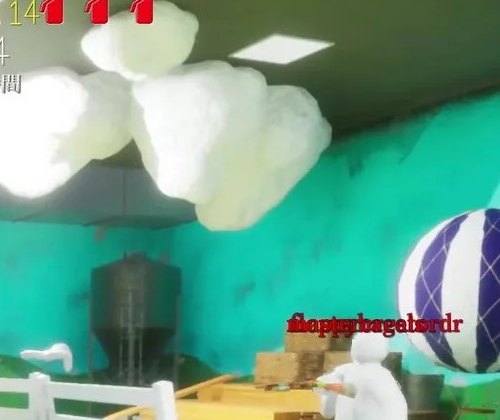
Bastet Statue Cluster
Bastet statue cluster on Egypt — GameWith Pharaoh/Bastet props; re-scout after the 4.1.0 rework.
via GameWith · GameWith / Community
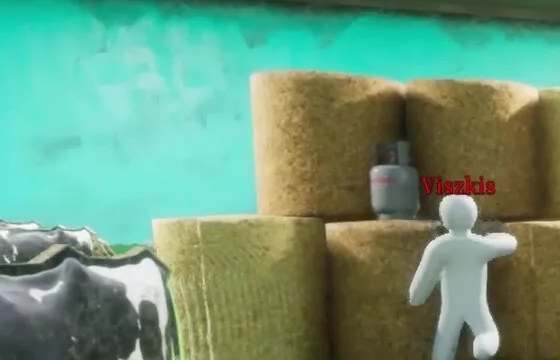
Hieroglyph Relief Wall
Hieroglyph relief wall blend — align pose with carved pattern, dual-sample recesses.
via Community · Community
Similar Difficulty
Spots with a comparable guide rating on other maps
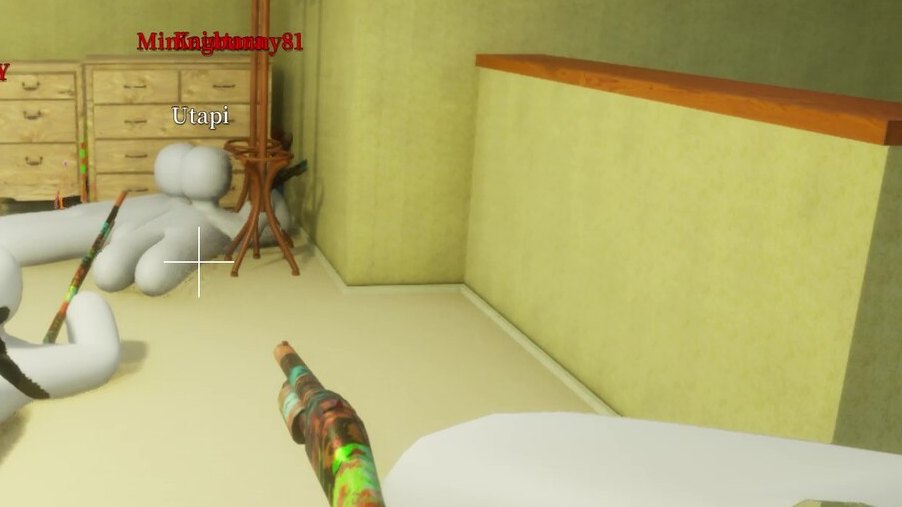
Oil Barrel Top
Lie flat on barrel top. Ground-level seekers walk past without looking down.
via TheGamer · TheGamer Community
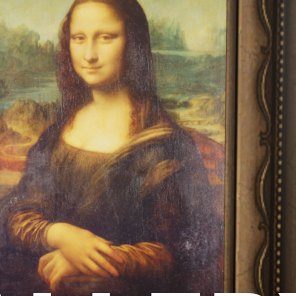
The Last Supper Wall
The Last Supper wall — hide in Jesus robes or table legs; hunters stand far from this massive painting.
via DualShockers · DualShockers
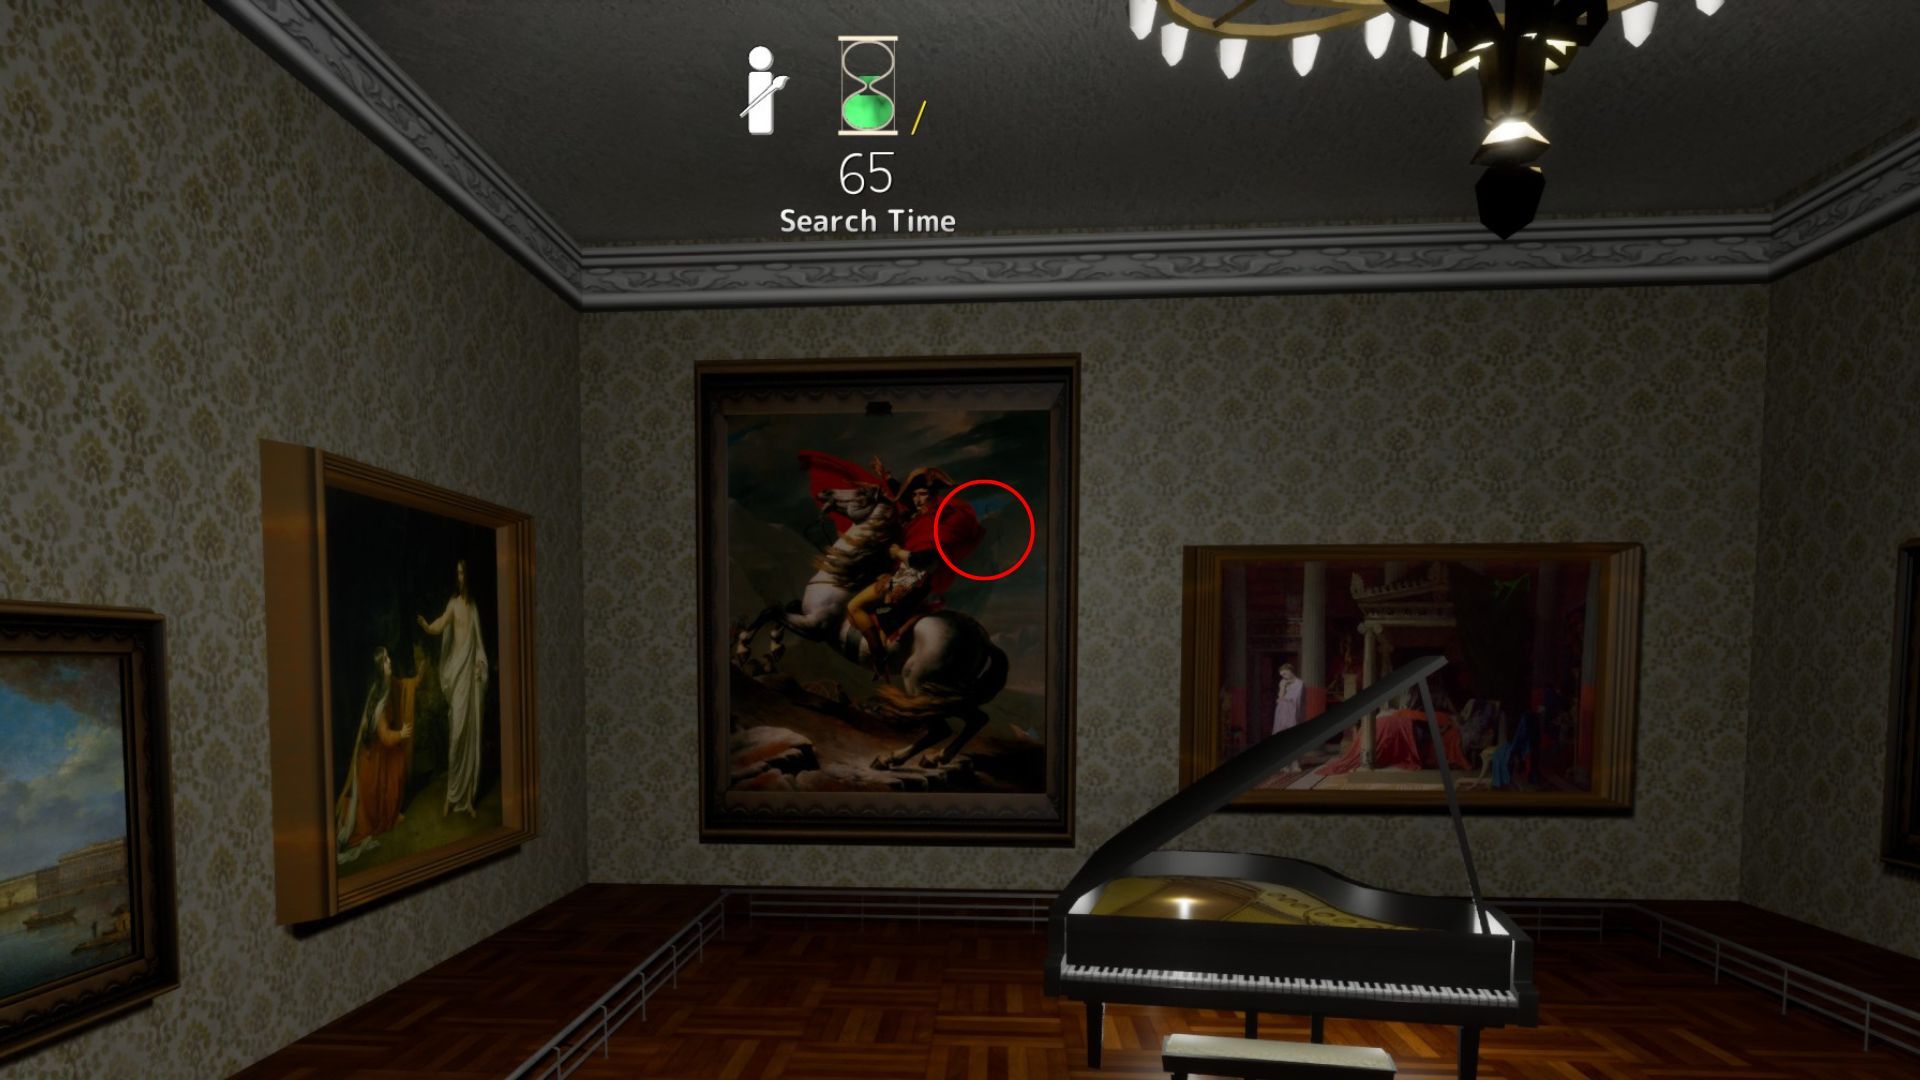
Napoleon Cape Corner
Napoleon on horseback in the piano room — cape edge and background cross-sections hide the silhouette.
via DualShockers · DualShockers
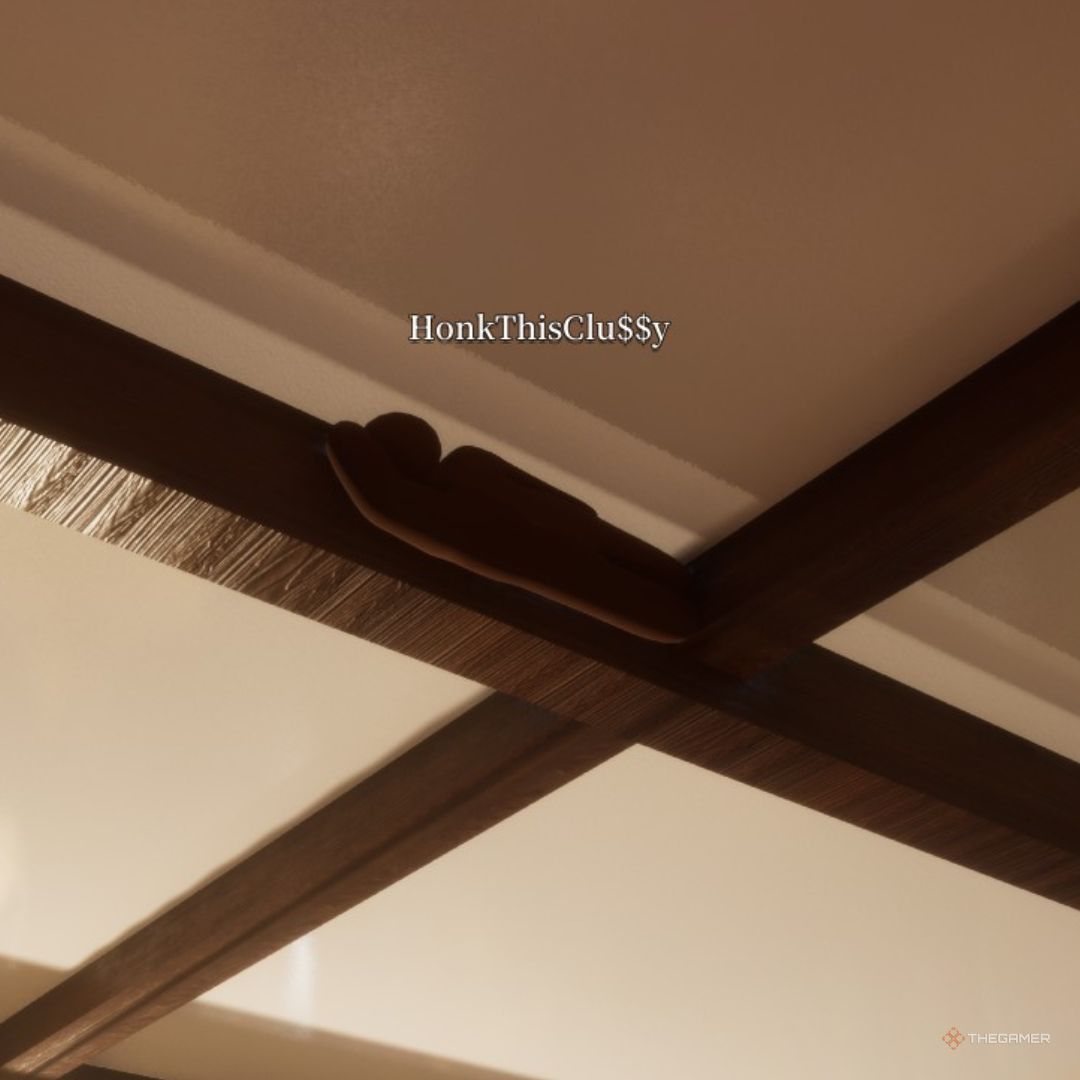
Ceiling Pillar
Attach to a ceiling pillar in the main hall. Seekers often sweep floor-level first.
via TheGamer · TheGamer Community
Easy Spots to Learn First
High guide-rated spots recommended for building fundamentals
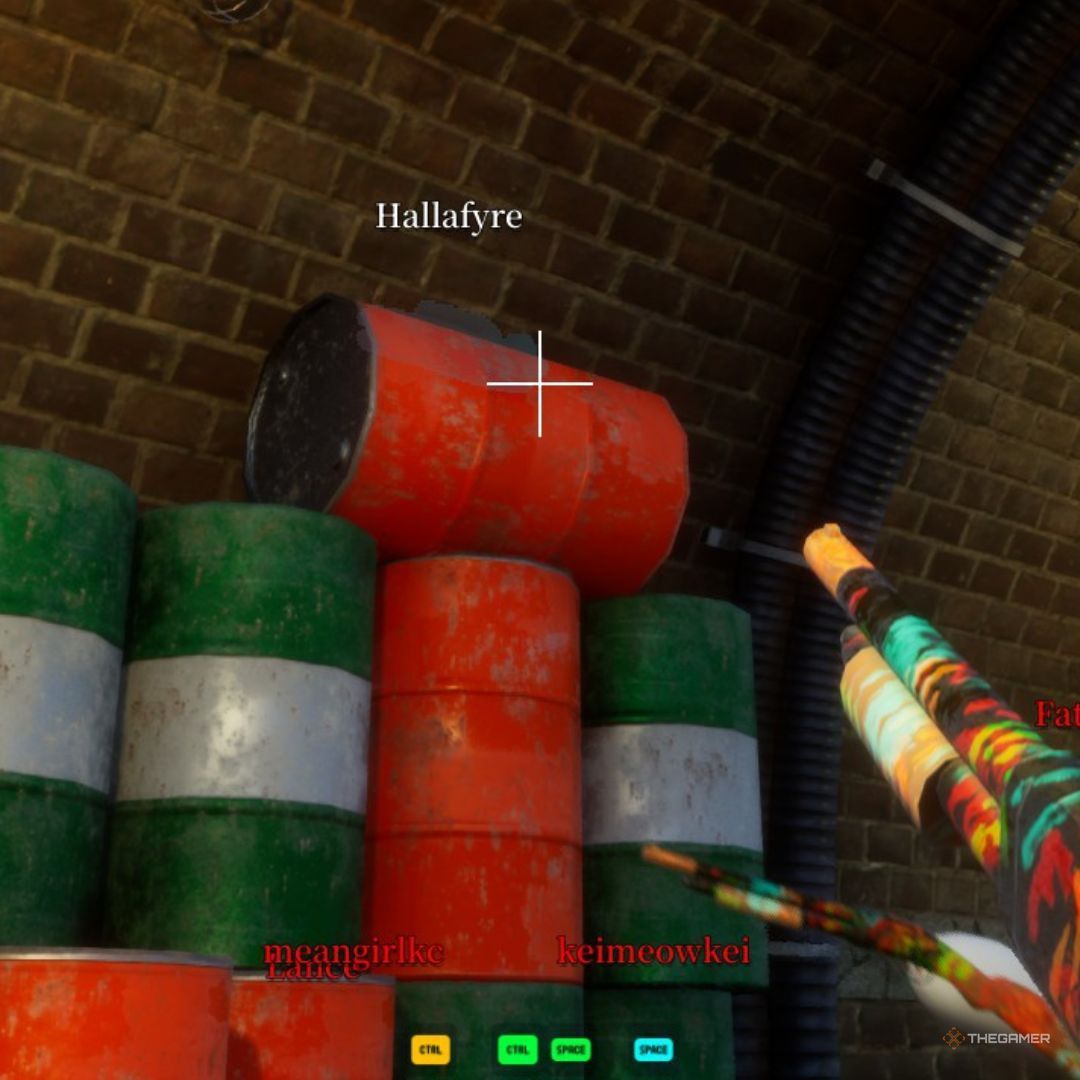
Dark Ceiling Pipe
Behind an overhead pipe in the darkest section. Community top-tier hide.
via TheGamer · TheGamer Community
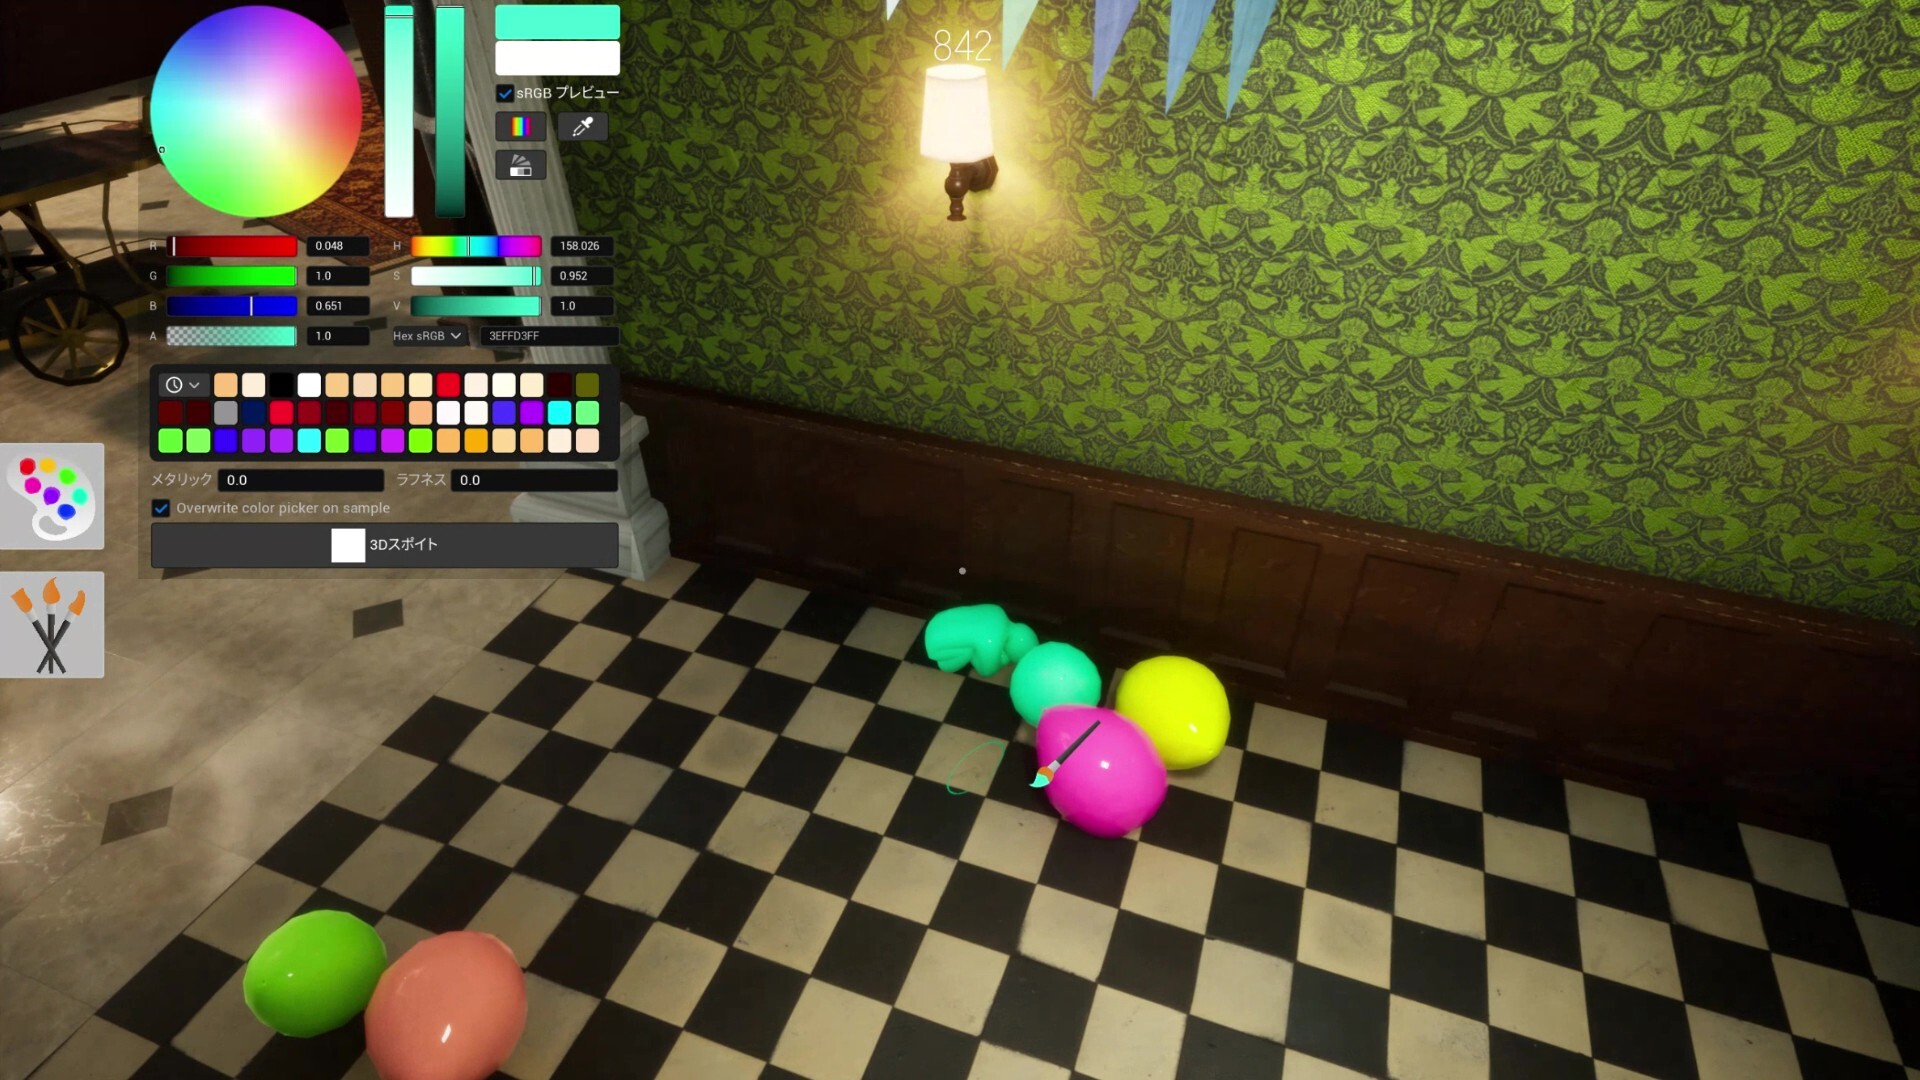
Shelf Back Row
Deepest rear shelf row. Top community survival rate on this map.
via meccha-chameleon.net · meccha-chameleon.net
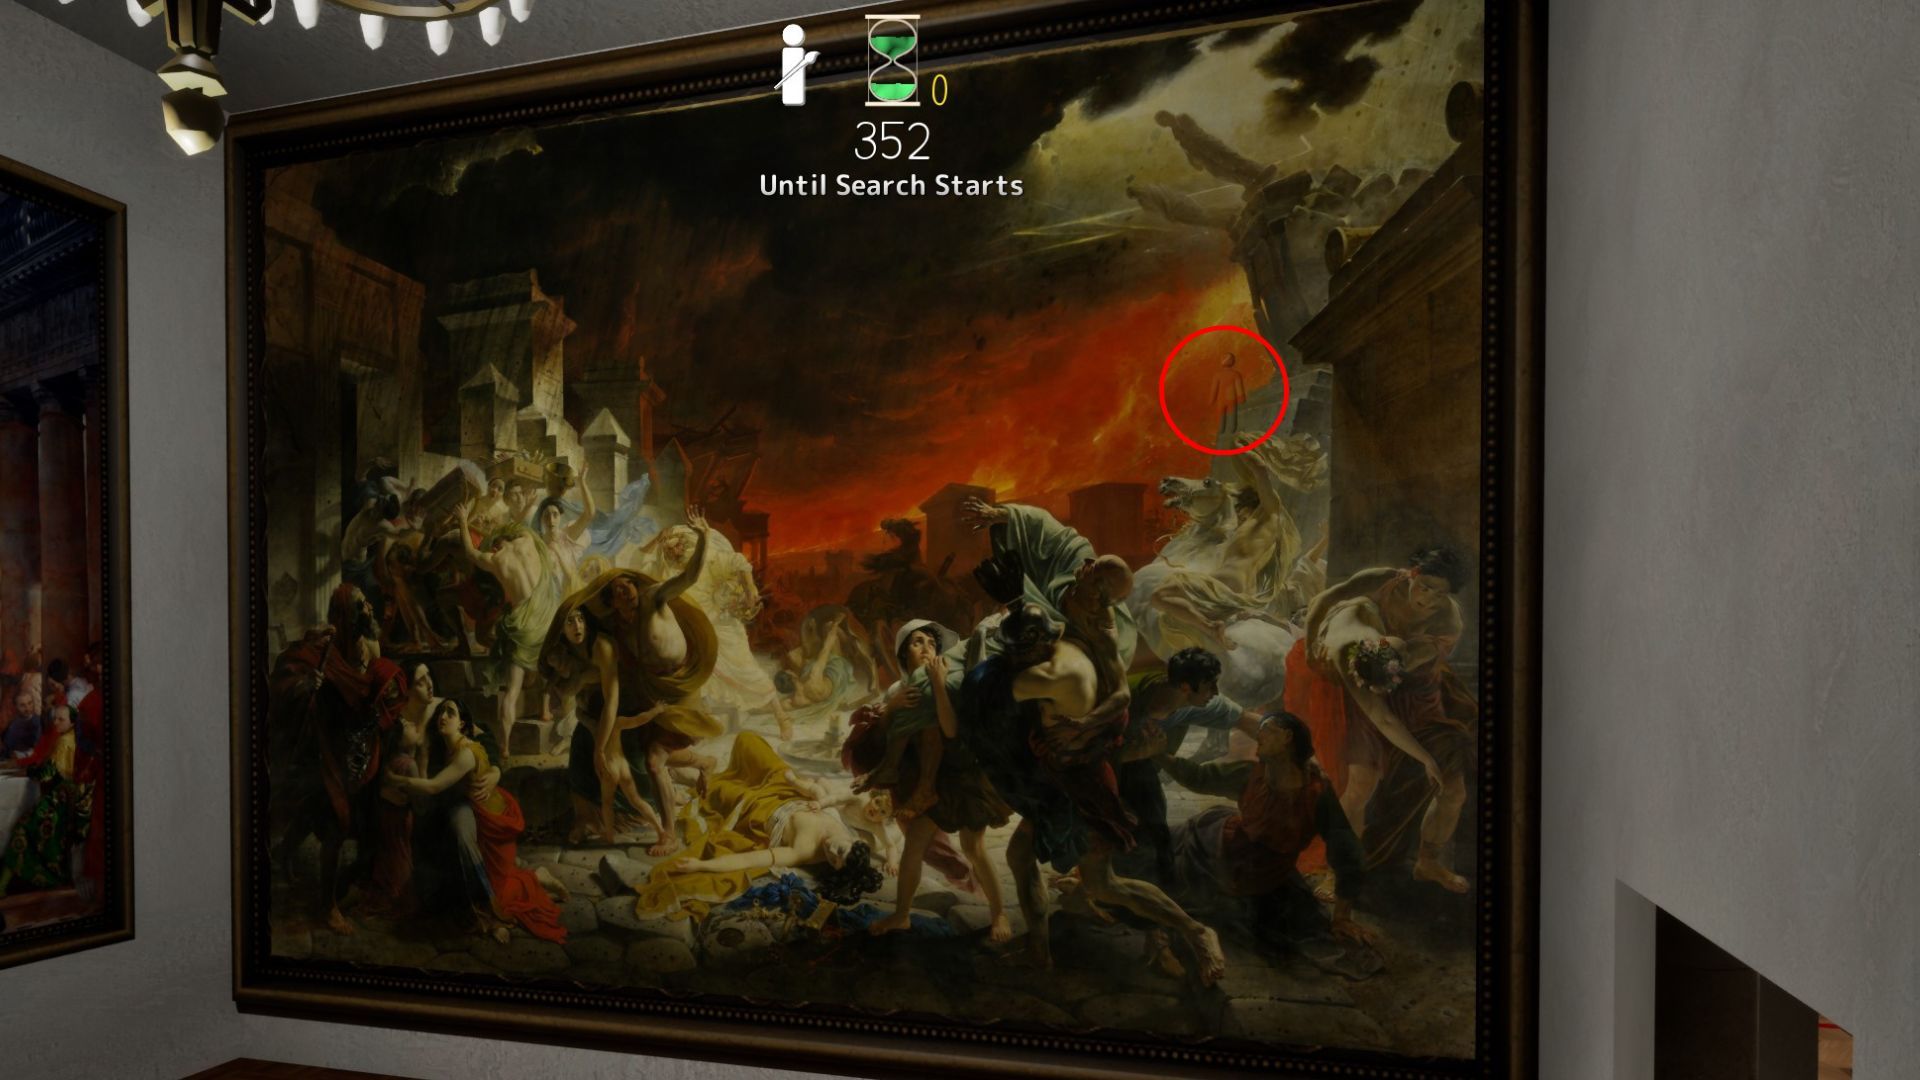
Last Day in Pompeii
Last Day in Pompeii — furthest room; top-left shadow, fire stone, or crowd zones fit multiple hiders.
via DualShockers · DualShockers
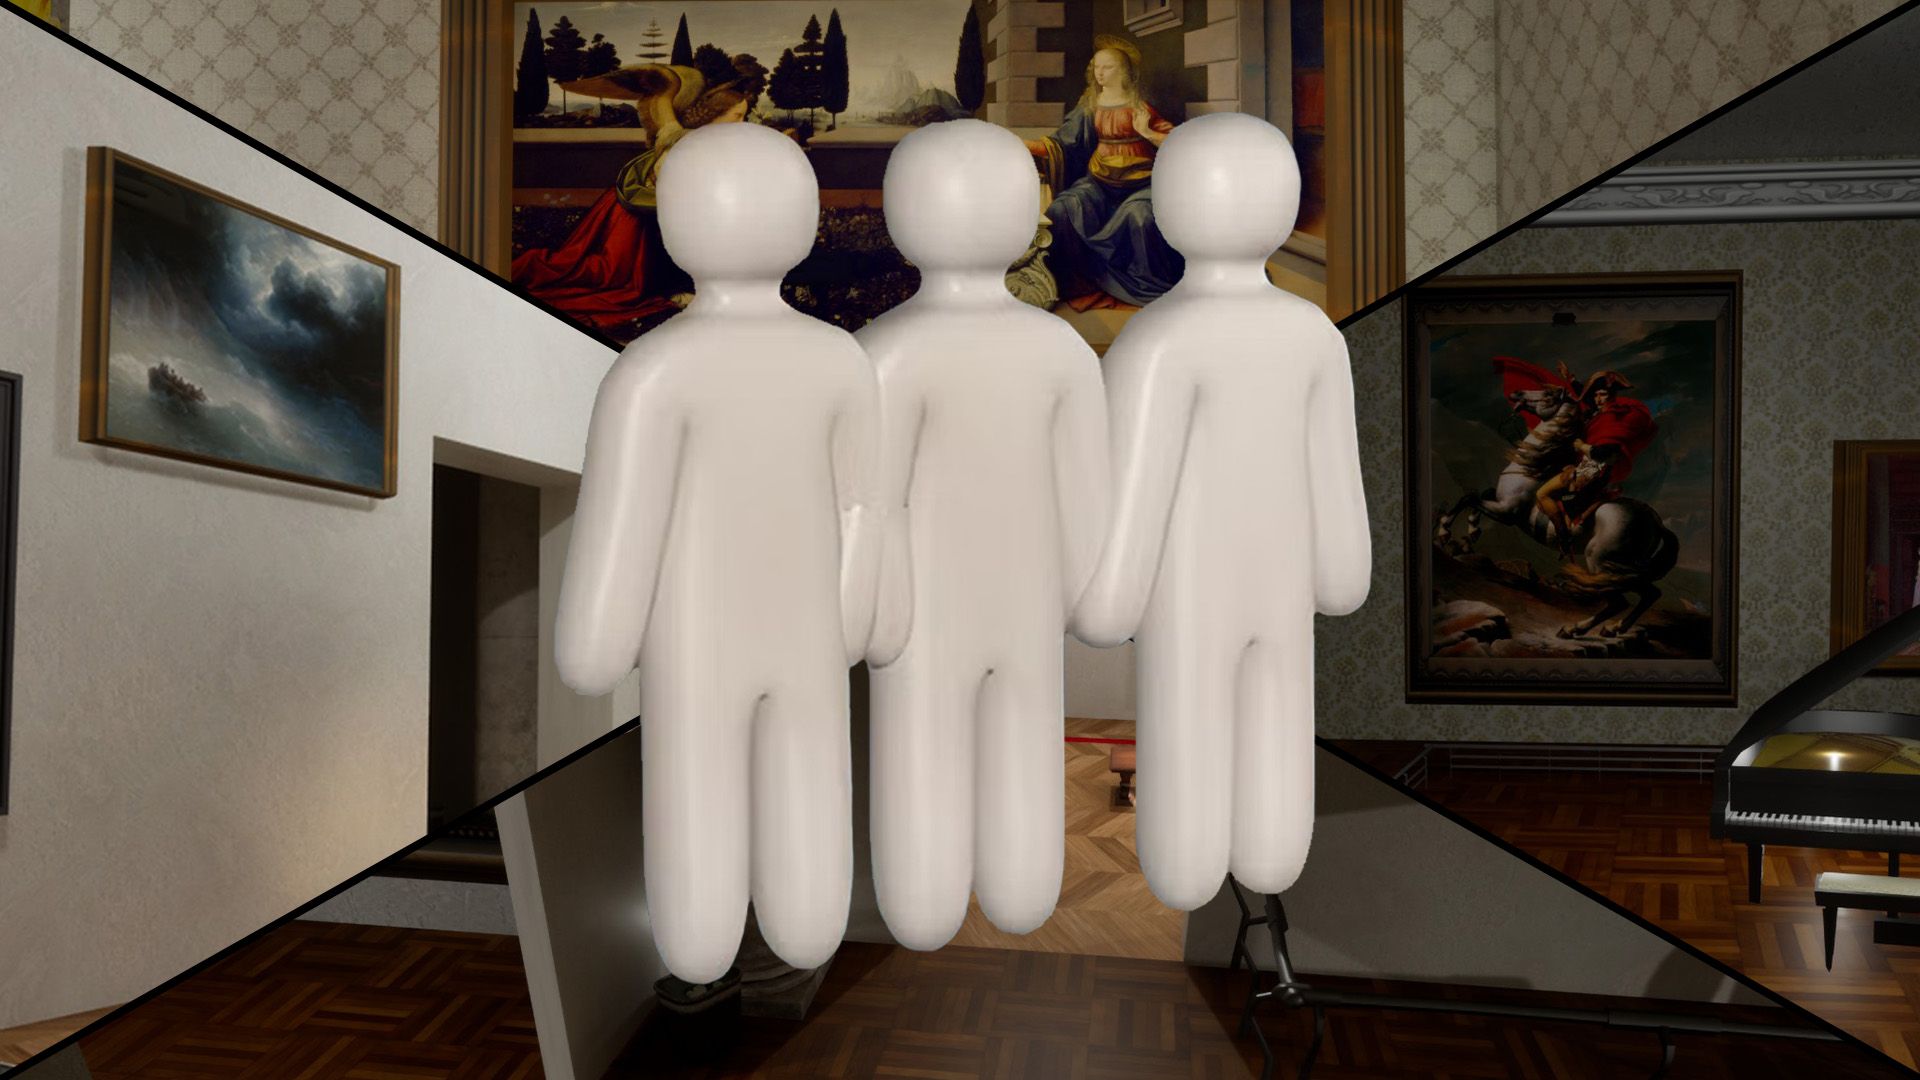
Mona Lisa Frame
Paint yourself into the Mona Lisa frame — Polygon's signature Art Gallery pick.
via DualShockers · DualShockers
Hard Spots & Challenges
Low-rated or impossible-tier spots for advanced players

Map-Edge Out of Bounds (Patched)
Deep Sea map-edge / out-of-bounds perch — patched in fix3.7.2 (Steam News titled fix7.3.2).
via Steam News · Steam News
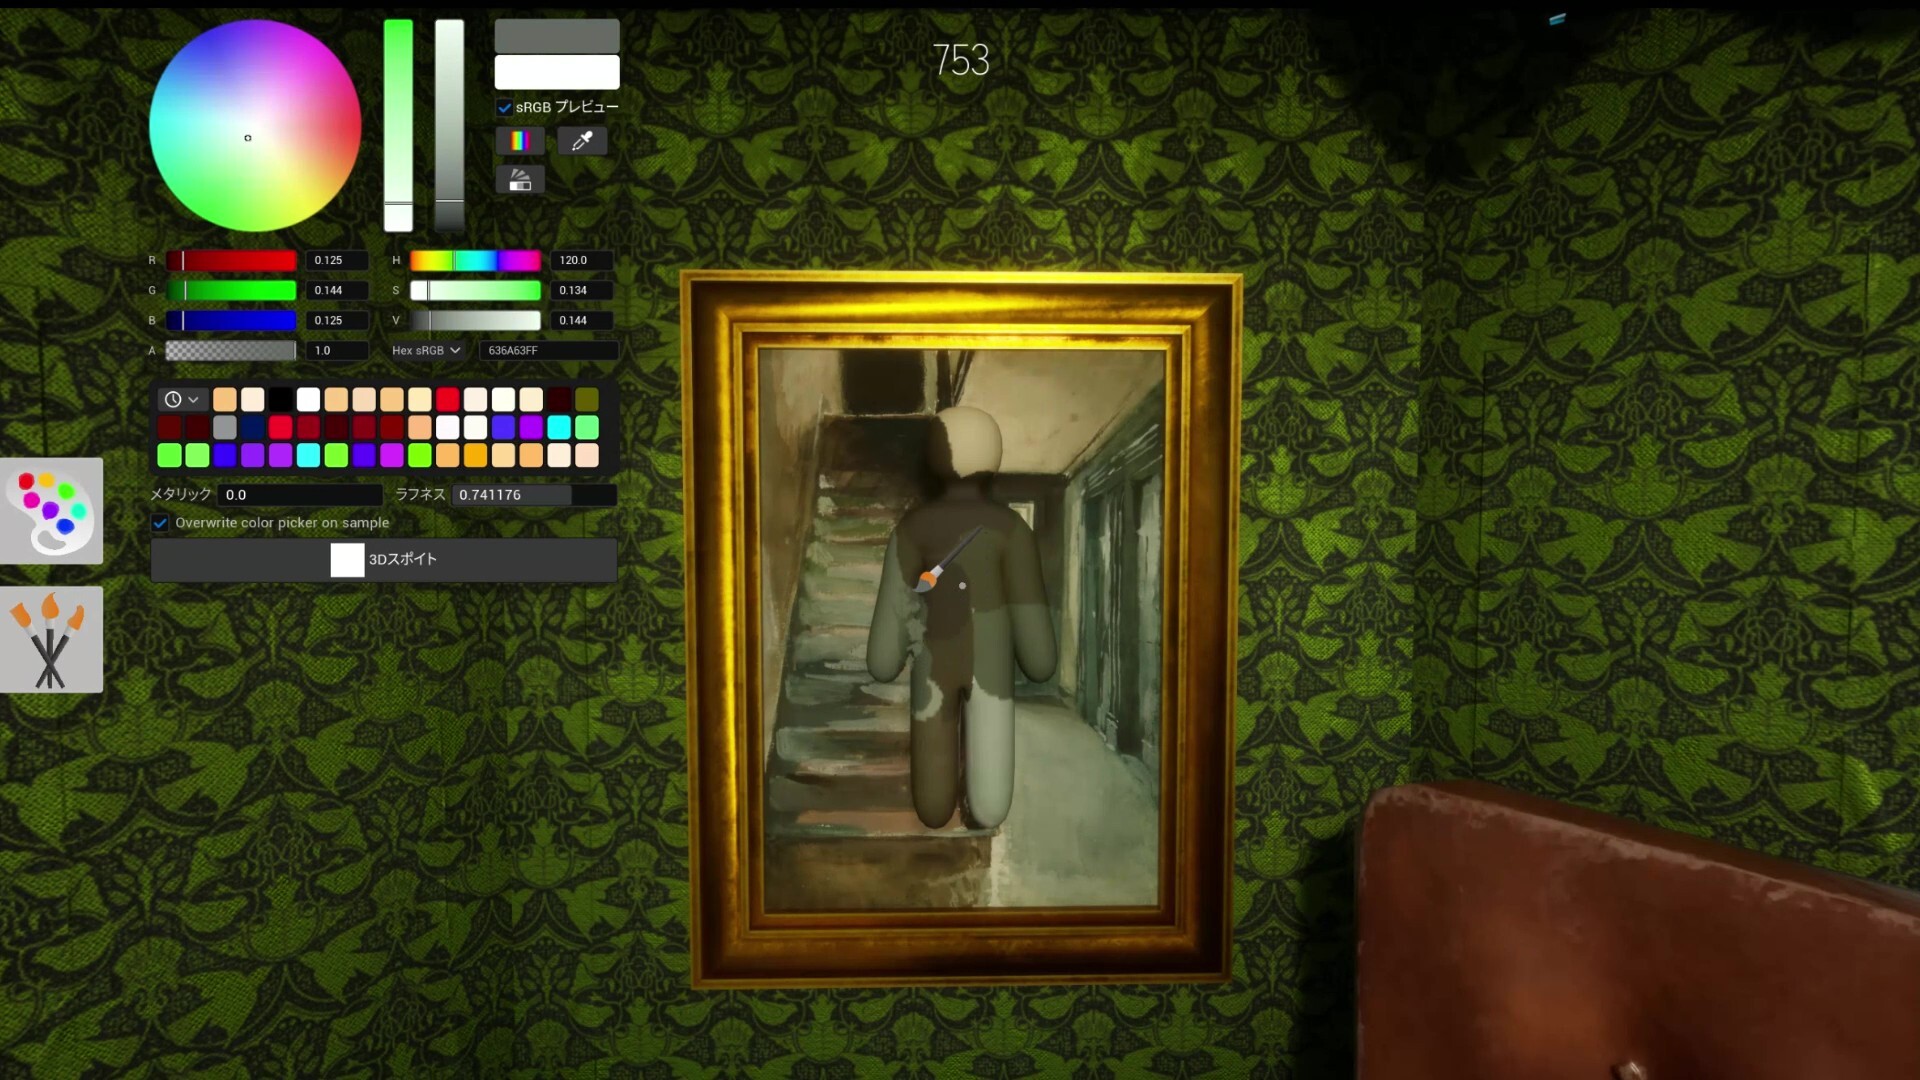
White Elbow Syndrome
Not a spot — a lesson. Unpainted elbow gaps expose more than bad positions.
via Mobalytics · Mobalytics
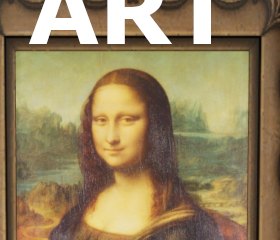
Spotlight Front
Spotlight-lit gallery front — value mismatch on pale walls; experimental warning pin.
via skypenguin.net · Community
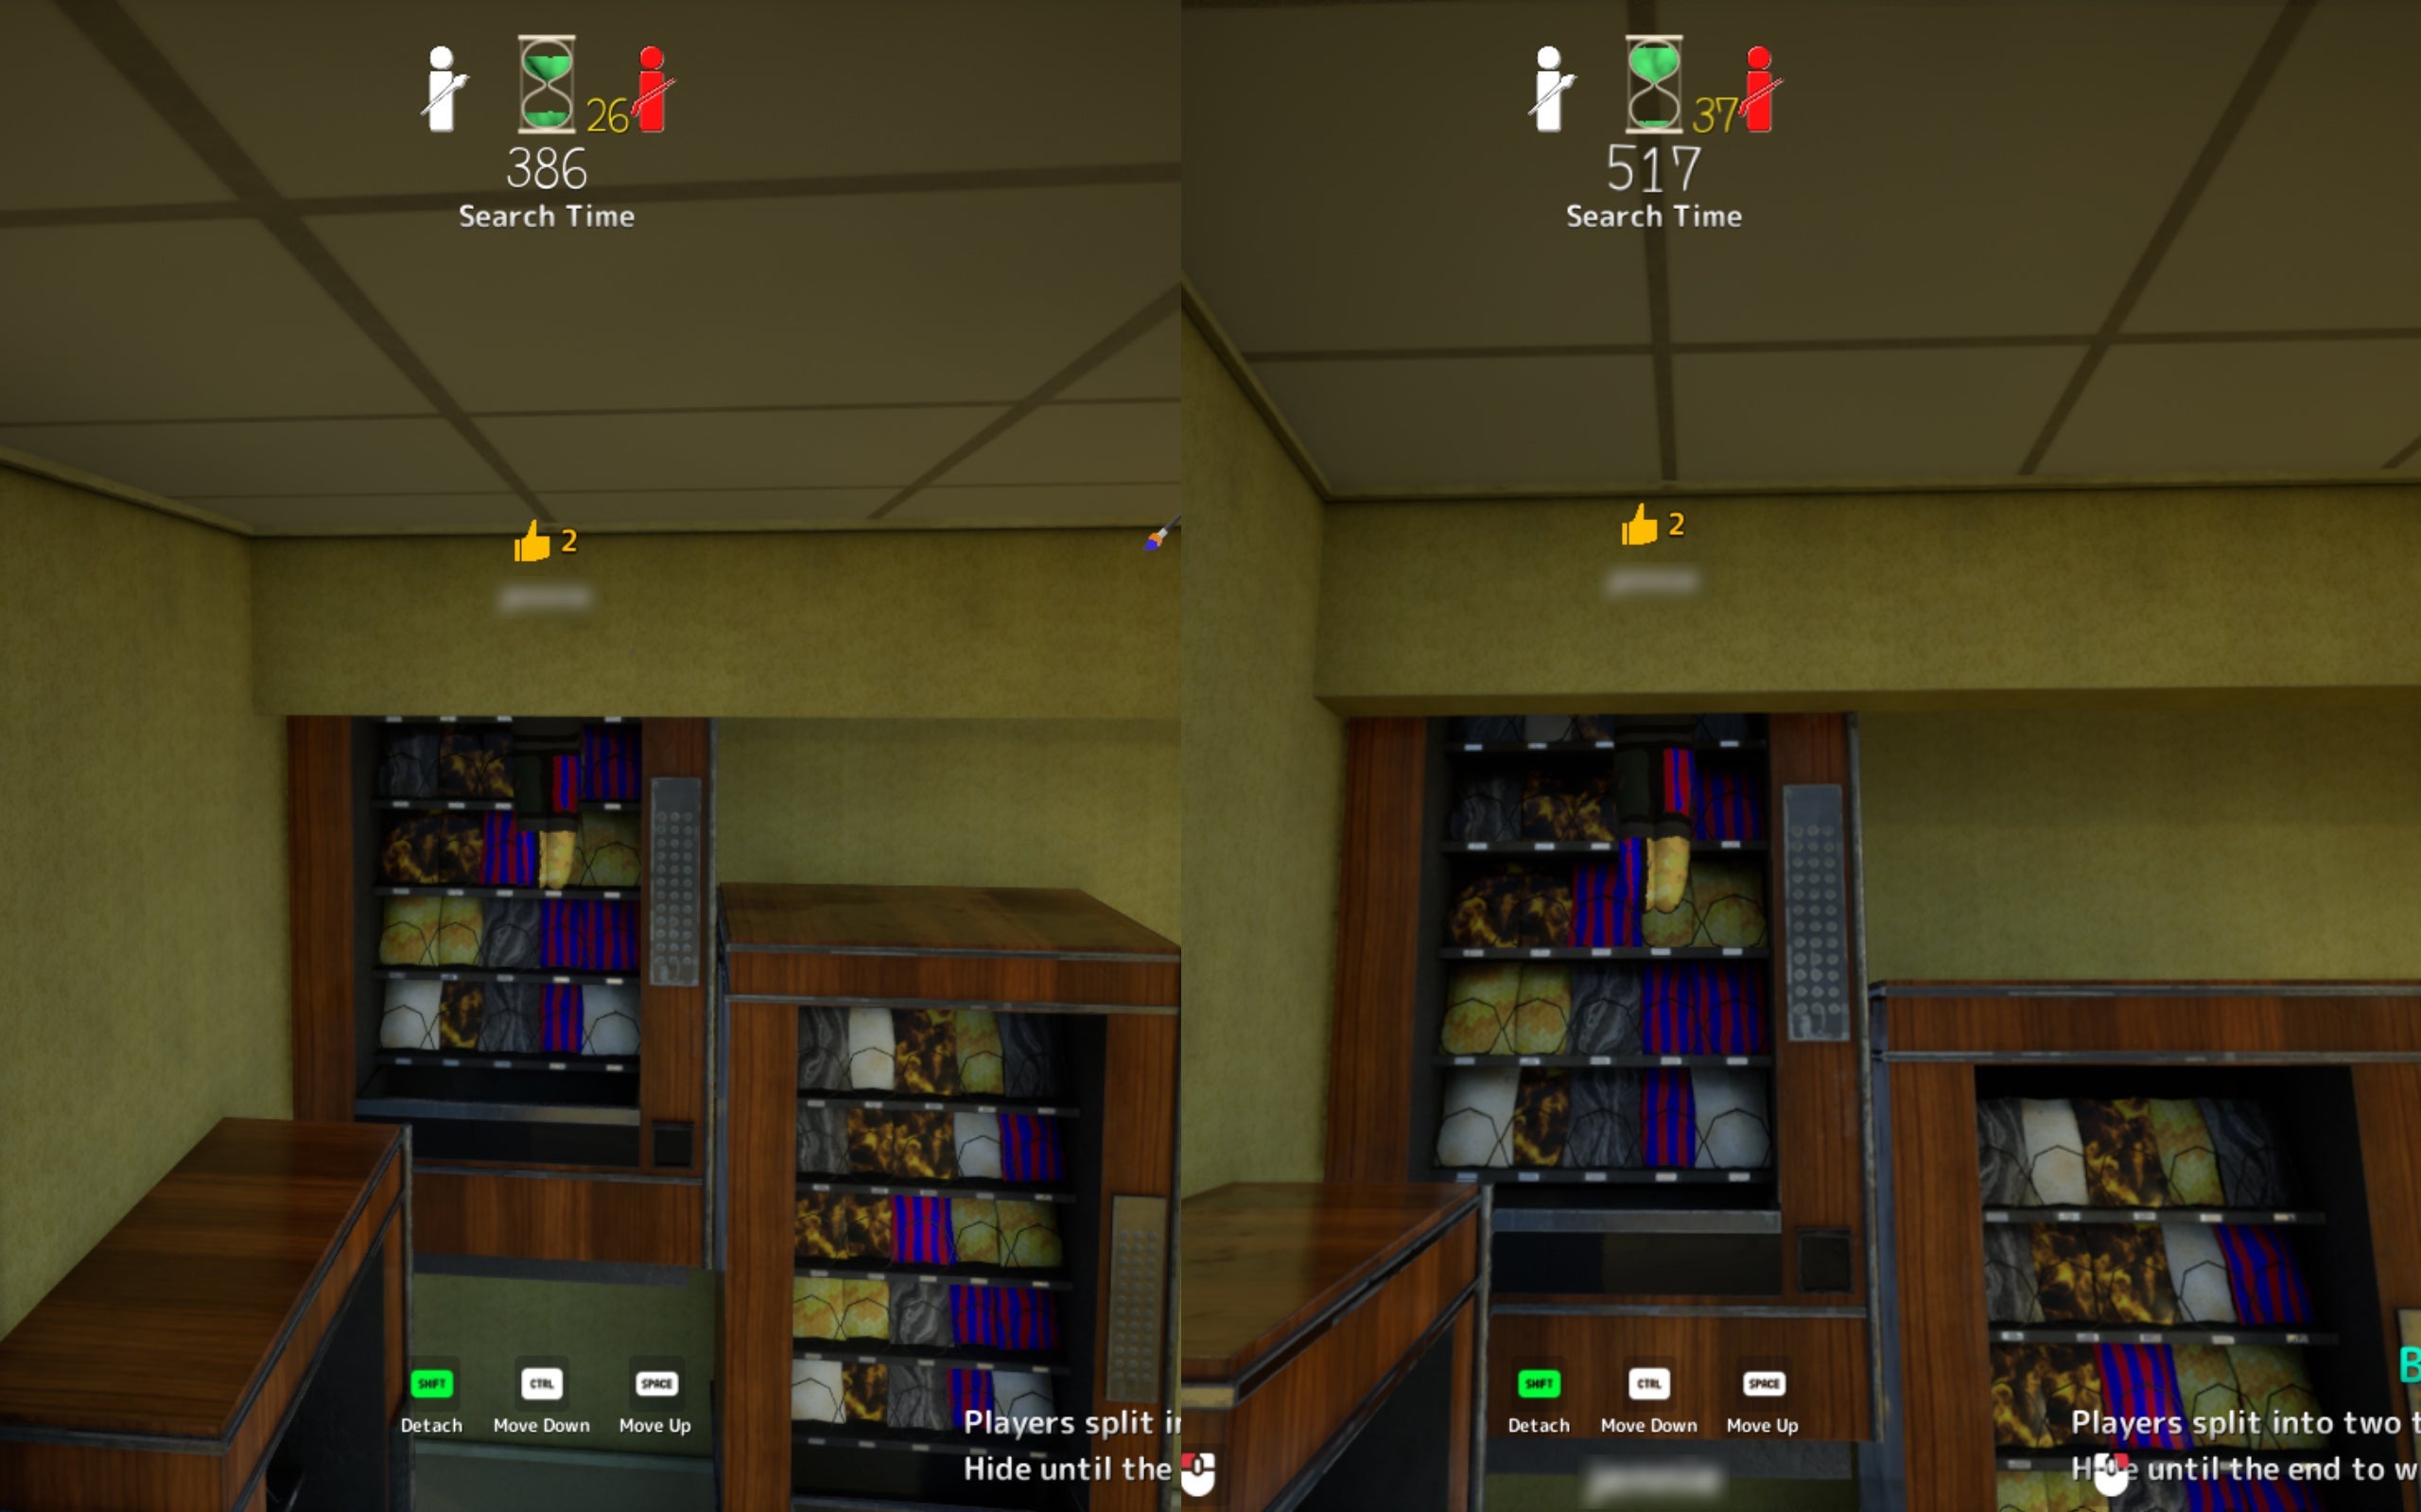
Ceiling Light
Attach near fluorescent fixture. High risk — seekers may look up late.
via TheGamer · TheGamer Community
More Community Picks
Same category on different maps
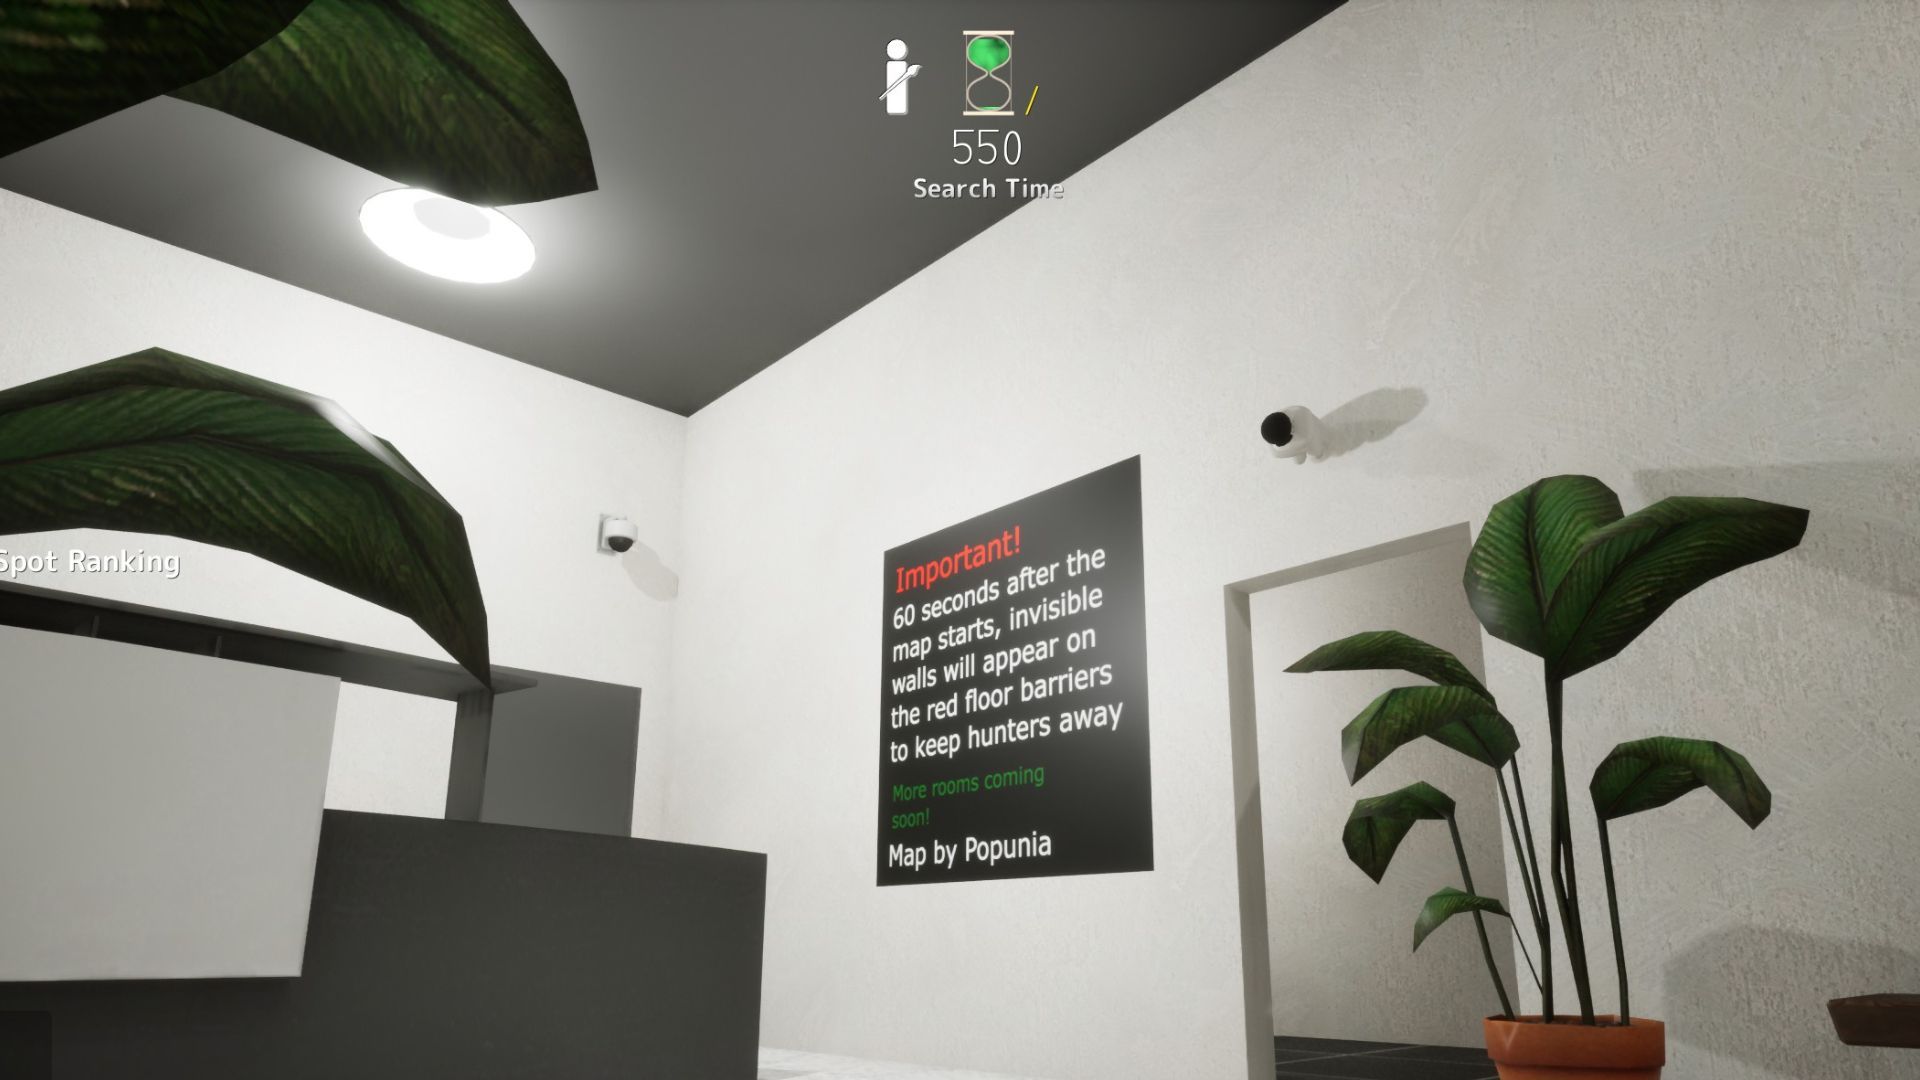
Security Camera (Spawn Door)
Security camera above spawn door — paint wall color on body, black on head. Hunters scan paintings, not fixtures.
via DualShockers · DualShockers
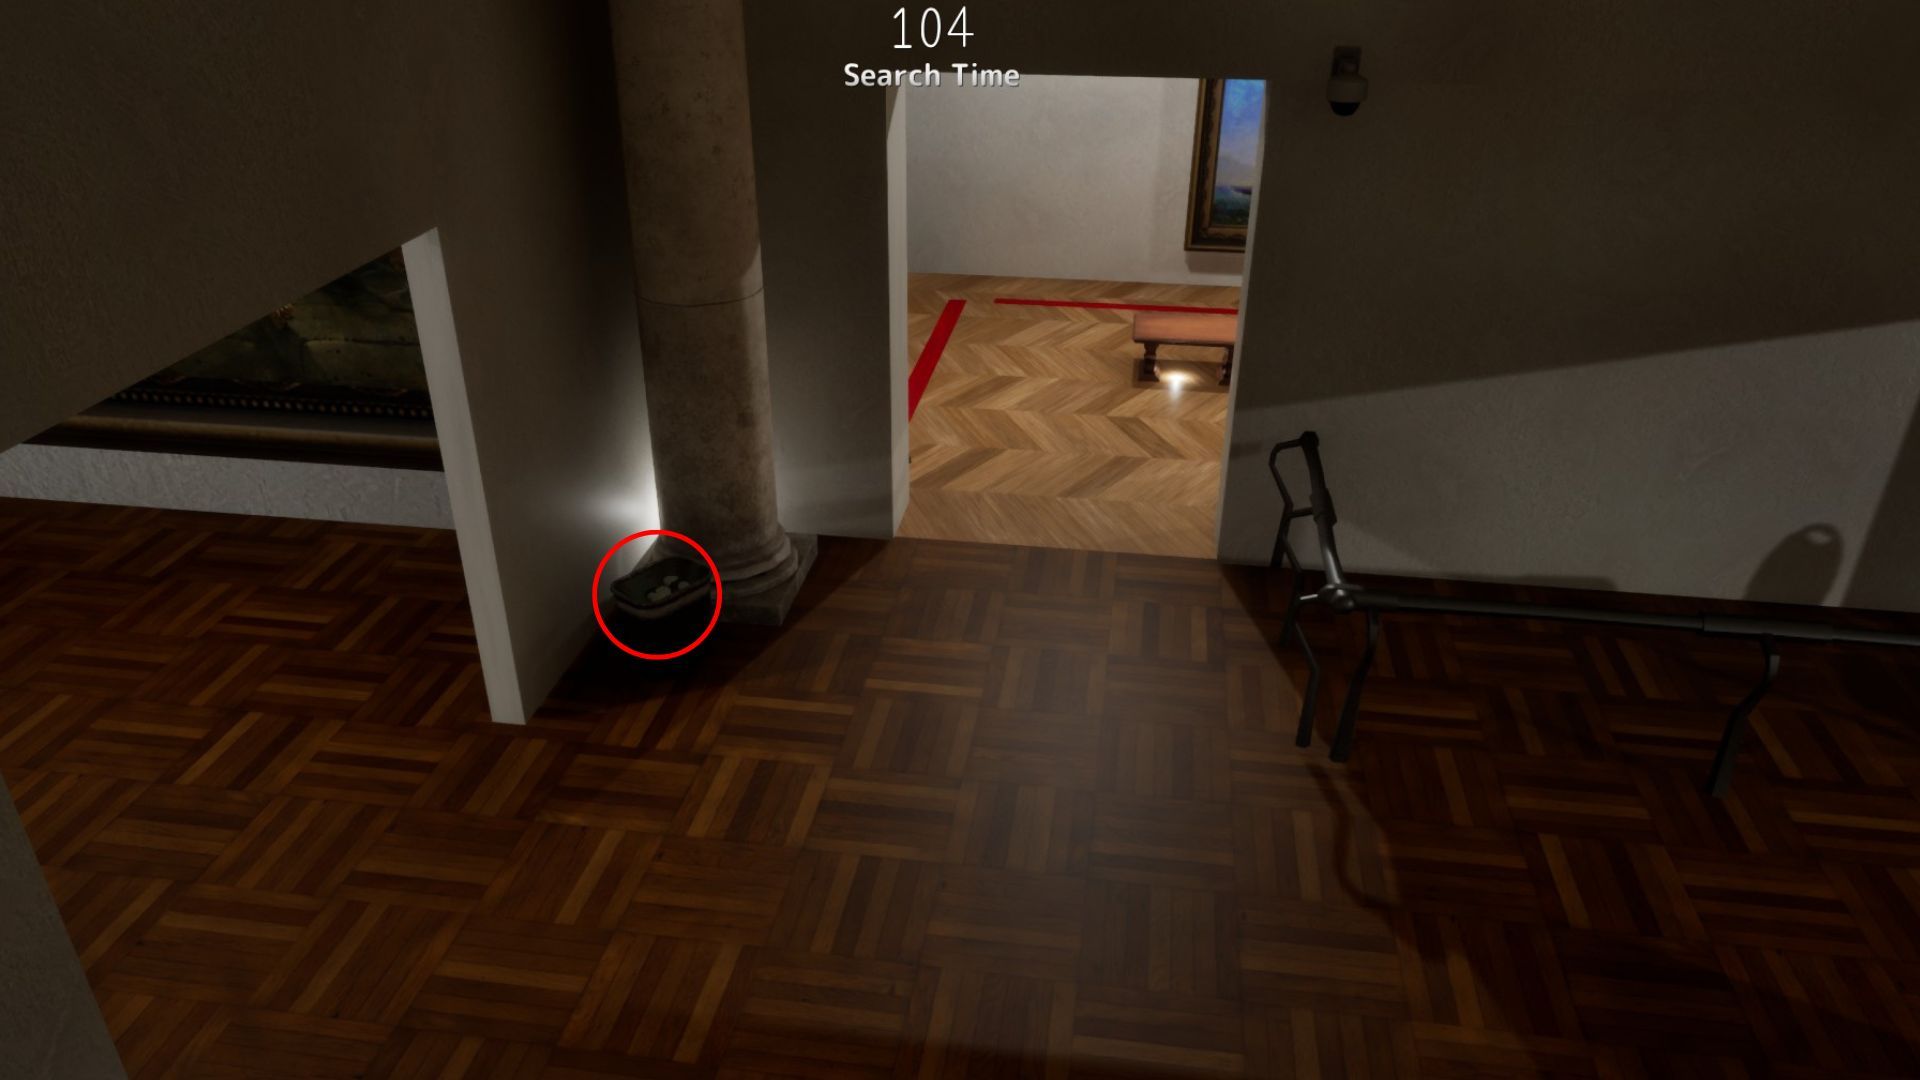
Garbage Can
Garbage can hide — curl inside with bag-color paint; overlooked while hunters rush paintings.
via DualShockers · DualShockers
Yard Torch & Flower
Survival house yard torch and flower prop mimic — Polygon verified outside hide.
via Polygon · Polygon Community
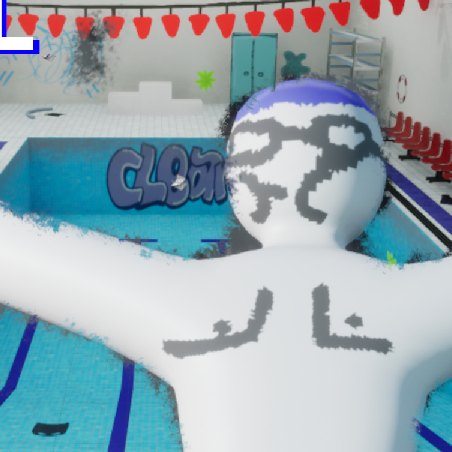
Pool Deck Chair Stack
Pool deck chair stack by the diving board — sample deck white, not pool tile blue.
via GameRant · GameRant Community