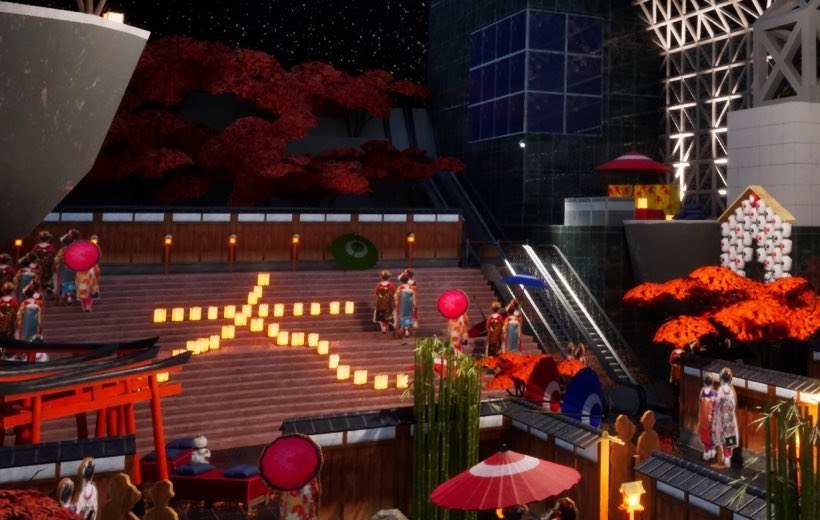
Torii Gate Row
Recommended by experienced players · sourced from published guides, not live match stats
Location Description
Vermillion torii row — dual-sample gate red and shadow gap; keep limbs inside the post silhouette.
Why It Works
Torii Gate Row on Kyoto works because vermillion torii row — dual-sample gate red and shadow gap; keep limbs inside the post silhouette. Guide rating 80/100 — difficulty tier from Denfaminicogamer, not live match statistics. Published guides (Denfaminicogamer — Kyoto / Art Museum) emphasize pose discipline: Maple/balcony crouches and torii/bamboo prop mimics; avoid open plaza tile and the glowing 大 stair. Map context from Kyoto: Official still: red maple on the left balcony — sample leaf red + balcony stone, not the dark plaza tile (LEMORION / Denfaminicogamer). Color plan: Torso base samples Primary surface at Torii Gate Row (F → paint menu, Space eyedropper); Shadow side samples Nearby shadow or darker patch at lock position; Limb / head edges samples Surface adjacent to limbs at lock height. Guide rating 80/100 reflects difficulty tier from Denfaminicogamer — a curated estimate from published walkthroughs, not aggregated match statistics. The core advantage is silhouette breaking: seekers scan for human-shaped lumps and value mismatches before they analyze hue. Torii Gate Row gives you clutter, depth, or verticality that buys time when paint and pose are locked in prep.
Best Colors
TheGamer, IGN, and mecchachameleongame.wiki all recommend the in-game Eyedropper (Space) on the exact surface you touch — not fixed hex/RGB codes. Lighting and patches change effective values; the table below lists which surface to sample per body part and how to apply it.
- Torso base: Primary surface at Torii Gate Row (F → paint menu, Space eyedropper) — Maple red vs torii vermillion vs plaza tile are different values — sample the surface you touch, not the dark floor.
- Shadow side: Nearby shadow or darker patch at lock position — HSV Value one step down — never sample a similar surface across the room
- Limb / head edges: Surface adjacent to limbs at lock height — 360° white-gap check before prep ends (SlashSkill #1 day-one mistake)
When To Use
- When this applies: v4.1.0 brand-new map — all spots experimental until lobby screenshots settle.
- When this applies: Official still: maple balcony, torii rows, and bamboo are the first landmarks to learn.
- When you can dual-sample maple red + balcony stone from the official still (Denfaminicogamer / LEMORION X)
- Torii / bamboo clusters before seekers learn the plaza first-clear
- Serious lobbies where you need a reliable round-one survive — best-category spots prioritize consistency over memes
When NOT To Use
- Open plaza tile as a long camp — lattice skylight sightlines punish imperfect paint
- Same 大 stair perch three rounds — official-still meme landmark gets first-cleared
- Single flat vermillion fill across torii wood and shadow — dual-sample is required
- When seekers in your lobby already slow-check this zone twice in one session — rotate
Pro Tips
Vermillion torii sequence from the official still. Dual-sample gate red and post shadow; flat fills pop under lattice lights.
How to Win Here
- v4.1.0 brand-new map — all spots experimental until lobby screenshots settle.
- Official still: maple balcony, torii rows, and bamboo are the first landmarks to learn.
- The 大 stair is meme traffic — clip once, then rotate.
- Pro tip from our database: Vermillion torii sequence from the official still. Dual-sample gate red and post shadow; flat fills pop under lattice lights.
- Source: Denfaminicogamer — re-verify in a private lobby after major patches.
Color & Paint Plan
Body-part breakdown from published guides — sample with in-game Eyedropper (F → Space), then fine-tune HSV / metallic / roughness per surface.
| Body part | Sample from | Technique |
|---|---|---|
| Torso base | Primary surface at Torii Gate Row (F → paint menu, Space eyedropper) | Maple red vs torii vermillion vs plaza tile are different values — sample the surface you touch, not the dark floor. |
| Shadow side | Nearby shadow or darker patch at lock position | HSV Value one step down — never sample a similar surface across the room |
| Limb / head edges | Surface adjacent to limbs at lock height | 360° white-gap check before prep ends (SlashSkill #1 day-one mistake) |
Pose
Maple/balcony crouches and torii/bamboo prop mimics; avoid open plaza tile and the glowing 大 stair.
Metallic & roughness
- · Match metallic / roughness to surface (SlashSkill: sheen mismatch exposes faster than hue error)
- · Matte wall → low metallic; metal pipe/barrel → medium–high metallic
Common Mistakes
- Standing too close to the edge where your outline breaks the geometry
- Using one flat eyedropper sample for the whole body — guides say lit + shadow sides need separate samples (mecchachameleongame.wiki paint-system)
- Moving the camera or adjusting pose after seekers enter the room
- Setting up during hunt phase instead of prep — SlashSkill: spend first third of prep on spot, then paint
Counter Strategy
For seekers hunting this zone — sourced from map guides and community checklists
- Seeker timing: Guide rating 80/100 — difficulty tier from Denfaminicogamer, not live match statistics.
- Clear maple balcony and torii rows on first pass — official still landmarks
- Scan bamboo and lantern-wall grids at crouch height before assuming the plaza is empty
- 大 stair: glance once for meme traffic, then clear under-deck recesses
Guide Sources
Guide Notes
- v4.1.0 brand-new map — all spots experimental until lobby screenshots settle.
- Official still: maple balcony, torii rows, and bamboo are the first landmarks to learn.
- Primary tip from Denfaminicogamer: Vermillion torii sequence from the official still. Dual-sample gate red and post shadow; flat fills pop under lattice lights.
- Denfaminicogamer — Kyoto / Art Museum — https://news.denfaminicogamer.jp/news/2608283n
- consolepcgaming.com — update 4.1.0 — https://consolepcgaming.com/meccha-chameleon-4-1-0-brings-2-new-maps-and-join-code-search/
- Verify in a private lobby after major patches.
Image & Data Sources
Screenshot matched to Kyoto where possible; some entries use map overview assets when a spot-specific image is unavailable. Spot details via Denfaminicogamer. Guide ratings are curated estimates from published walkthroughs — not live match statistics. Game imagery © lemorion_1224 / Steam.
Similar Spots
Keep exploring — related spots to improve your win rate
Other Kyoto hiding spots ranked by guide rating
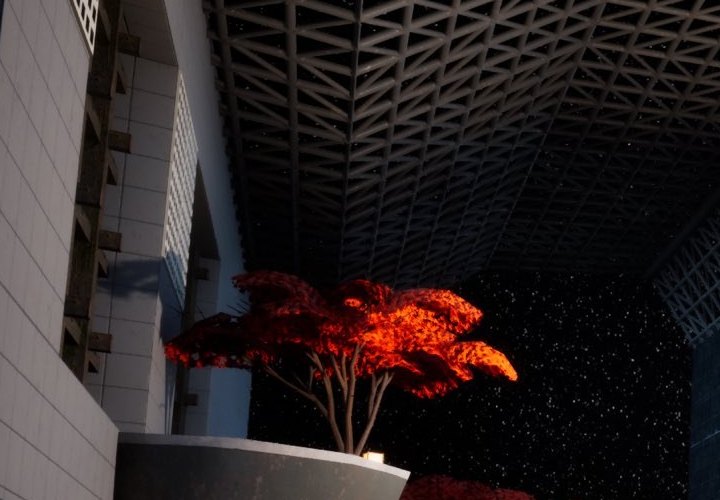
Maple Balcony Tree
High-left maple tree on the official 4.1.0 still — sample leaf red plus balcony stone, not plaza tile.
via Denfaminicogamer · LEMORION / Community
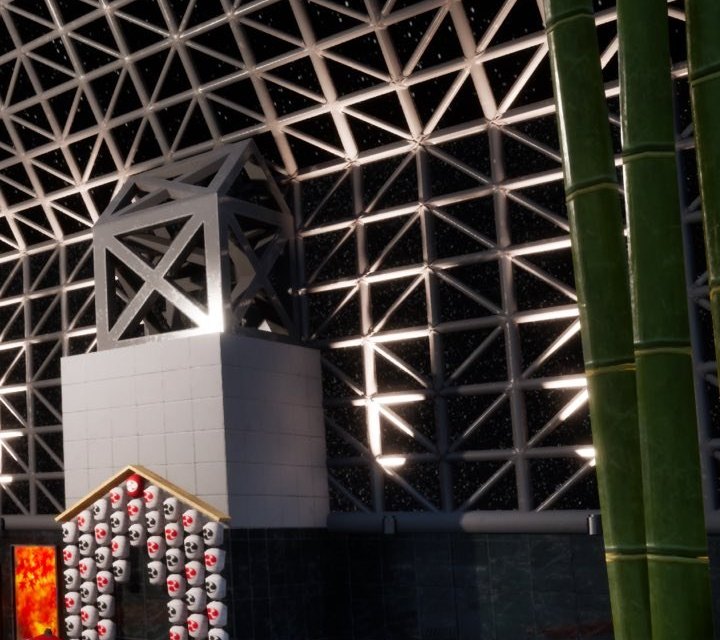
Foreground Bamboo
Foreground bamboo thicket from the official still — sample stalk green and inter-stalk shadow.
via Denfaminicogamer · LEMORION / Community
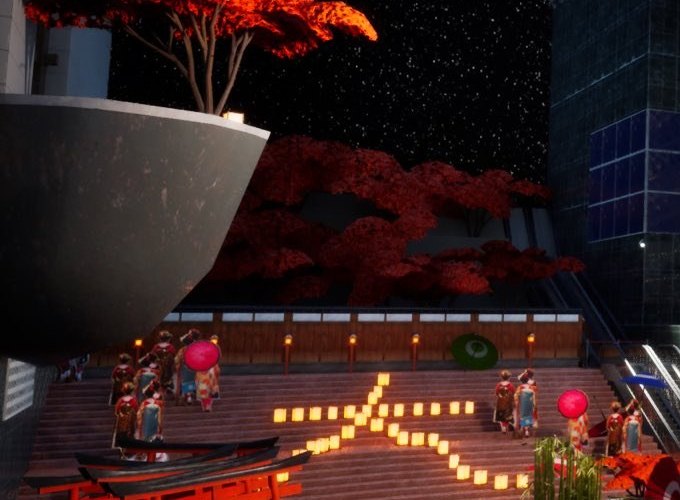
Wagasa & Lantern Cluster
Wagasa umbrella and orange lantern cluster — prop-mimic compact poses under warm light.
via Denfaminicogamer · Community
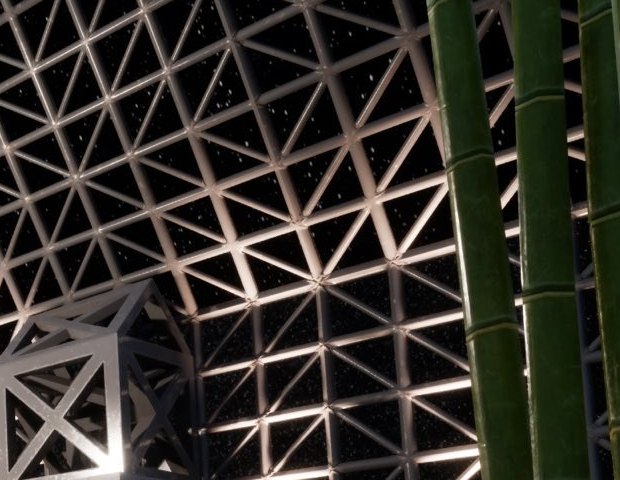
White Lantern Wall
Right-wall grid of white lanterns — dual-sample lantern paper and wall behind.
via Denfaminicogamer · Community
Similar Difficulty
Spots with a comparable guide rating on other maps
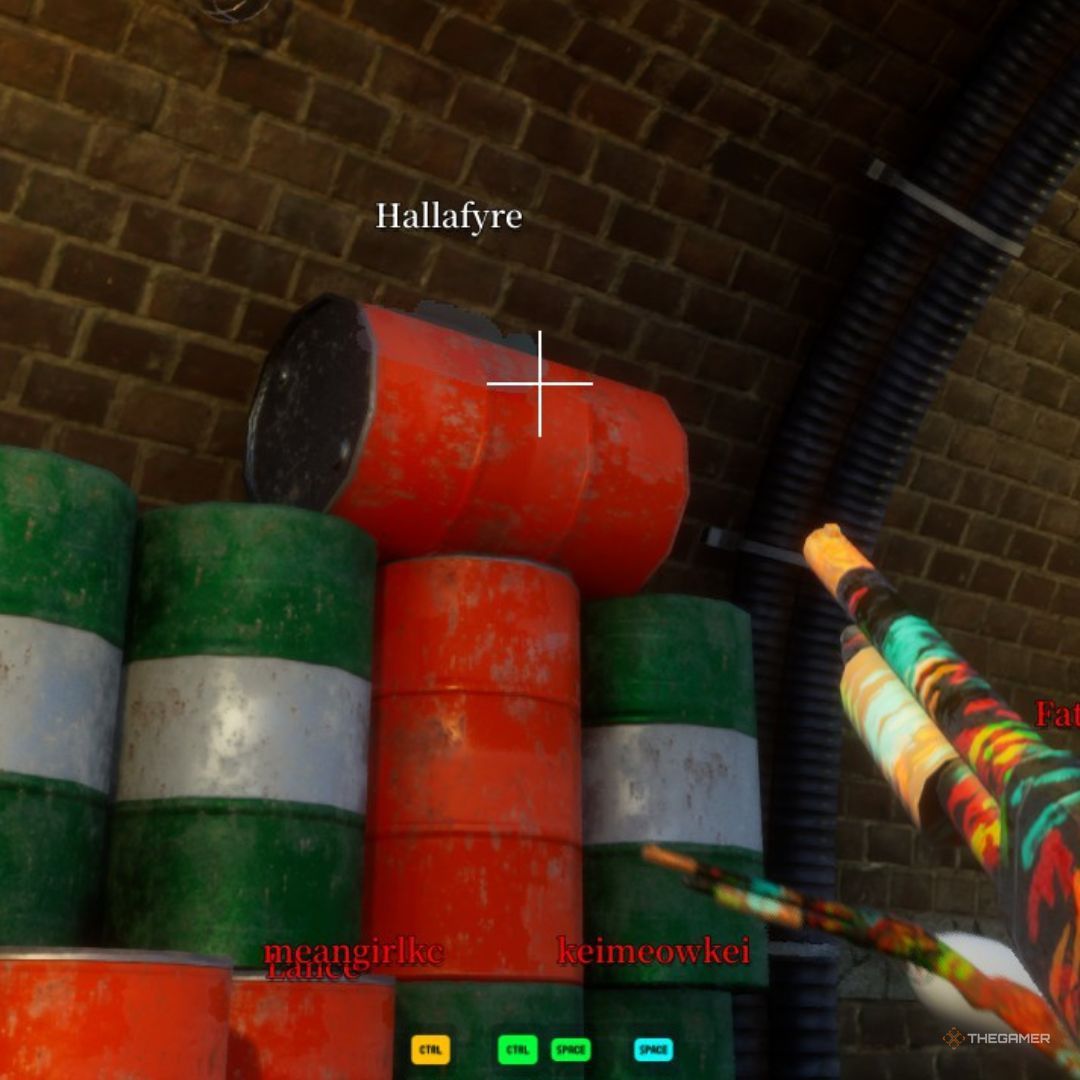
Dark Ceiling Pipe
Behind an overhead pipe in the darkest section. Community top-tier hide.
via TheGamer · TheGamer Community
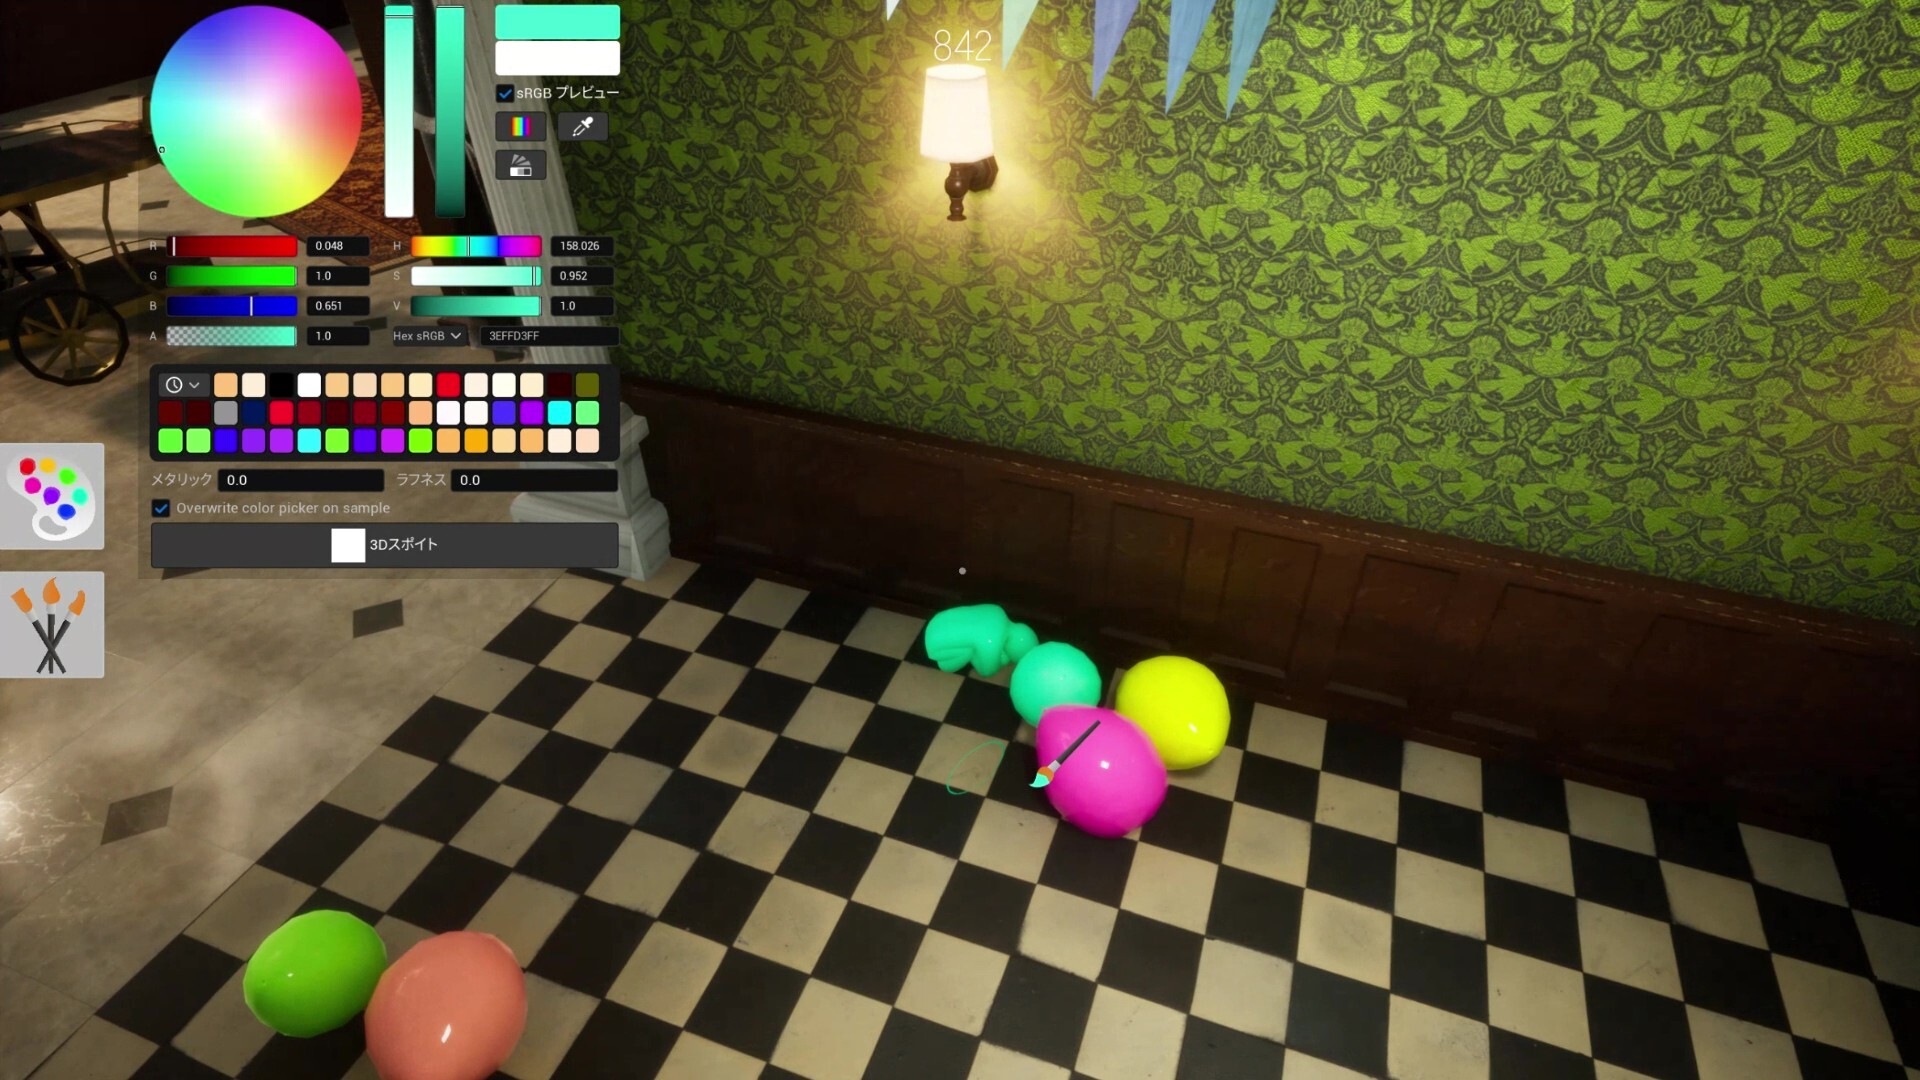
Shelf Back Row
Deepest rear shelf row. Top community survival rate on this map.
via meccha-chameleon.net · meccha-chameleon.net
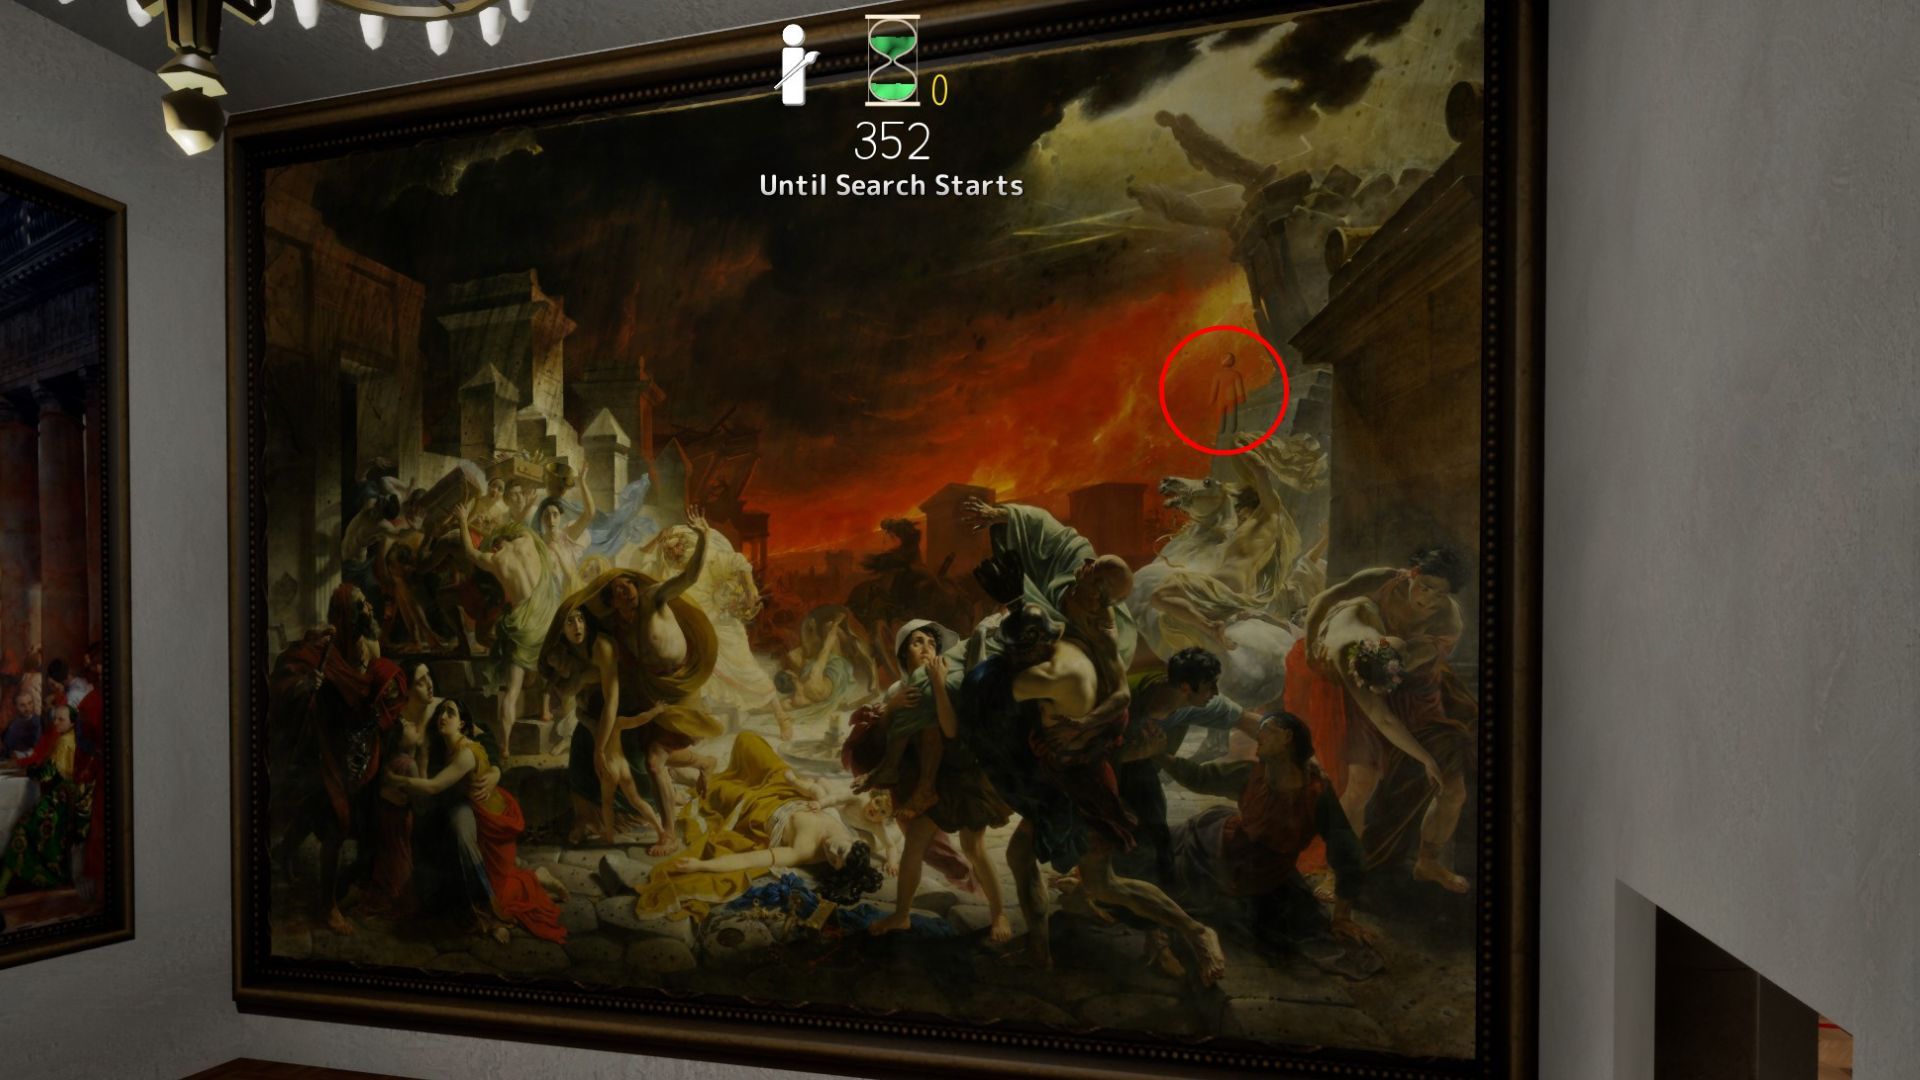
Last Day in Pompeii
Last Day in Pompeii — furthest room; top-left shadow, fire stone, or crowd zones fit multiple hiders.
via DualShockers · DualShockers
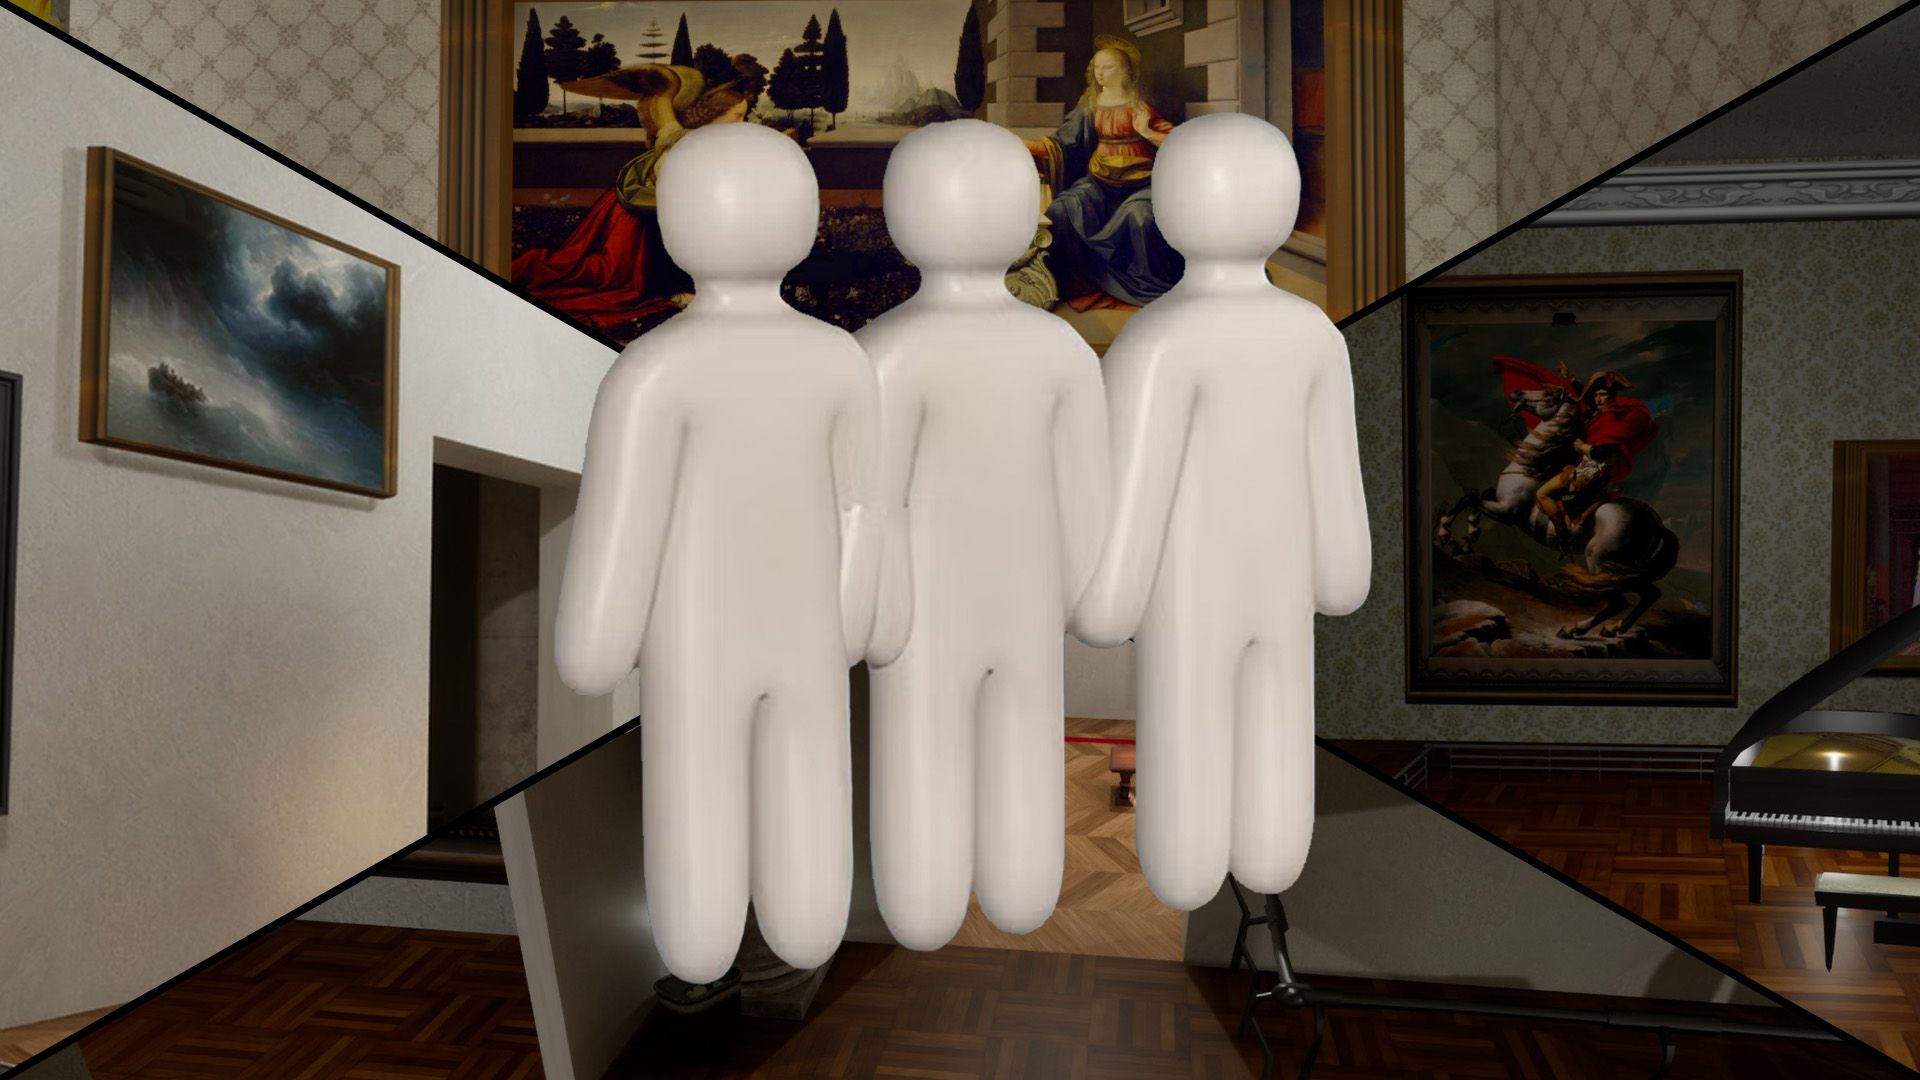
Mona Lisa Frame
Paint yourself into the Mona Lisa frame — Polygon's signature Art Gallery pick.
via DualShockers · DualShockers
Easy Spots to Learn First
High guide-rated spots recommended for building fundamentals
Dark Ceiling Pipe
Behind an overhead pipe in the darkest section. Community top-tier hide.
via TheGamer · TheGamer Community
Shelf Back Row
Deepest rear shelf row. Top community survival rate on this map.
via meccha-chameleon.net · meccha-chameleon.net
Last Day in Pompeii
Last Day in Pompeii — furthest room; top-left shadow, fire stone, or crowd zones fit multiple hiders.
via DualShockers · DualShockers
Mona Lisa Frame
Paint yourself into the Mona Lisa frame — Polygon's signature Art Gallery pick.
via DualShockers · DualShockers
Hard Spots & Challenges
Low-rated or impossible-tier spots for advanced players

Map-Edge Out of Bounds (Patched)
Deep Sea map-edge / out-of-bounds perch — patched in fix3.7.2 (Steam News titled fix7.3.2).
via Steam News · Steam News
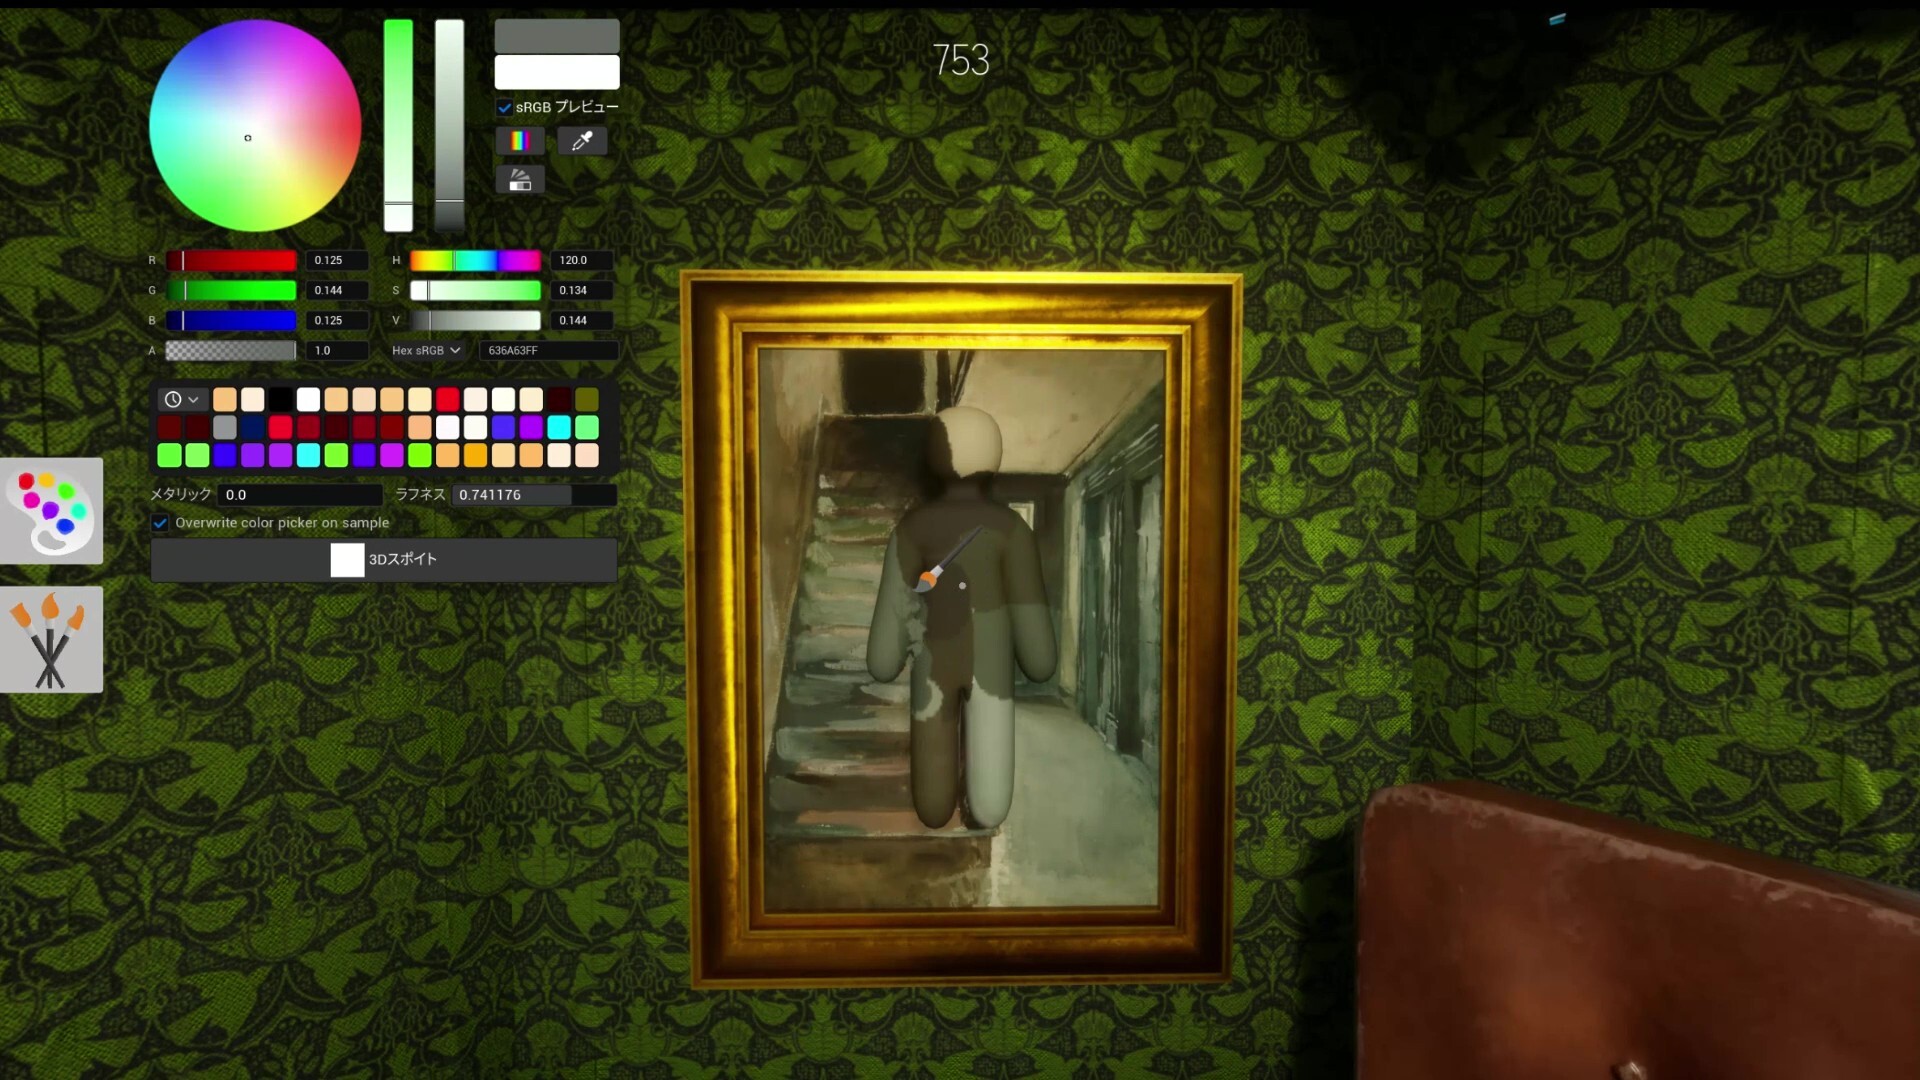
White Elbow Syndrome
Not a spot — a lesson. Unpainted elbow gaps expose more than bad positions.
via Mobalytics · Mobalytics

Spotlight Front
Spotlight-lit gallery front — value mismatch on pale walls; experimental warning pin.
via skypenguin.net · Community
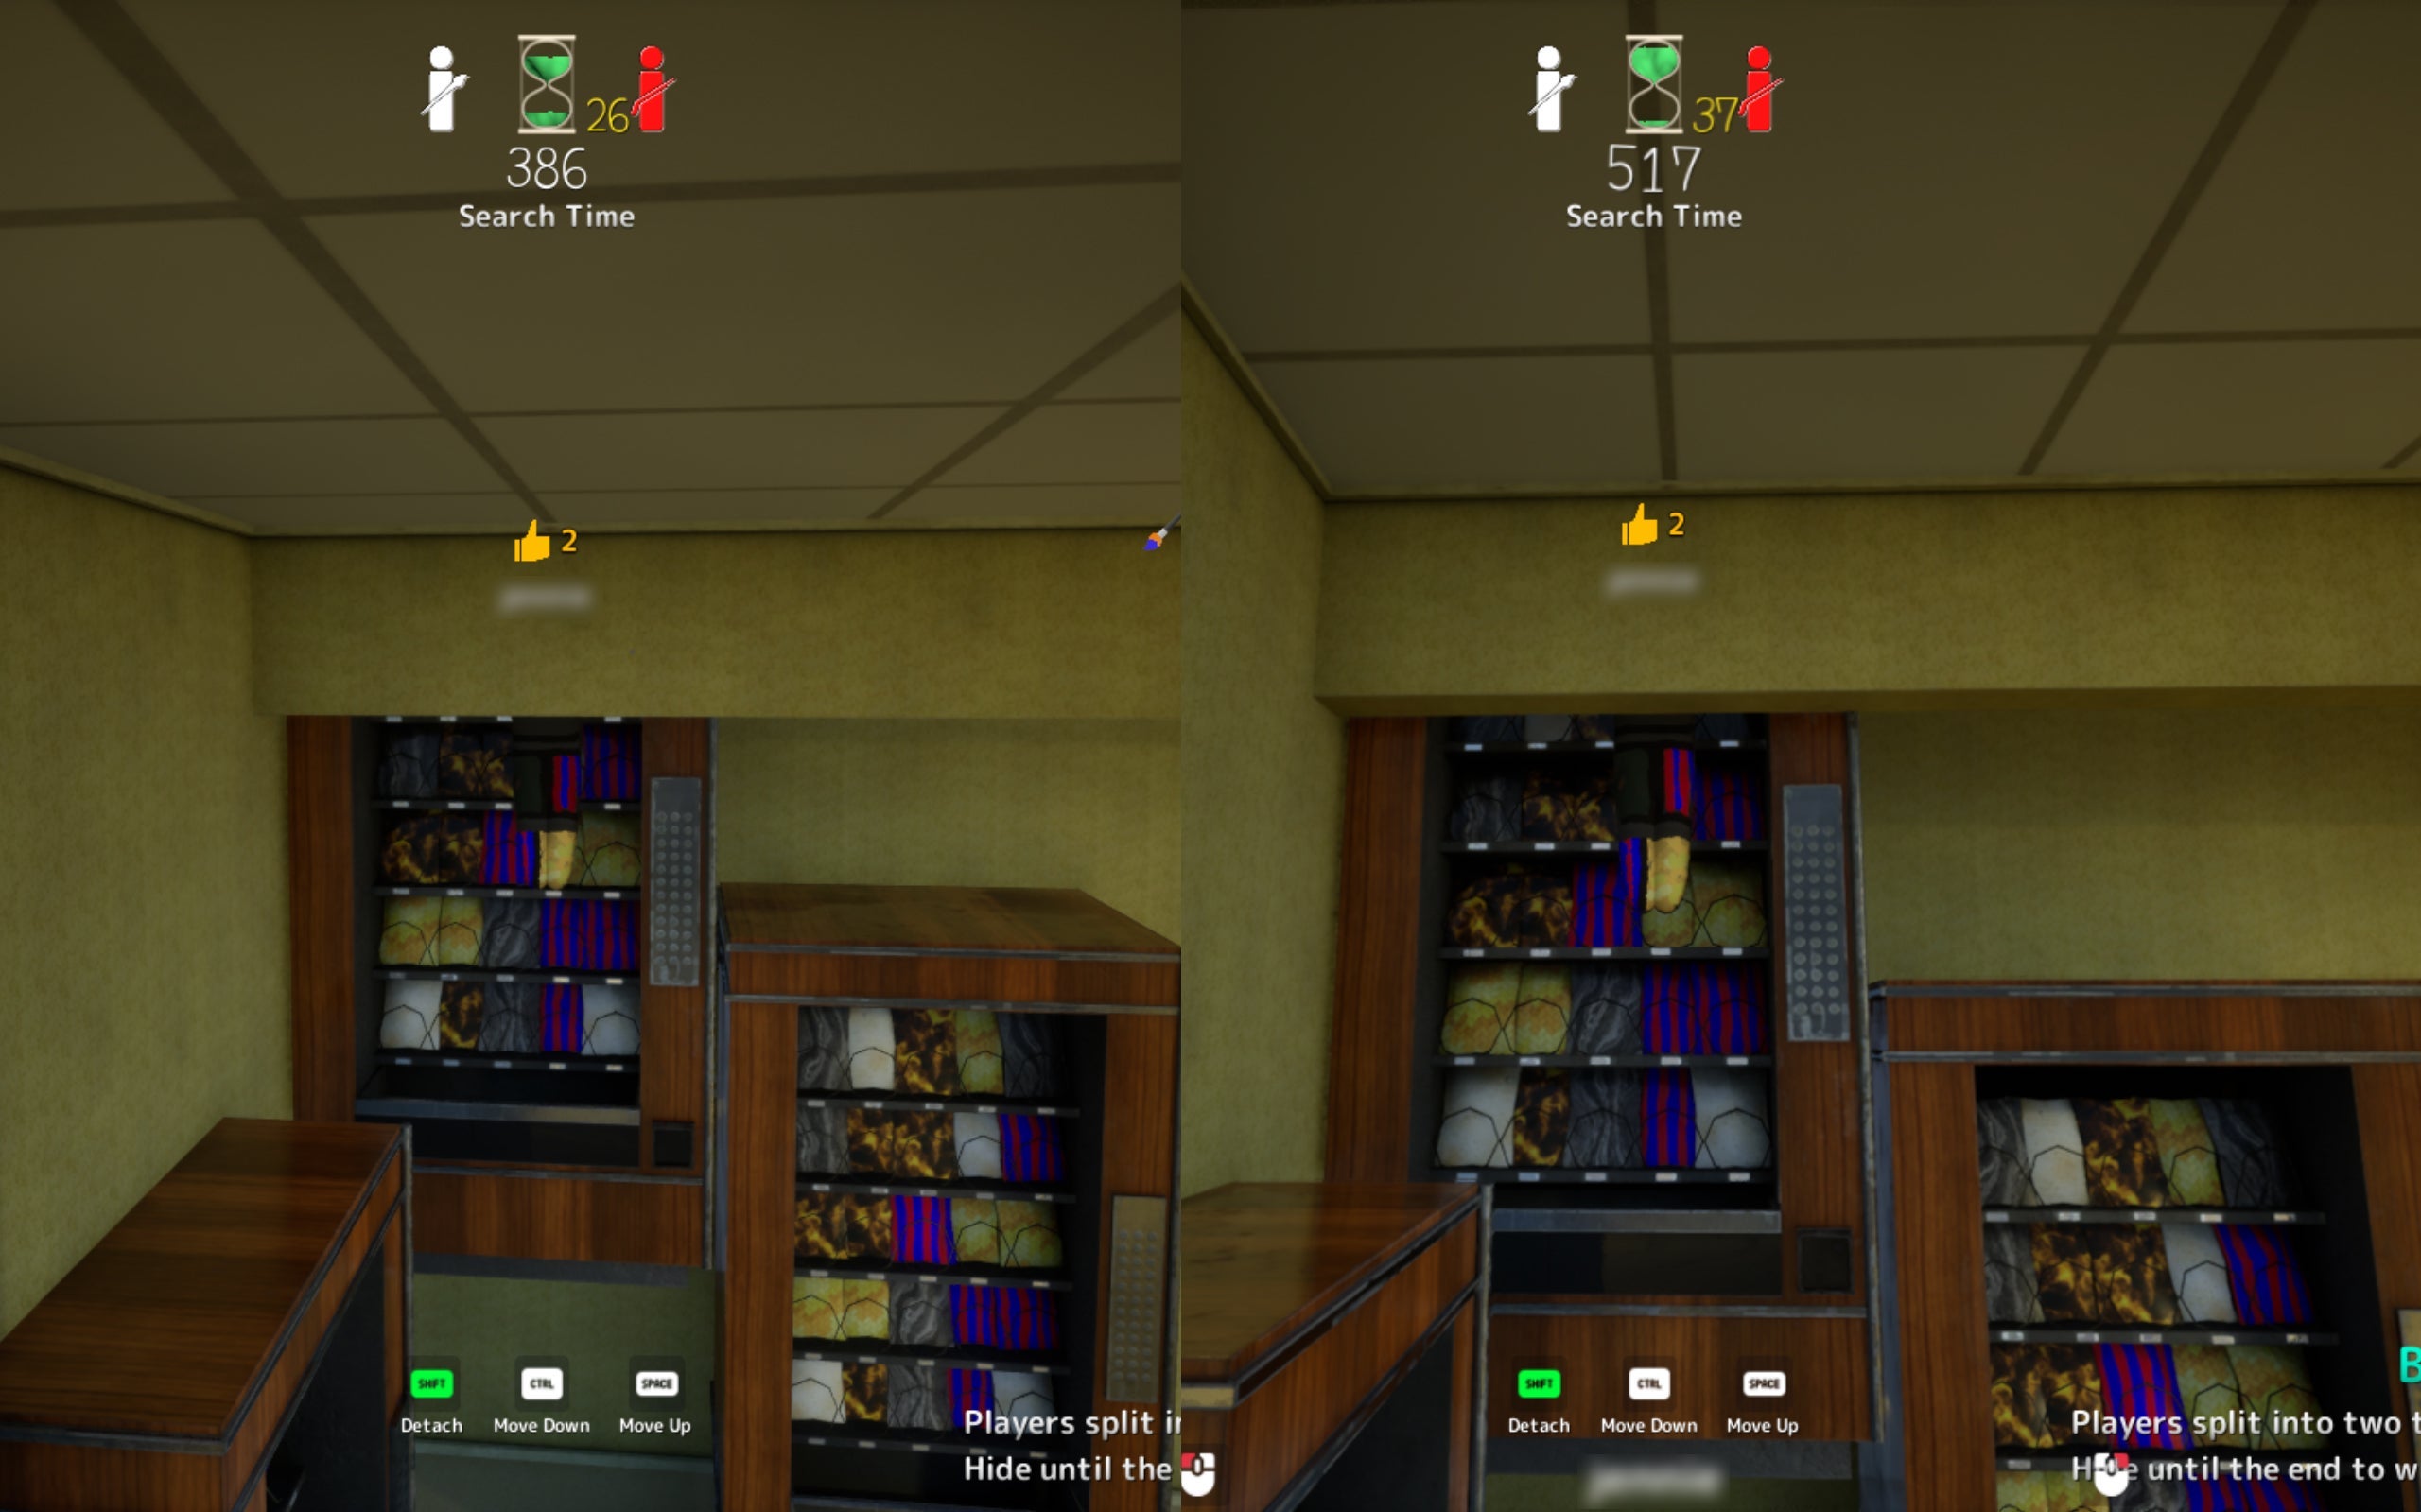
Ceiling Light
Attach near fluorescent fixture. High risk — seekers may look up late.
via TheGamer · TheGamer Community
More Top-Rated Picks
Same category on different maps
Dark Ceiling Pipe
Behind an overhead pipe in the darkest section. Community top-tier hide.
via TheGamer · TheGamer Community
Shelf Back Row
Deepest rear shelf row. Top community survival rate on this map.
via meccha-chameleon.net · meccha-chameleon.net
Last Day in Pompeii
Last Day in Pompeii — furthest room; top-left shadow, fire stone, or crowd zones fit multiple hiders.
via DualShockers · DualShockers
Mona Lisa Frame
Paint yourself into the Mona Lisa frame — Polygon's signature Art Gallery pick.
via DualShockers · DualShockers